
Interactive Tutorial
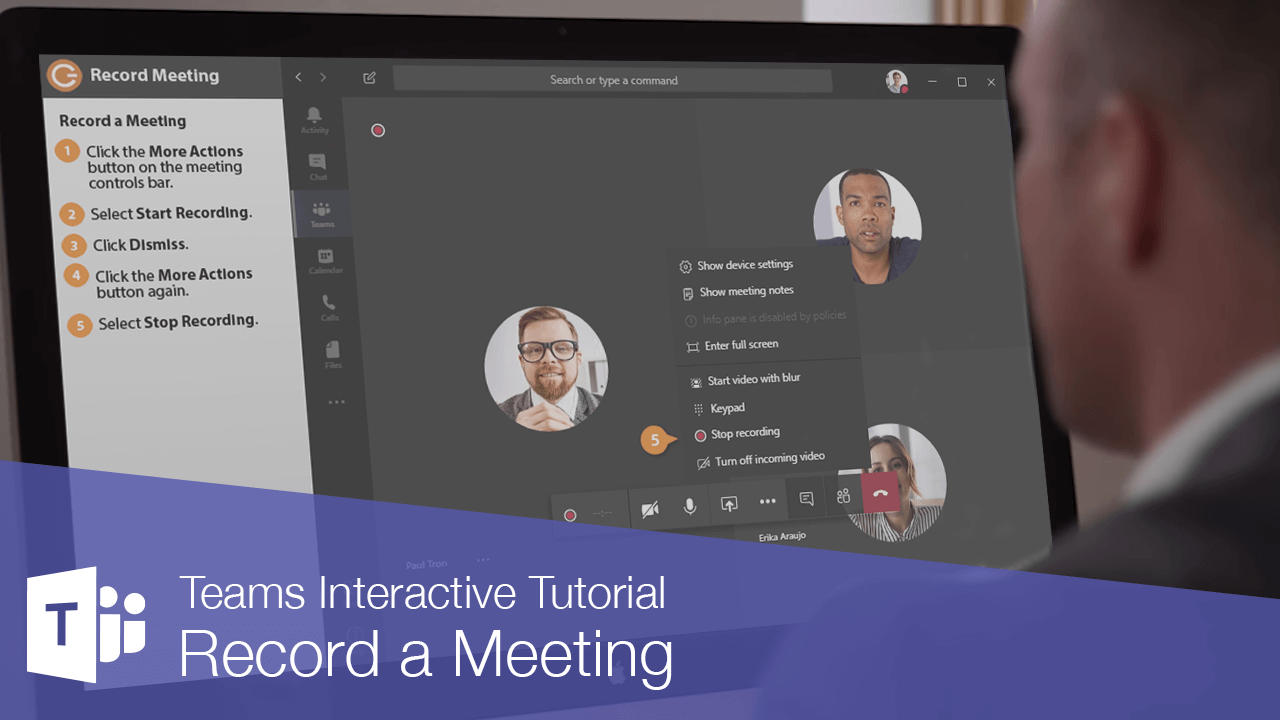
How to Record a Meeting in Microsoft Teams
Save and Share Microsoft Teams Meeting Recordings for Easy Playback and Team Collaboration
-
Learn by Doing
-
LMS Ready
-
Earn Certificates

Try this Course with a Free Trial
You can record a meeting as a video, allowing people who missed it to view it later. A meeting video will be saved to the Microsoft Stream service, where it can be viewed later.
Record a Meeting
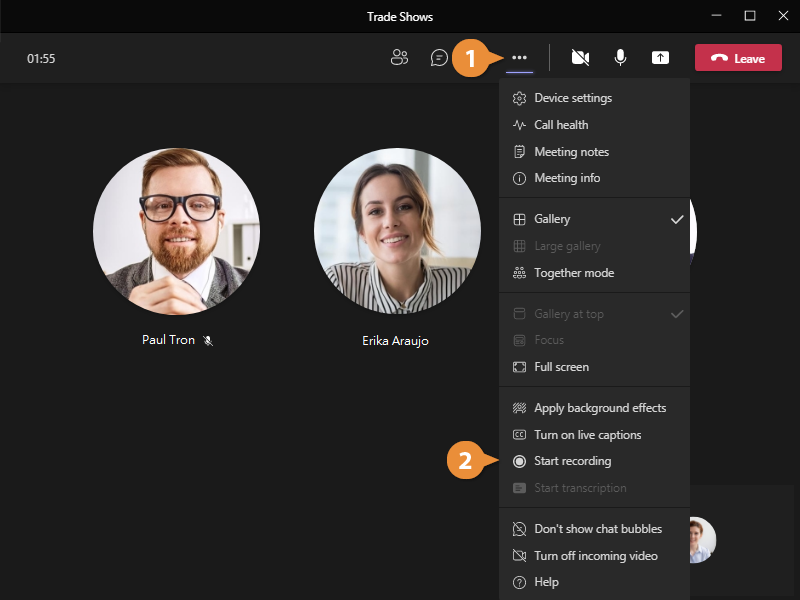
Before you record a meeting, make sure that everyone involved knows that a recording is being made. You can start recording after the meeting has begun.
- Click the More Actions button on the meeting controls bar.
- Select Start recording.
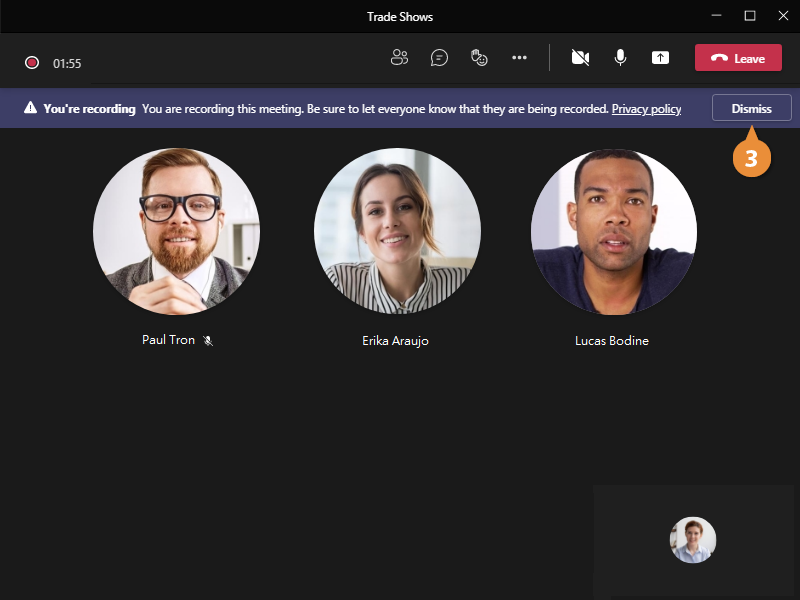
When the recording starts, everyone in the meeting will be notified.
- Click Dismiss to clear the recording notification.
While the meeting is being recorded, a recording icon will appear to remind everyone involved.
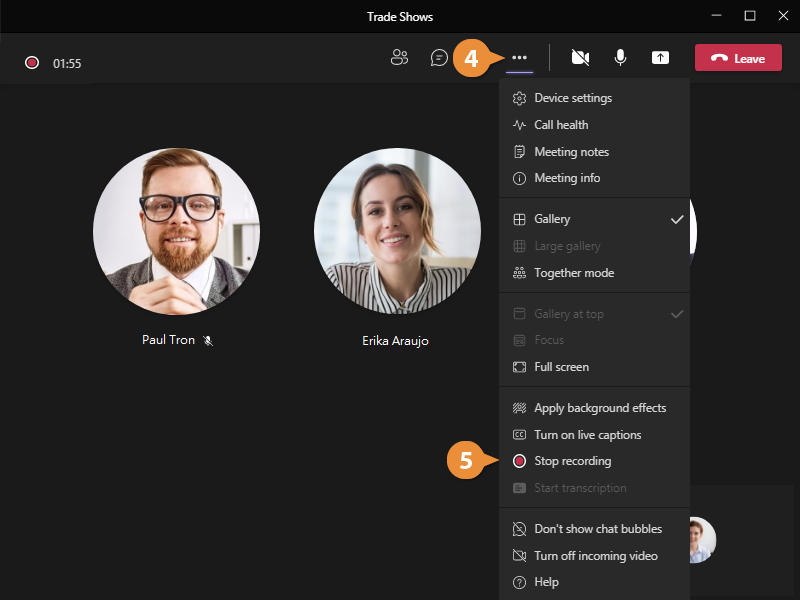
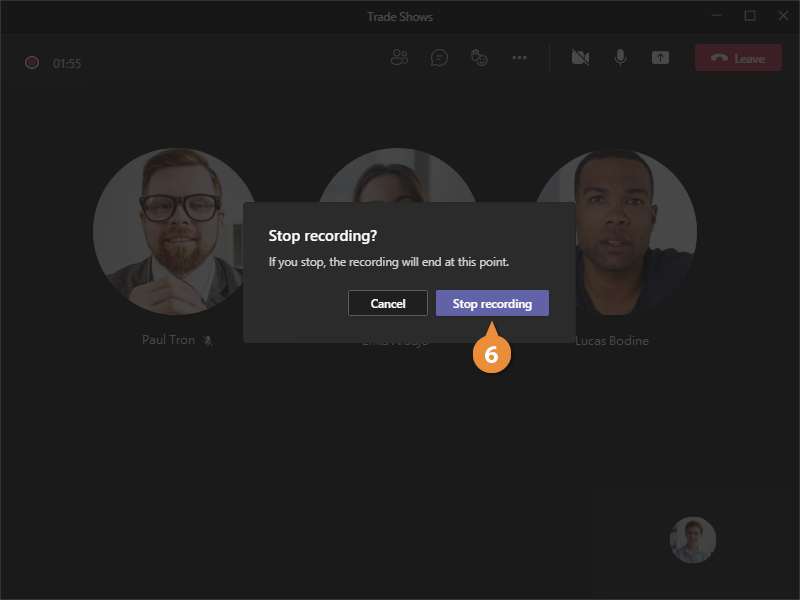
When you’ve finished the part of the meeting that you want recorded, you can stop recording.
- Click the More Actions button again.
- Select Stop recording.
A dialog box asks you to confirm that you want to stop recording.
- Click the Stop recording button.
Once the recording stops, it needs to be processed and saved to a service called Microsoft Stream. This process will take a few minutes, depending on how long the recorded meeting was.
When the processing is finished, the recording will be available to watch and share.
View a Meeting Recording
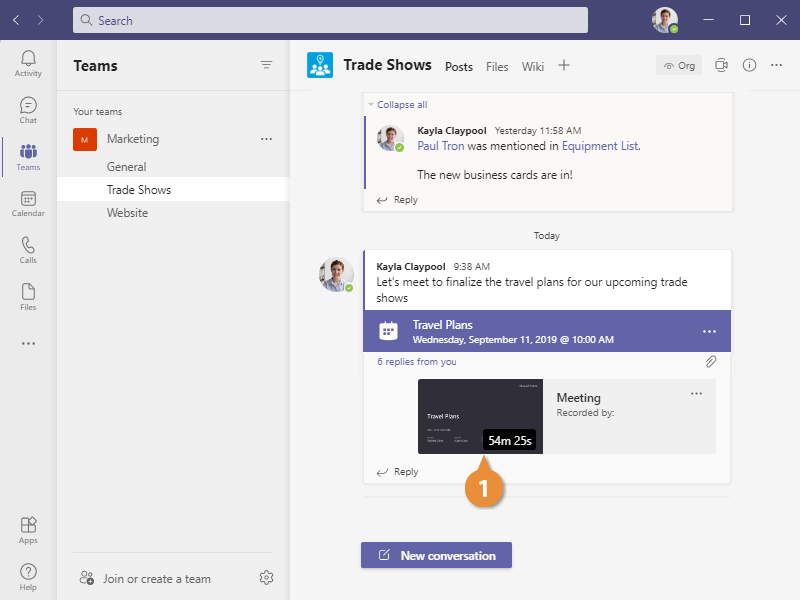
Once a meeting recording has finished processing on Microsoft Stream, it will appear as a thumbnail in the team channel or chat the meeting took place in.
- Click a meeting recording in the meeting's conversation feed.
The video of the recorded meeting will appear in a media player.
- Click the Play icon to play the video.
The recorded meeting plays. You can use the media controls to move forward or backward in the video, or even adjust the playback speed.
- Click the Close icon when you're finished.
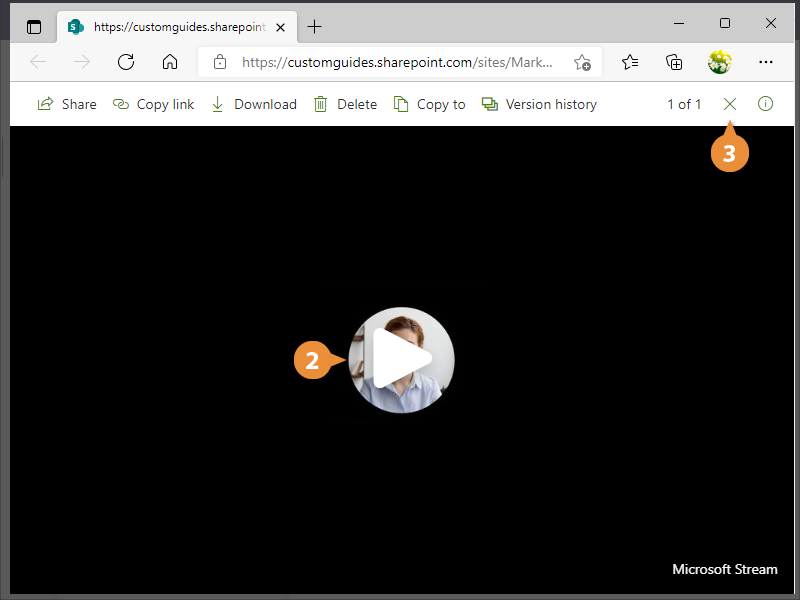
The media player closes.
Share a Meeting Recording
You can share a meeting recording with someone who wasn’t able to attend. There are several ways you can share a meeting recording.
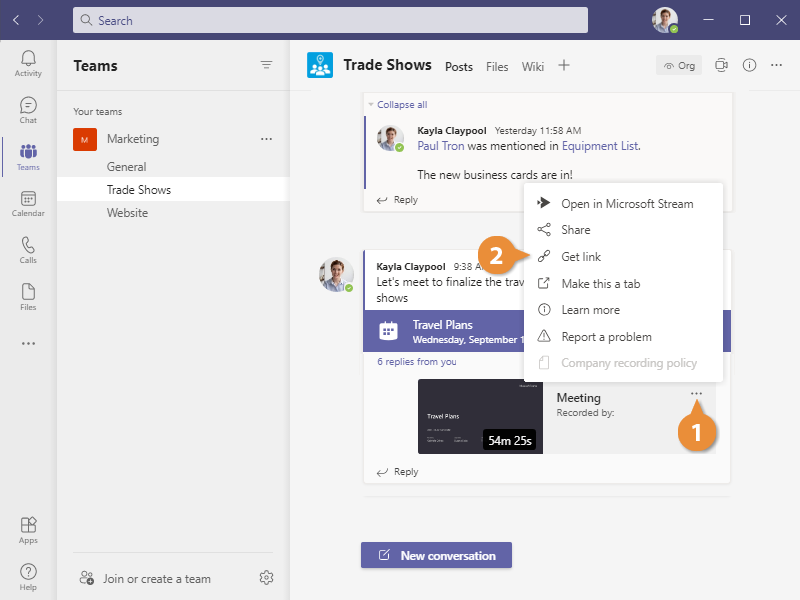
- Click a meeting recording's More Options button.
Here, you have several ways to share a meeting recording.
- Open in Microsoft Stream opens the meeting recording in a web browser.
- Share lets you change the permissions for the meeting, allowing more people access to it.
- Get Link copies a link to the video to the clipboard.
- Make this a tab allows you to create a tab at the top of the chat or channel that links to the video, making it easier for everyone to find.
- Select one of the sharing options.
Different sharing options may have additional steps. For example, if you select Share, you’ll need to specify who you want to share the video with.