
Interactive Tutorial
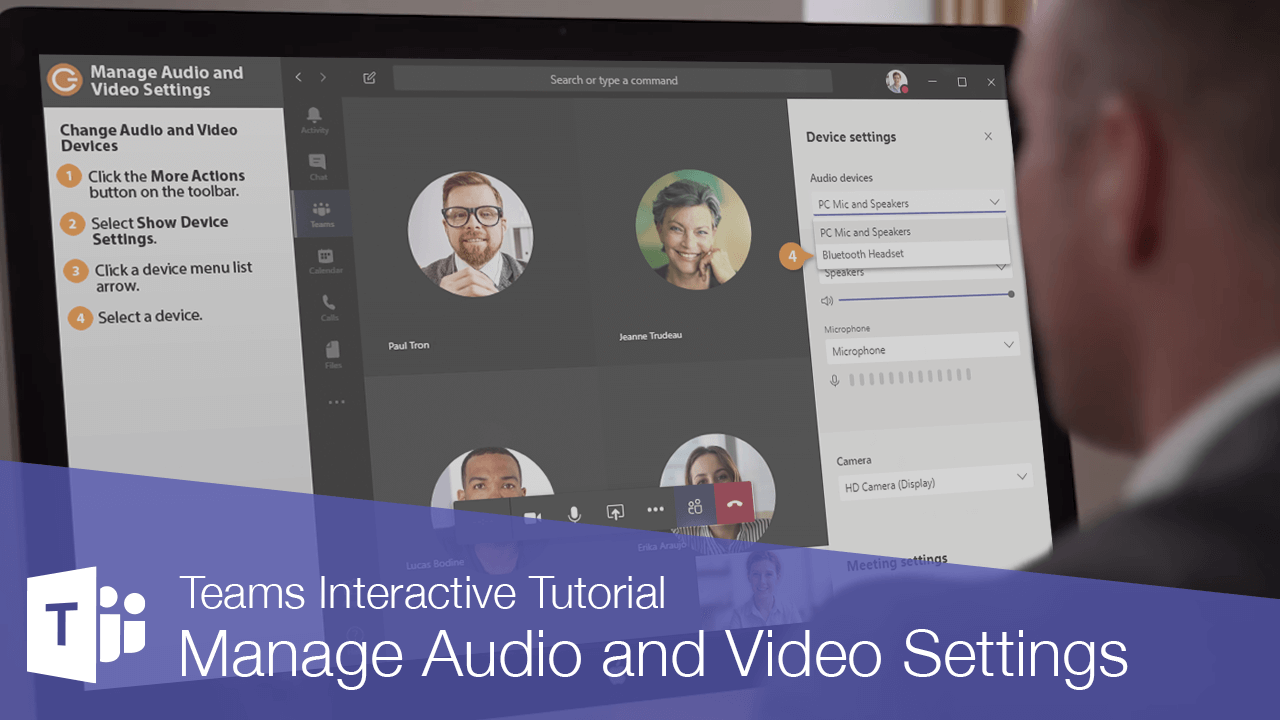
Manage Audio and Video Settings
Adjust Microsoft Teams Audio and Video Settings for Clearer Calls and Better Meeting Quality
-
Learn by Doing
-
LMS Ready
-
Earn Certificates

Try this Course with a Free Trial
While you're prompted to set up your audio and video settings whenever you join a meeting, you're also able to change those settings again after joining.
Toggle Camera and Microphone
While in a meeting, you can use the buttons on the meeting controls bar to toggle your camera and microphone on or off.
- Click the Camera or Microphone buttons on the meeting controls bar to toggle them off or on.
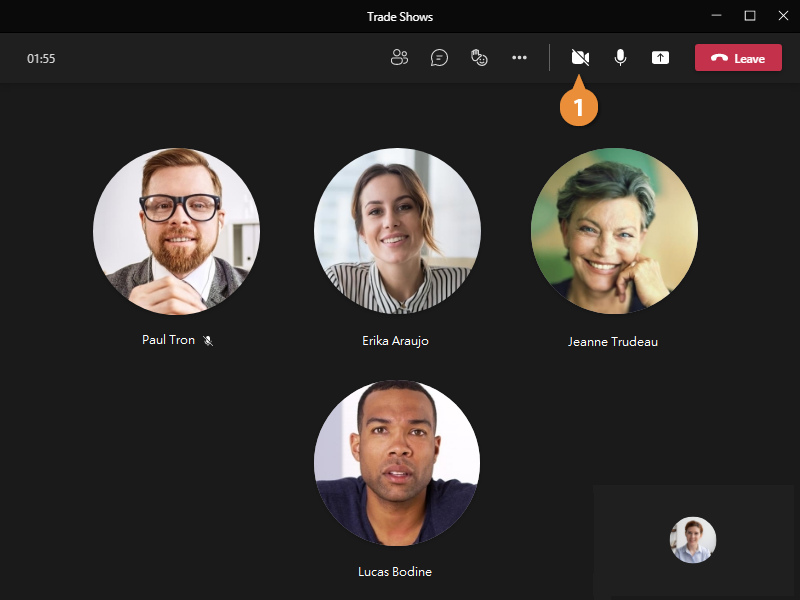
While a device is turned off, its icon is changed to have a slash through it. Click it again to turn it back on.
When your camera feed is on, your video will appear as a thumbnail in the bottom-right corner.
Blur Camera Background
While you’re sharing video, you can blur your background to prevent anything distracting from appearing behind you.
- Click the More Actions button on the meeting controls bar.
- Select Blur my background.
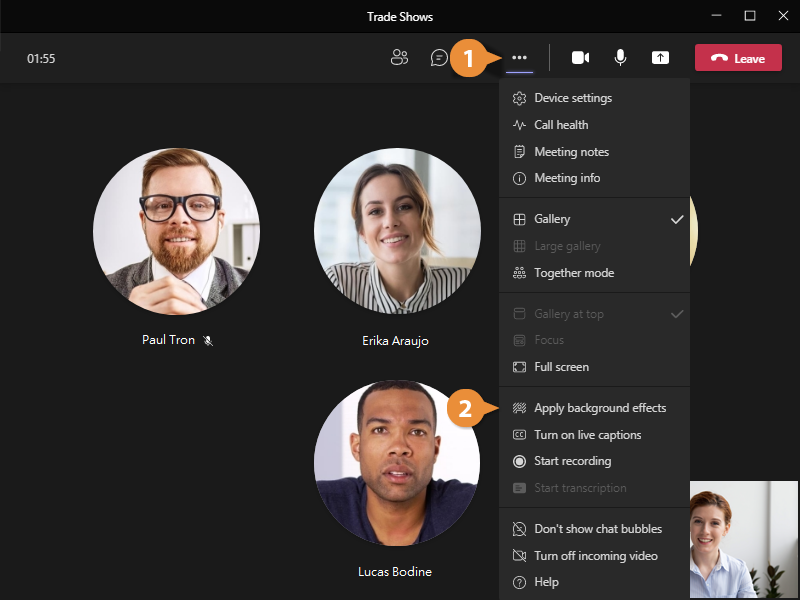
Your background is blurred. You can select this option from the menu again to toggle it off.
Change Audio and Video Devices
Depending on your computer's setup, you may have more than one microphone or camera. You can switch between these devices during a meeting.
- Click the More Actions button on the toolbar.
- Select Show device settings.
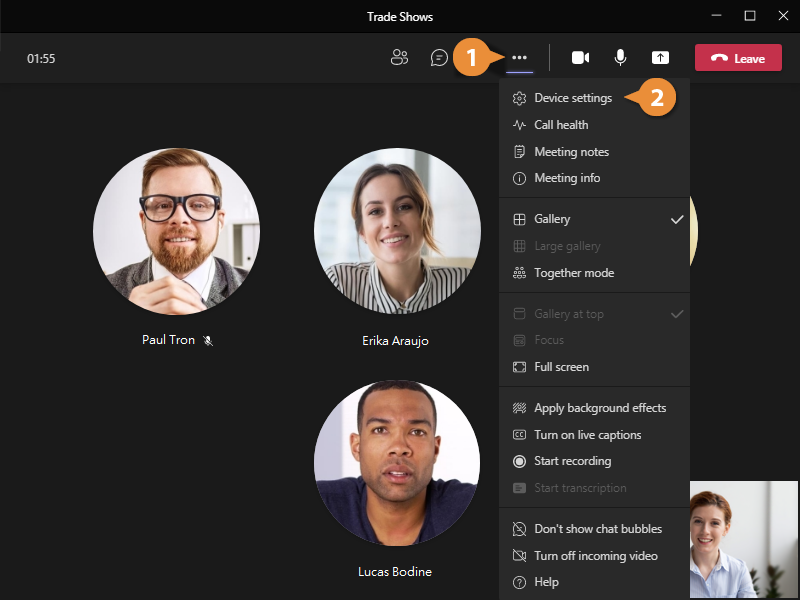
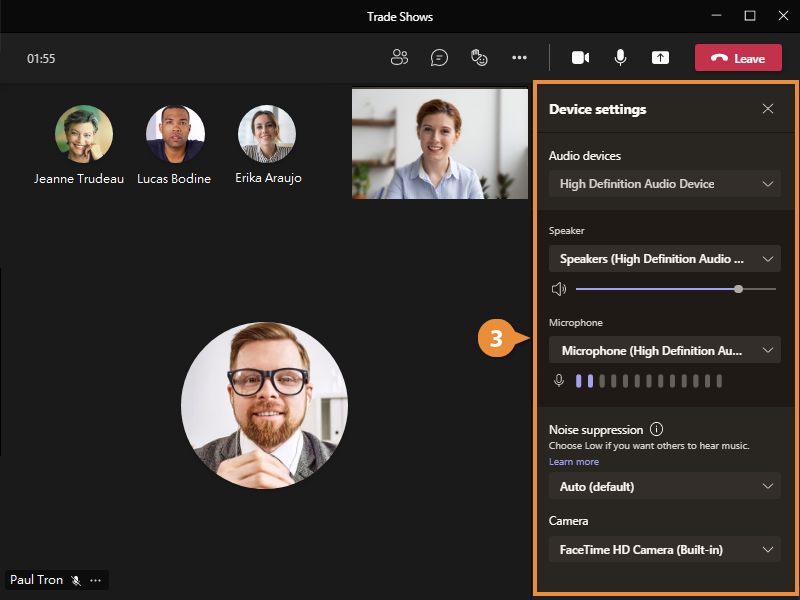
The Device Settings pane opens, and you can see your audio and video device options.
The speaker and microphone setup that you're currently using will be listed under the Audio Devices heading. You can also see your speaker volume setting, and your current microphone input levels.
You can see the camera that you're using under the Camera heading.
- Change your audio or camera device settings.
Changes you make to your audio and camera devices will take effect immediately.