
Interactive Tutorial
Excel Shapes
Learn How to Insert, Format, and Use Shapes in Excel to Enhance Visuals and Create Dynamic Worksheets
-
Learn by Doing
-
LMS Ready
-
Earn Certificates

Try this Course with a Free Trial
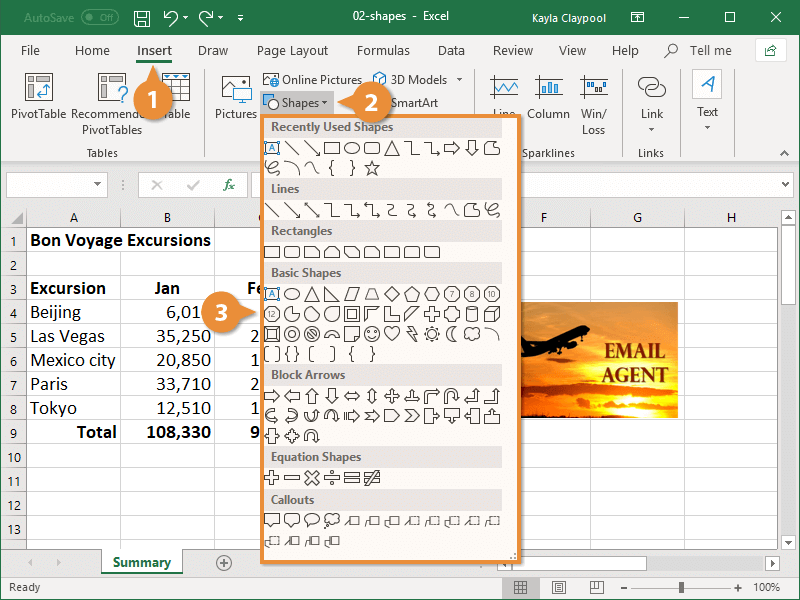
You can add shapes to your spreadsheet to spark a little visual interest. By using the Shapes menu, you can choose from dozens of different types of shapes.
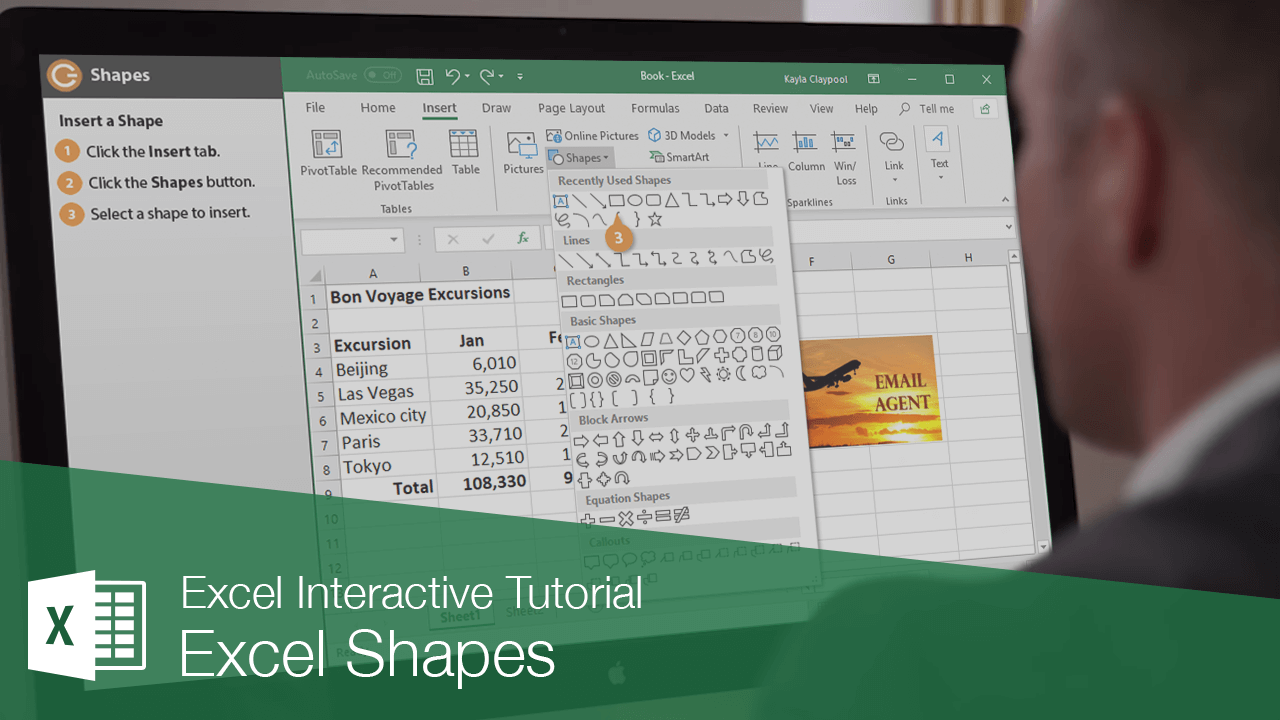
Insert a Shape
- Click the Insert tab.
- Click the Shapes button.
The Shapes menu displays all the types of shapes available, organized into groups.
- Select a shape to insert.
Now the cursor changes to a cross hair and is ready to draw on the sheet.
- Insert the shape in one of two ways:
- Click anywhere on the page to insert the shape there.
- Click and drag anywhere on the page to place the shape while also controlling its size.
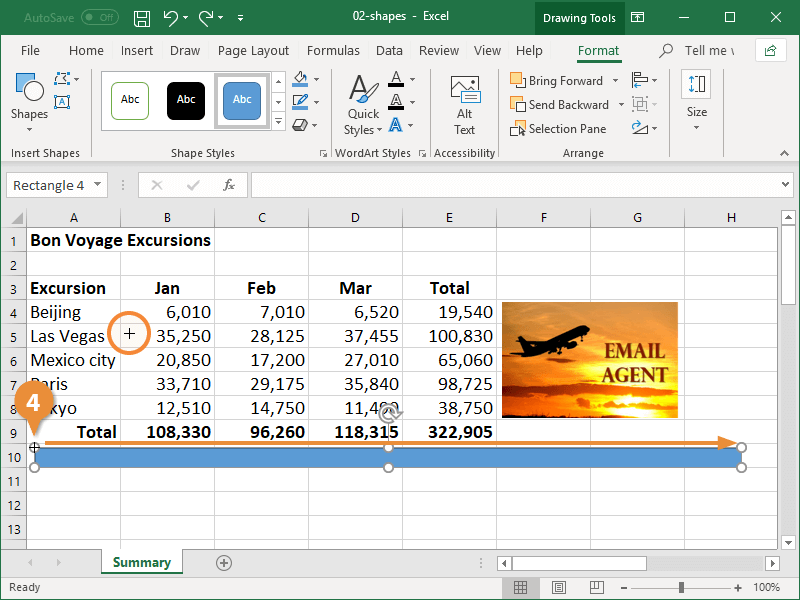
Some shapes have prominent features that can be adjusted; these shapes will have a yellow adjustment handle.
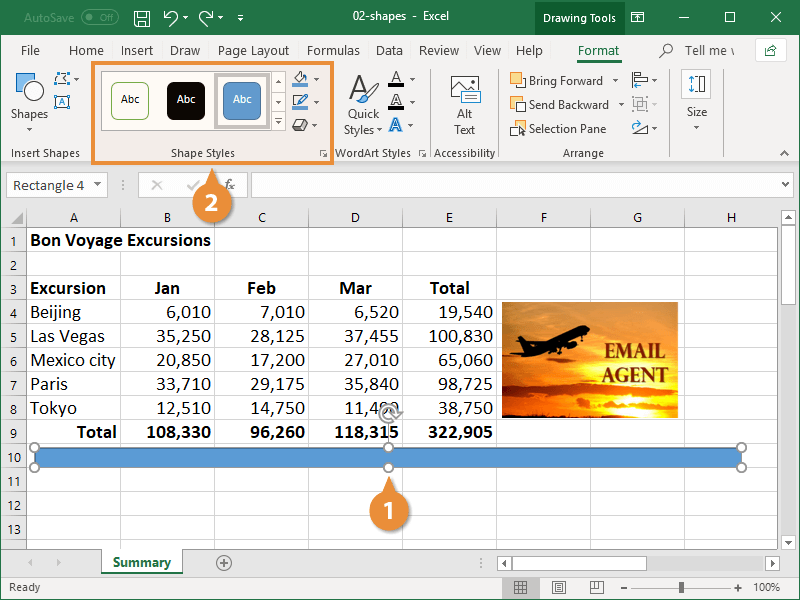
Format a Shape
Once you’ve added a shape, you can use the Format tab to change its style, fill, outline color, and effects.
- Select a shape.
When you select a shape, the Format tab in the Drawing Tools ribbon group becomes available. Double-click a shape to automatically switch to the Format tab.
- Use the Shape Style options on the Format tab to change the style, fill color, outline, or shape effects.
- Select a style from the Shape Styles gallery, or click the gallery’s More button to see all available styles.
- Select a shape fill color, weight, or dash pattern.
- Select a shape outline color to change the color of the selected shape. You can also fill it with a gradient, picture, or texture pattern.
- Apply various shape effects such as shadow, reflection, glow, bevel, and 3D rotation.
You can first apply a style from the gallery, and then adjust the fill, outline, and effects to customize it.