
Interactive Tutorial
How to Change Theme Font in Excel
Customize the Appearance of Your Workbook by Changing Theme Fonts in Excel for a Consistent Look
-
Learn by Doing
-
LMS Ready
-
Earn Certificates

Try this Course with a Free Trial
Excel has several built-in font sets that can be applied as a worksheet’s Theme Fonts. A font set consists of a Heading font and a Body font. Applying theme font sets helps you keep a consistent look and feel across different workbooks.
Apply a Theme Font Set
- Click the Page Layout tab.
- Click the Fonts button in the Themes group.
Each font set shows the coordinating Heading and Body fonts it contains. Any text using theme heading and body fonts will be updated.
- Select a Font Theme.
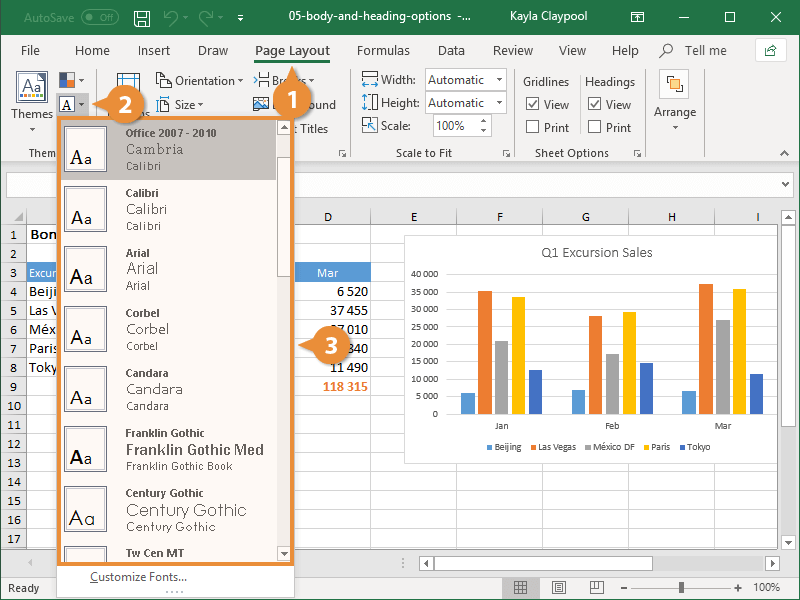
The text in the worksheet updates to use the new font set.
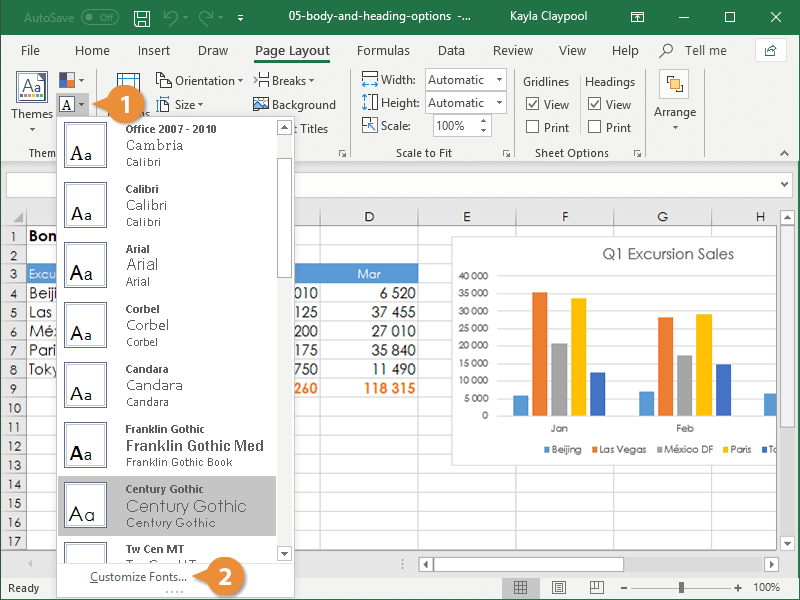
Create a Custom Font Set
If the built-in sets don't meet your needs, you can create a custom one. This can be especially helpful if oyu have specific company fonts that need to be used in your workbooks.
- On the Page Layout tab, click the Fonts button in the Themes group.
- Select Customize Fonts.
The Create New Theme Fonts dialog box opens, and you can specify your custom options.
- Set your Heading font.
- Set your Body font.
- Enter a Name for your font set.
- Click Save.
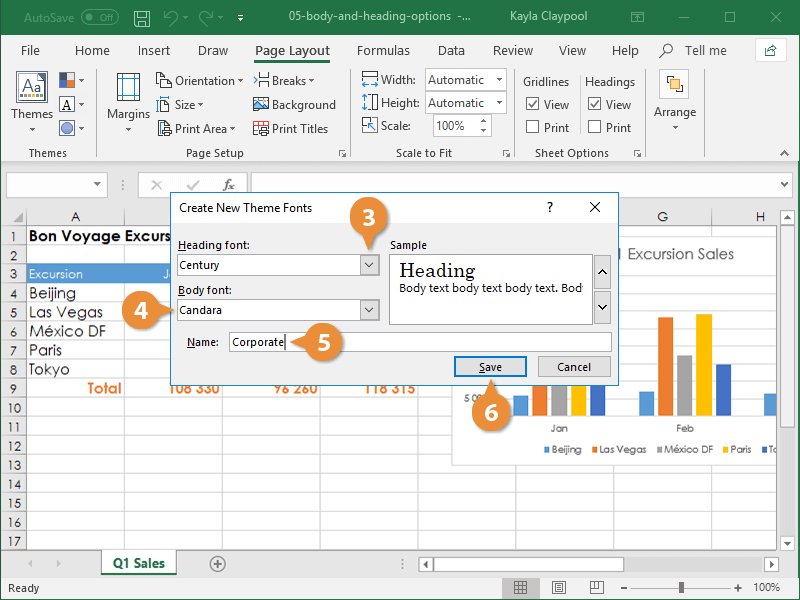
Once you’ve selected two fonts that look good in the preview and given the font set a name, you’re ready to save the font set.
The worksheet’s fonts update to reflect the custom font set. If you click the Fonts button again, you can see your font set in the Custom section. It’s also available in other workbooks and even other Office applications.