
Interactive Tutorial
Microsoft Teams Files
Share, Organize, and Collaborate on Documents in Microsoft Teams Files
-
Learn by Doing
-
LMS Ready
-
Earn Certificates

Try this Course with a Free Trial
Once you start sharing files with people and groups, it can be tricky to keep track of everything. Each chat and team has its own file library, but you can use the Files tab to see important files in one place.
Browse Files
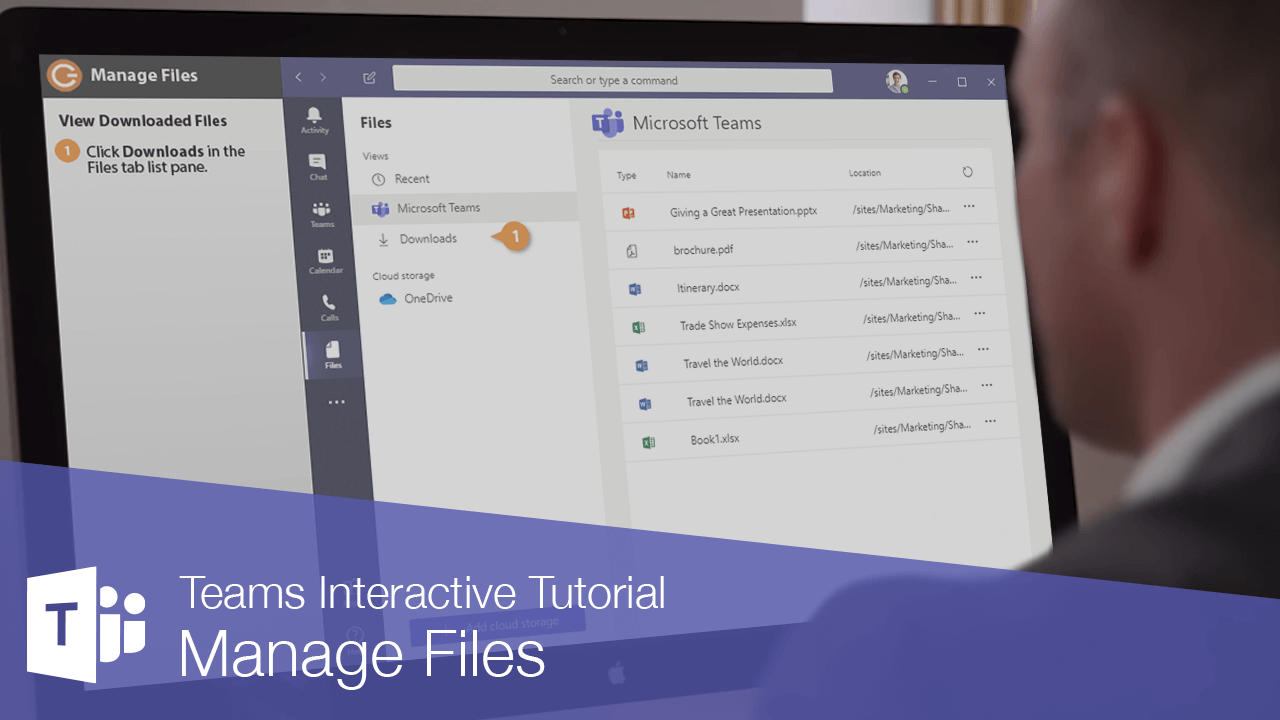
- Click Files on the App bar.
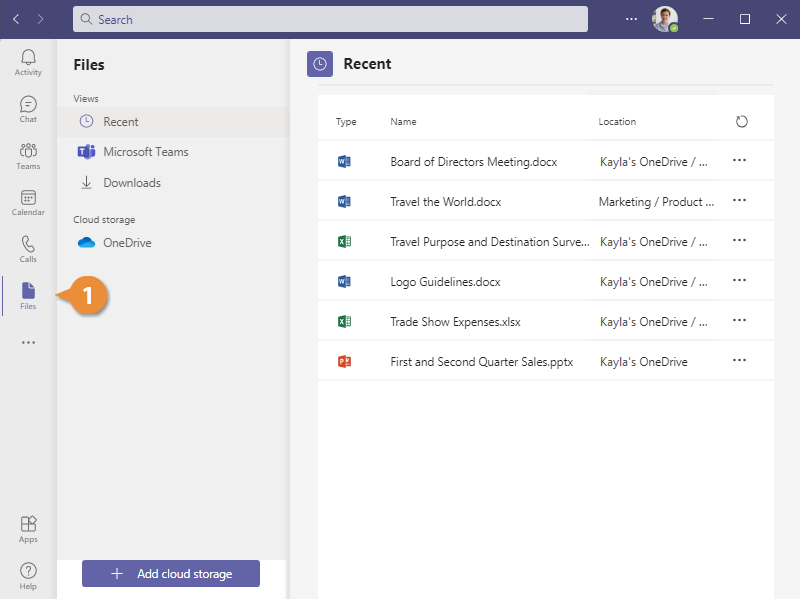
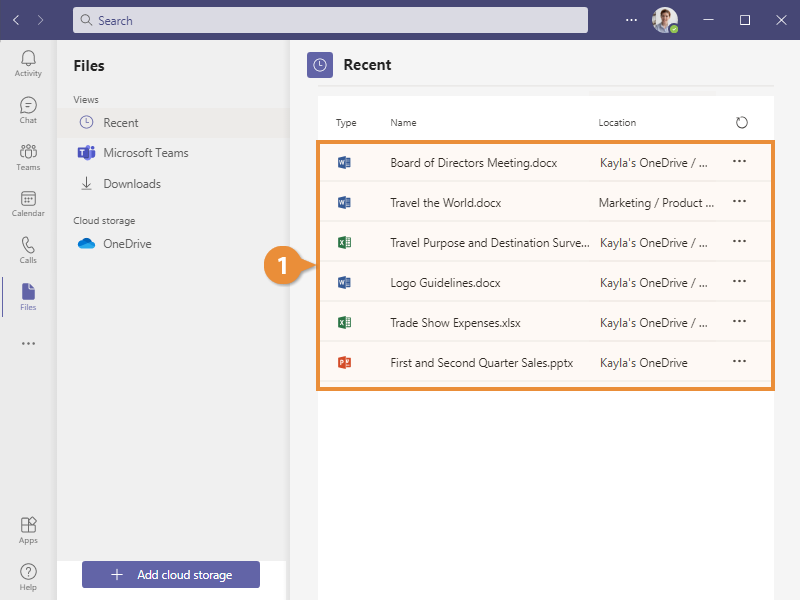
- Recent displays files that you’ve recently viewed.
- Microsoft Teams will show files that have been shared or created within the team channels you’re a member of.
- Downloads will show files that you’ve downloaded from Teams channels to your computer. This view also includes a button to open your computer’s Downloads folder.
- The options under the Cloud Storage heading will let you browse through any cloud storage services you’ve connected to Teams. By default, this includes your OneDrive, although you can add more, including Dropbox and Google Drive.
The Files tab opens. The List pane in this view displays files in several views.
View and Edit a File
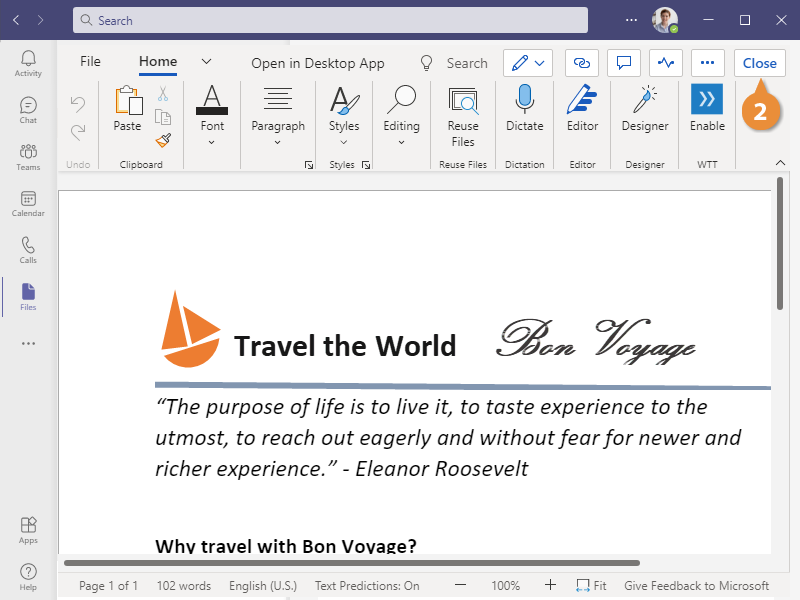
You will be able to view and edit some file types directly in the Teams window from the Files view. You can view images and PDF documents, and you can edit Word documents, Excel spreadsheets, and PowerPoint presentations.
- Click a file's name.
An instance of Word Online opens up right in the Teams window, allowing you to make changes to it.
- Click Close.
Since the file is stored online, any changes you make are automatically saved.
The document closes, and you return to the Files view.