
Interactive Tutorial
How to Zoom in on Excel
Learn How to Zoom In and Out in Excel to View Spreadsheets More Clearly and Improve Navigation
-
Learn by Doing
-
LMS Ready
-
Earn Certificates

Try this Course with a Free Trial
There are several ways to change how a workbook’s contents are displayed on a screen. You can also zoom in or out to view more or less of a worksheet at a time.
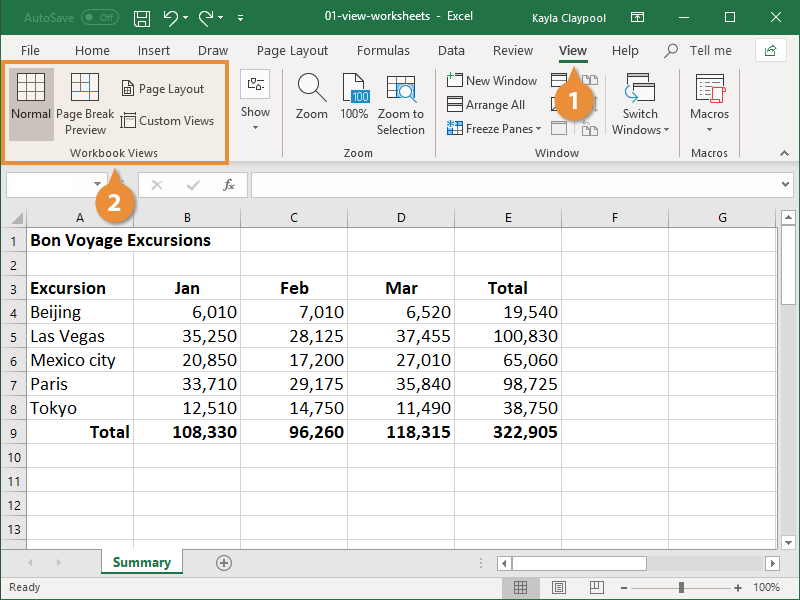
Change Worksheet Views
- Click the View tab on the ribbon.
- Click the button for the view you want to use in the Workbook Views group.
- Normal View: This is the default Excel view, and the one you’ll usually want to use when creating and editing workbooks. Row and column headers are displayed.
- Page Break Preview View: This view shows you where the page breaks will occur if you print the worksheet. This is helpful for making sure your data is laid out correctly to appear on the desired page(s).
- Page Layout View: Use this view to fine-tune a worksheet before printing, especially if it contains charts. You can edit the worksheet like it’s in Normal view, but you can also see the rulers, change page orientation, work with headers, footers and margins, and hide or display row or column headers.
You can click the button for the view you want to use in the status bar of the workbook window.
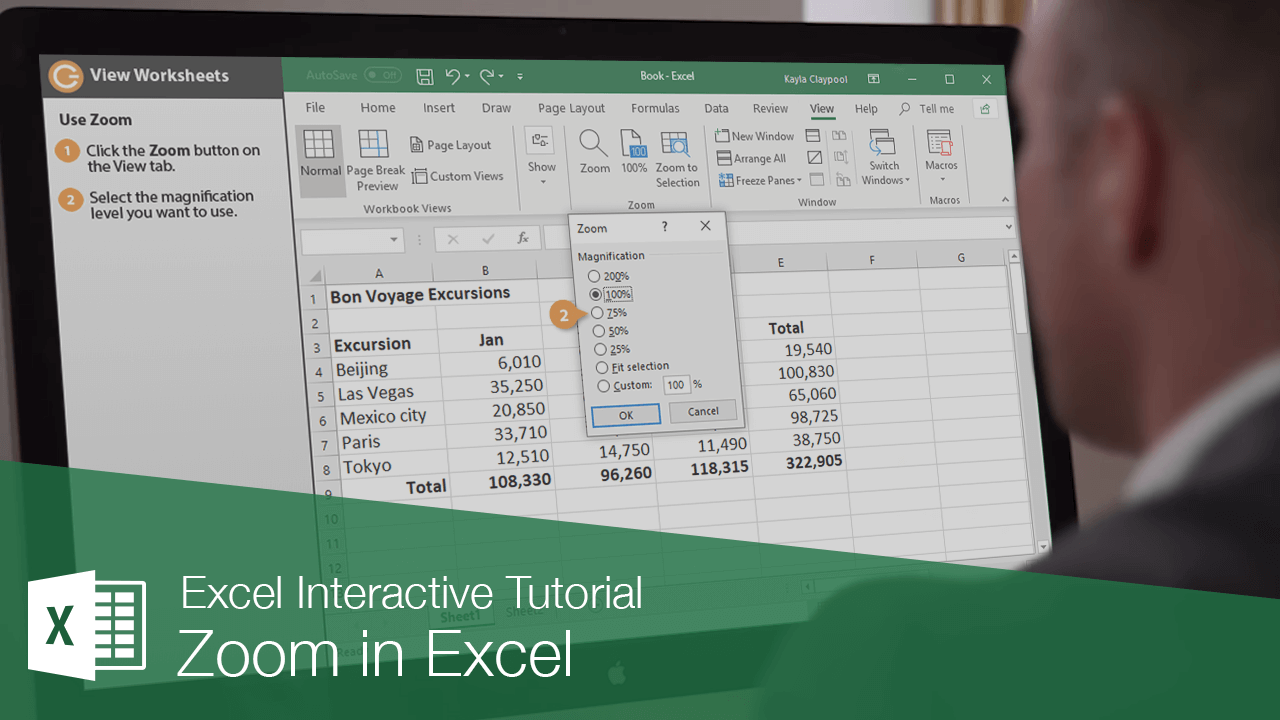
Use Zoom
Sometimes it is helpful to make a worksheet appear larger on the computer’s screen, especially if the computer has a small monitor. Or you may need to zoom out to see how the whole worksheet looks.
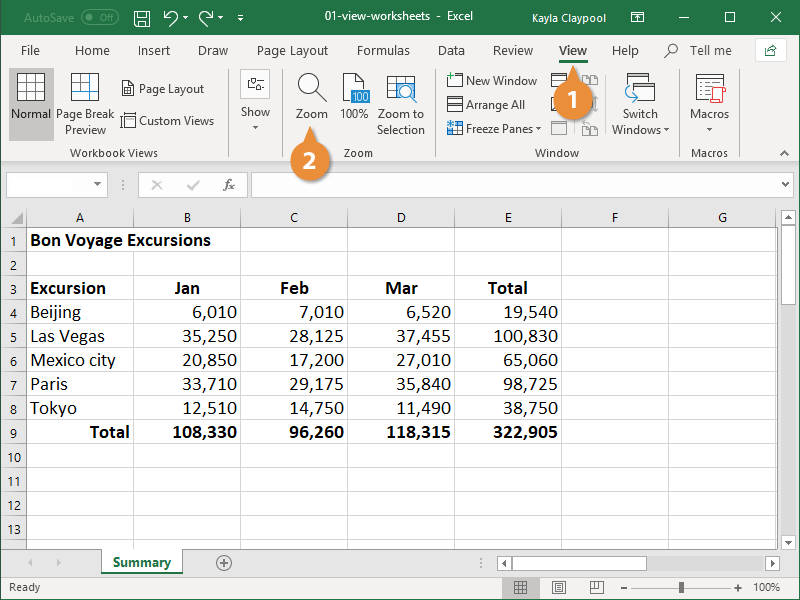
- Click the View tab.
- Click the Zoom button on the ribbon.
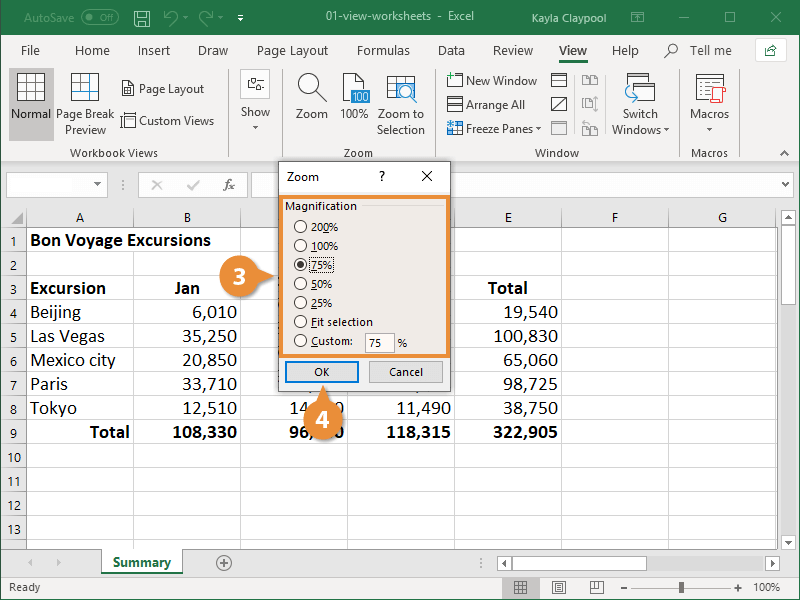
- Select the magnification level you want to use.
- Click OK.
You can also use the Zoom slider on the status bar to adjust the zoom level.