
Tutorial interactivo
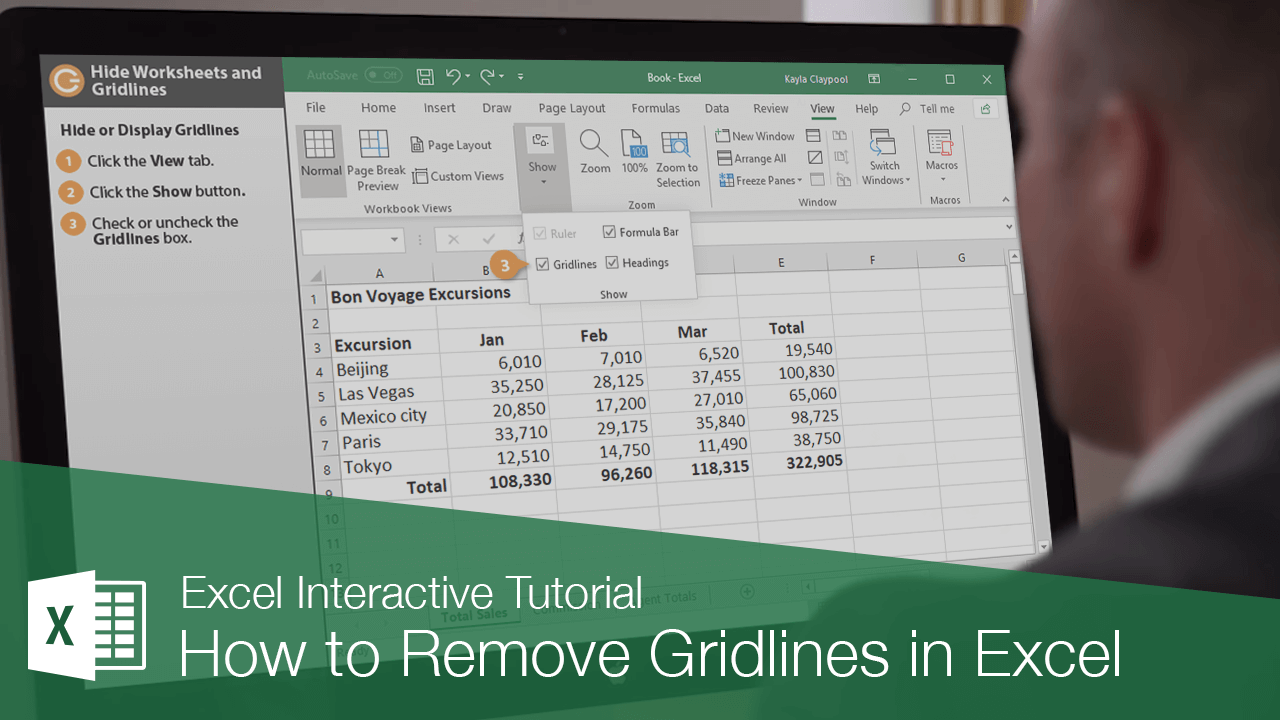
How to Remove Gridlines in Excel
Learn How to Remove or Hide Gridlines in Excel to Create Cleaner and More Professional Spreadsheets
-
Aprender haciendo
-
LMS listo
-
Obtenga certificados

Pruebe este curso con una prueba gratuita
If you have a workbook that you are going to show to others, you may want to hide certain worksheets so some information isn't visible. Hiding a worksheet doesn’t delete any data, it just hides the sheet from view temporarily.
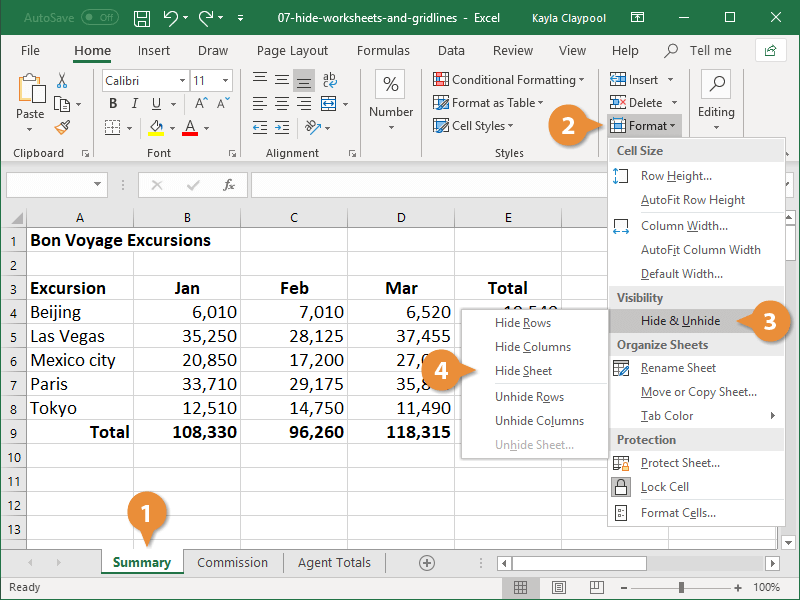
Hide a Worksheet
- Select the worksheet you want to hide.
- Click the Format button under the Home tab.
- Select Hide & Unhide.
- Select Hide Sheet.
You can also right-click a sheet tab and select Hide from the menu.
Excel hides the worksheet. Keep in mind, this doesn't protect the spreadsheet. Anyone with access to the file can easily unhide the sheet.
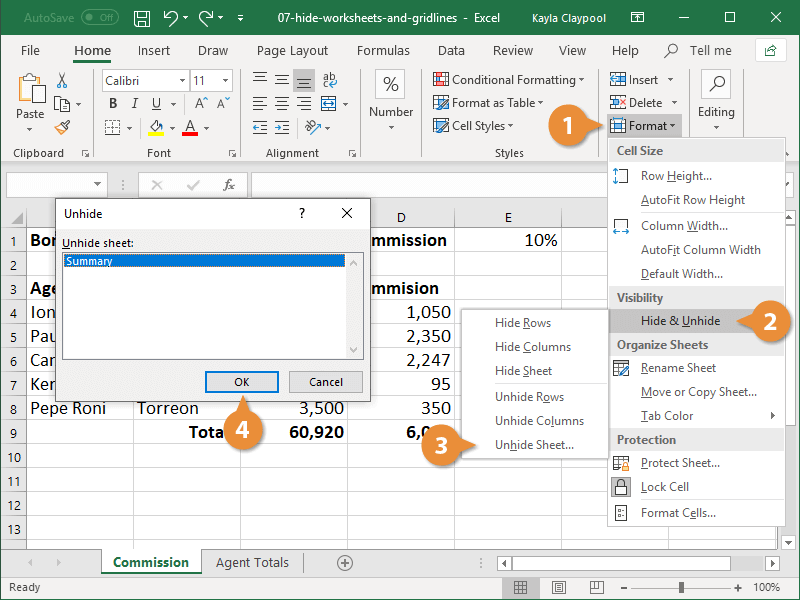
Unhide a Worksheet
- Click the Format button on the Home tab.
- Select Hide & Unhide.
- Select Unhide Sheet.
You can also right-click any sheet tab and select Unhide from the menu.
The Unhide dialog box appears where you can check for any hidden sheets in the file.
- Select the worksheet you want to unhide and click OK.
The worksheet is unhidden.
Hide or Display Worksheet Elements
The formula bar, worksheet gridlines, and headings are all on by default. Any of these items can be toggled on or off from the View tab.
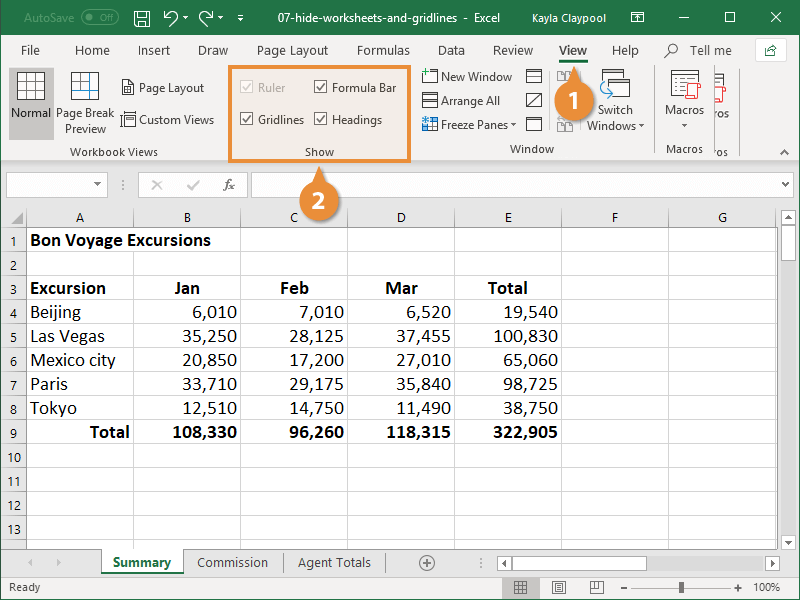
- Ruler: This option is only available in Page Layout view. The ruler allows you to see and set tab stops, move table borders, and line up objects in the spreadsheet.
- Formula Bar: With the formula bar turned on, you can see and edit formulas in a selected cell.
- Gridlines: These are the lines between the rows and columns in your worksheet that make it easier to read data.
- Headings: Show or hide the column headings (A, B, C, etc.) and row headings (1, 2, 3, etc.) in your workbook.