
Interactive Tutorial
How to Set Print Area in Excel
Set and Customize the Print Area in Excel to Print Specific Cells, Ranges, or Tables Accurately
-
Learn by Doing
-
LMS Ready
-
Earn Certificates

Try this Course with a Free Trial
Once you’ve created a worksheet, and your computer is connected to a printer, you can print a copy. Before you do this, it’s a good idea to preview how it’s going to look.
Preview and Print a Worksheet
You can preview and then print a worksheet as part of the same operation.
- Click the File tab.

- Select Print.
The Print tab is where you’ll find the print preview.
- Click Print.
Press Ctrl + P to quickly print a worksheet.
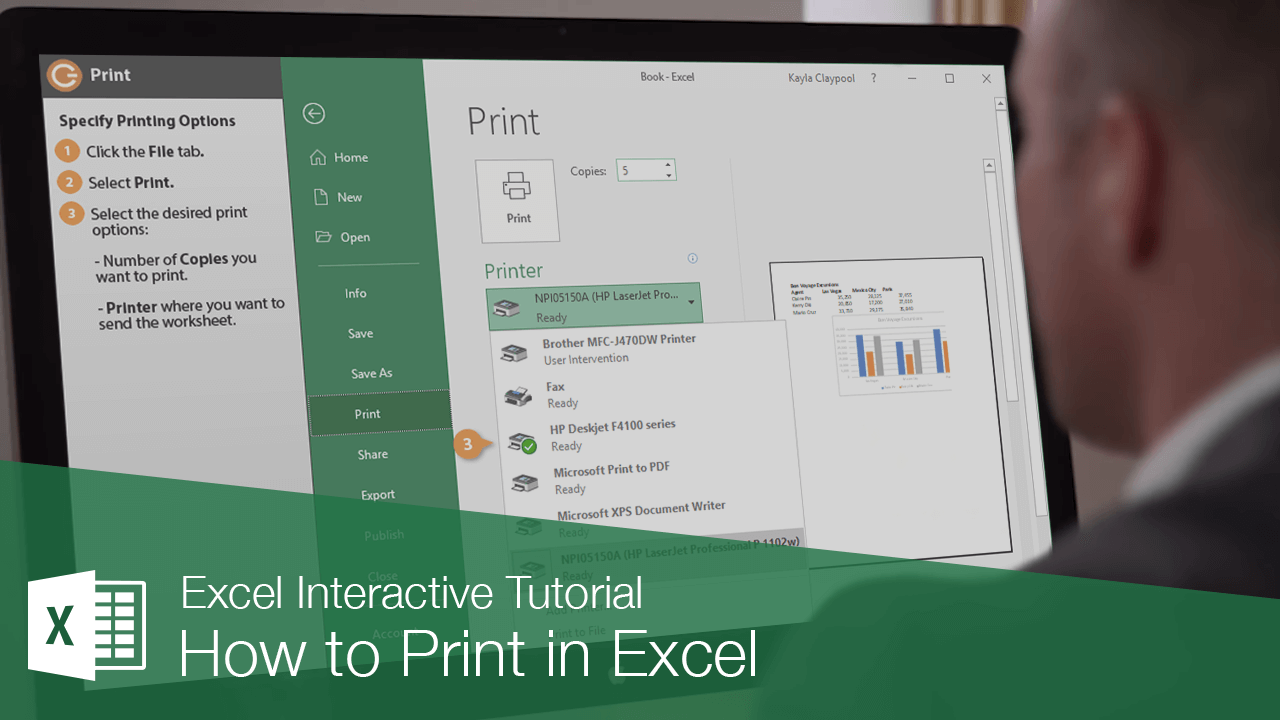
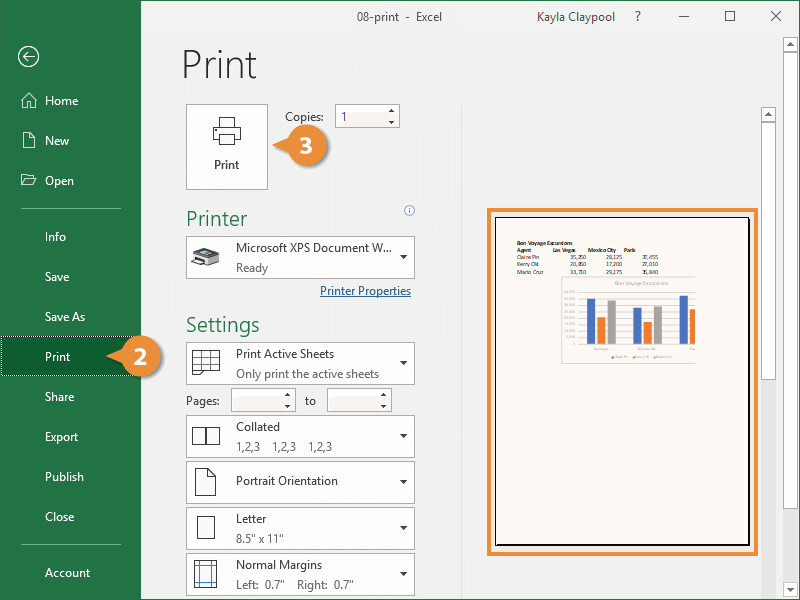
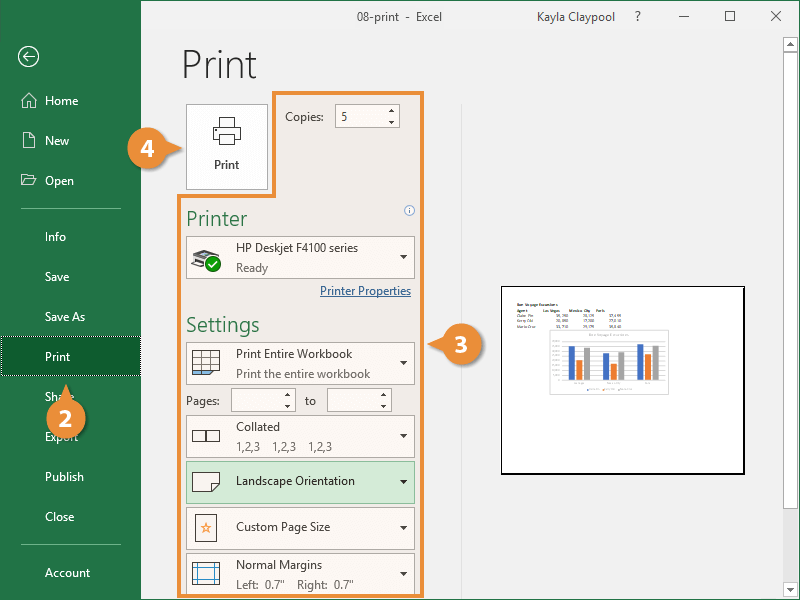
Specify Printing Options
Sometimes you will want to specify more printing options, such as the number of copies to print.
- Click the File tab.

- Select Print.
- Select the desired print options:
- Number of Copies you want to print.
- Printer where you want to send the worksheet.
- Print Area you want to print.
- Page Orientation
- Click Print.
Customizable Print Options
| Print Option | Description |
|---|---|
 |
Specify the number of copies you want to print. |
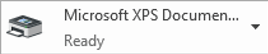 |
Select the printer you want to use (if you have more than one). |
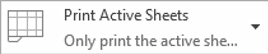 |
Print the active worksheet, the entire workbook, or a selection of cells. |
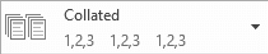 |
If you are printing multiple copies, you can select collation options. |
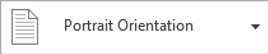 |
Select between portrait or landscape orientations. |
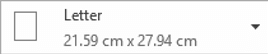 |
Select the paper size you want to print on. |
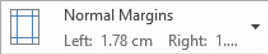 |
Adjust page margins. |
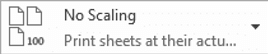 |
Reduce the print scale, to include more text on the printout. |