
Interactive Tutorial
How to Move Cells in Excel
Easily Move, Drag, and Reposition Cells in Excel to Keep Your Data Organized and Structured
-
Learn by Doing
-
LMS Ready
-
Earn Certificates

Try this Course with a Free Trial
While working on a worksheet, cells themselves may need to be inserted, moved, or deleted. When cells are changed and moved, the existing cells shift, along with their content, to adjust for the changes to adjacent cells.
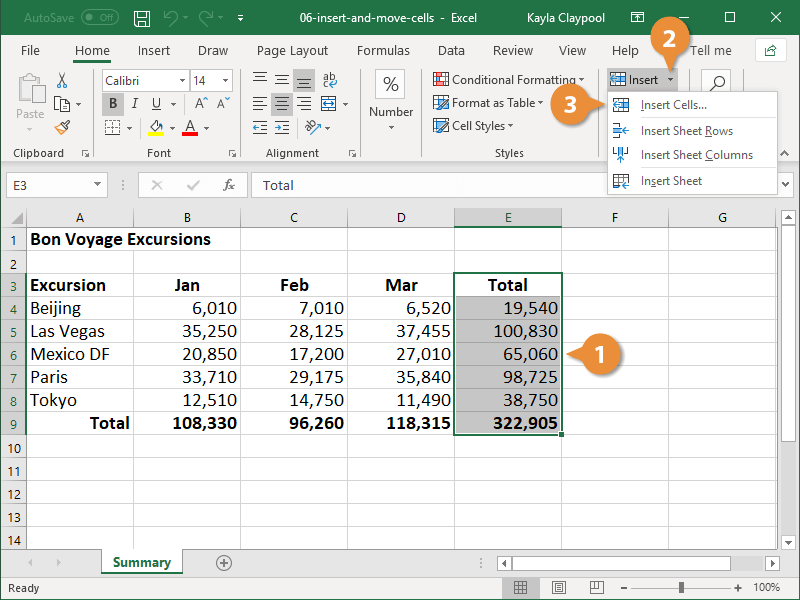
Insert Cells
First, you'll want to select the cells next to where you want the new ones.
- Select the cell or cell range where you want to insert the new cells.
- Click the Insert button list arrow.
- Select Insert Cells.
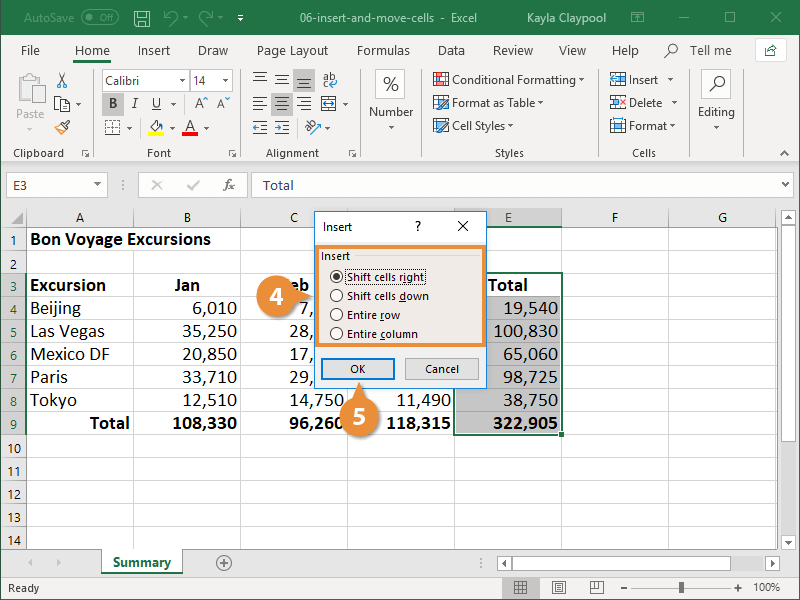
The Insert dialog box appears.
- Select how you want to move the adjacent cells:
- Shift cells right: Shift existing cells to the right.
- Shift cells down: Shift existing cells down.
- Entire row: Insert an entire row.
- Entire column: Insert an entire column.
- Click OK.
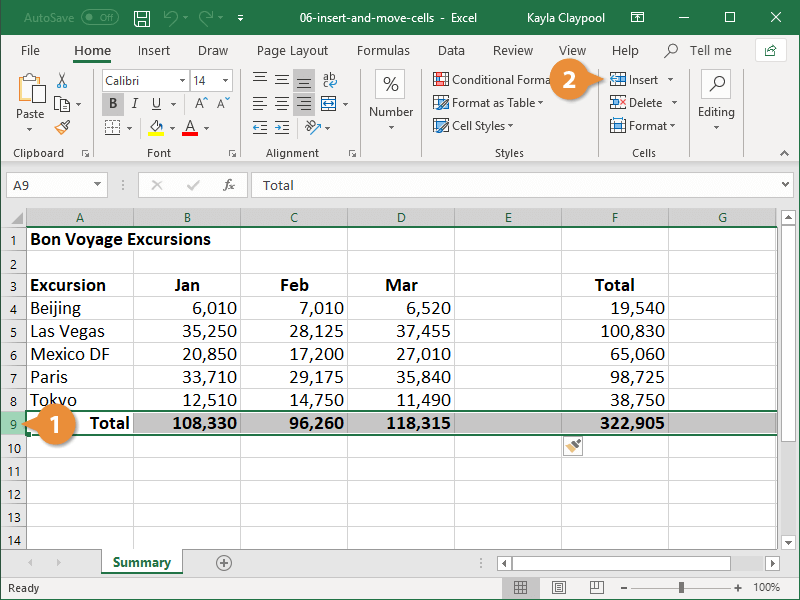
Right-click the selected cell(s) and select Insert from the contextual menu.
Blank cells are inserted and the existing ones move according to your selection.
Insert Rows or Columns
- Select the column or row heading next to where you want to insert new cells.
- Click the Insert button.
You can also right-click a row or column heading and select Insert from the contextual menu.
The row or column is inserted. Existing rows are shifted downward, while existing columns are shifted to the right.
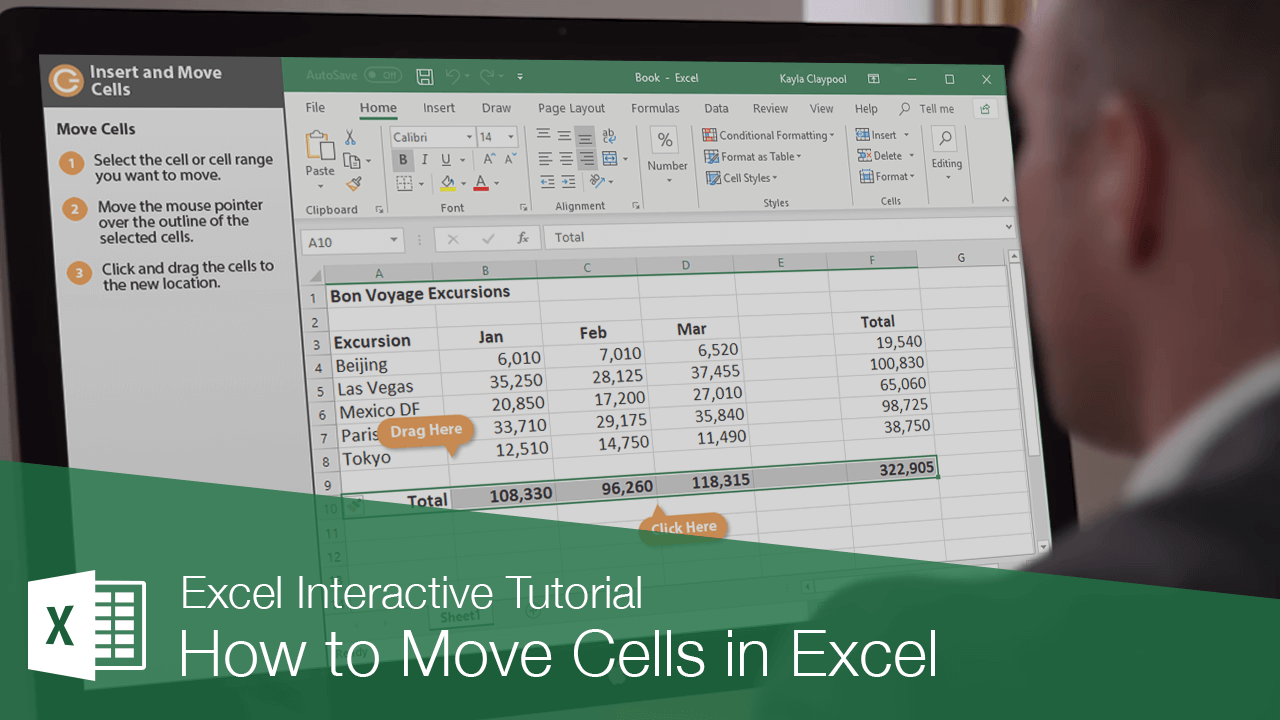
Move Cells
Now let's check out how to move cells to a different area of a spreadsheet.
- Select the cell or cell range you want to move.
- Move the mouse pointer over the outline of the selected cells.
- Click and drag the cells to the new location.
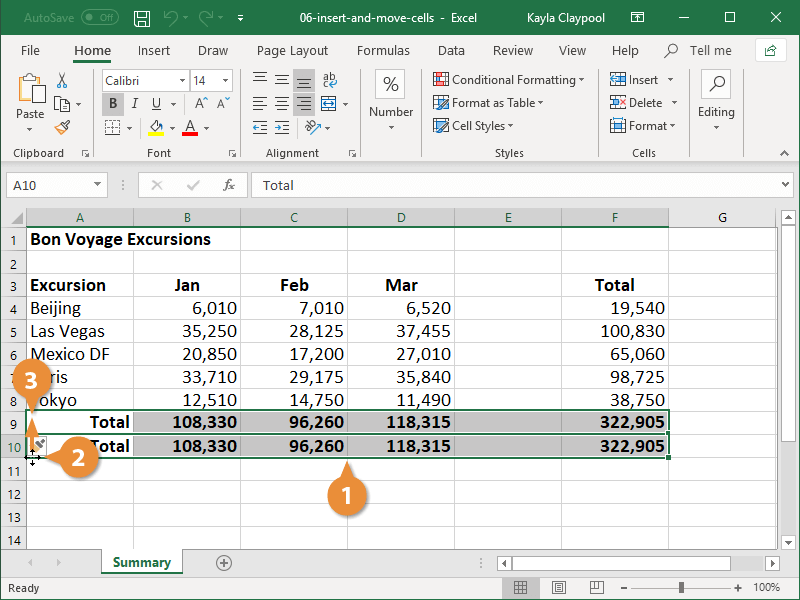
And the cells are moved.