
Interactive Tutorial
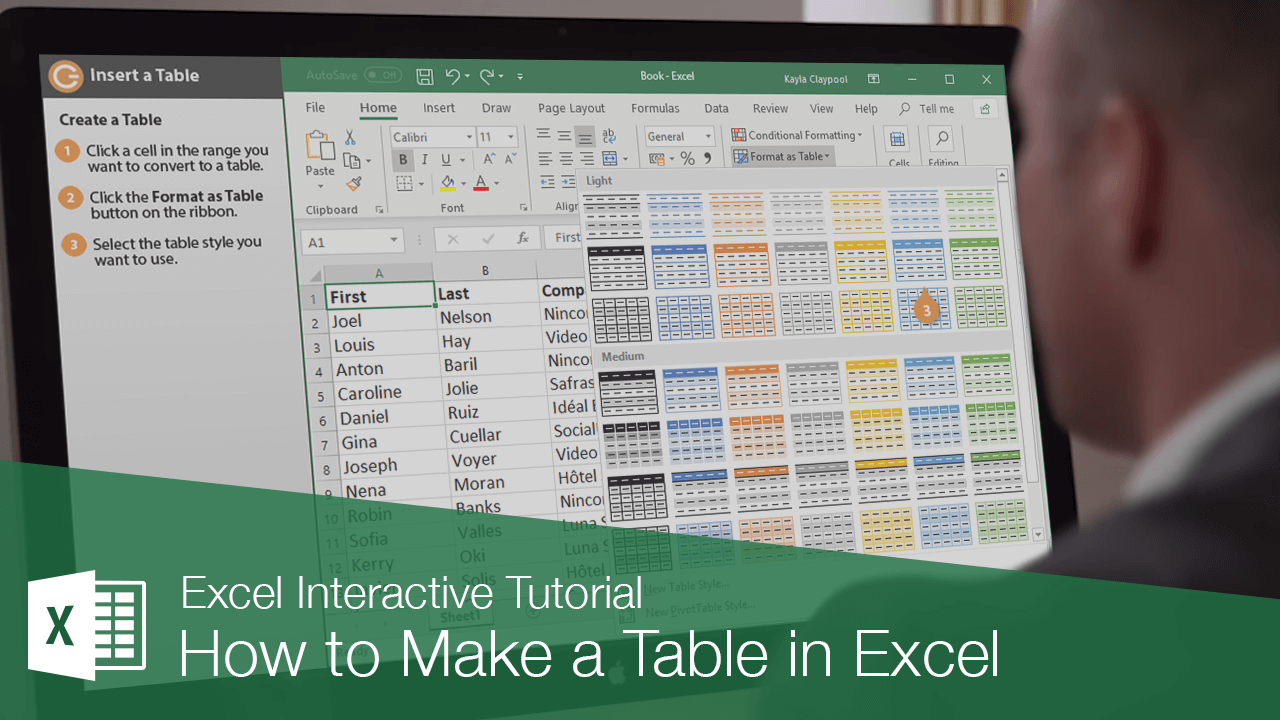
How to Create a Table in Excel
Create and Customize Tables in Excel to Easily Manage, Filter, and Analyze Your Data
-
Learn by Doing
-
LMS Ready
-
Earn Certificates

Try this Course with a Free Trial
By turning an Excel range into a table, you can work with the table data independently from the rest of the worksheet, and filter buttons appear automatically on the column headers, allowing you to filter and sort columns even faster. You can also add total rows and quickly apply table formatting.
Create a Table
If you already have an organized range of data, you can turn it into a table. Before turning a range of data into a table, remove blank rows and columns, and make sure that a single column doesn’t have different types of data within it.
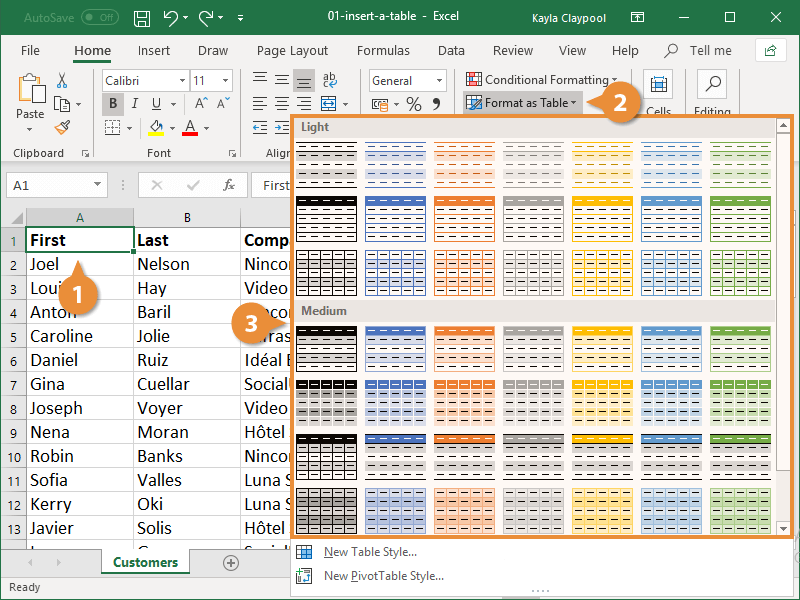
- Click a cell in the range you want to convert to a table.
- Click the Format as Table button on the Home tab.
- Select the table style you want to use.
You can also click the Insert tab on the Ribbon and click the Table button in the Tables group.
- Verify the data range includes all the cells you want to include in the table.
Make sure to specify whether the table has a header row. If it doesn’t, Excel will add a header row above the table data.
- Click OK.
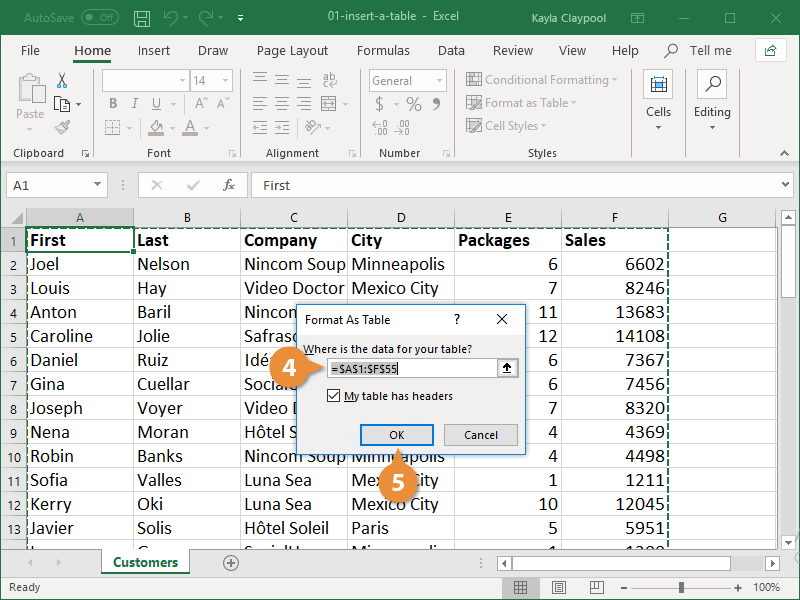
The table is created. Filters are added to each column and the table is automatically formatted. Under Table Tools on the Ribbon, the Design tab appears.
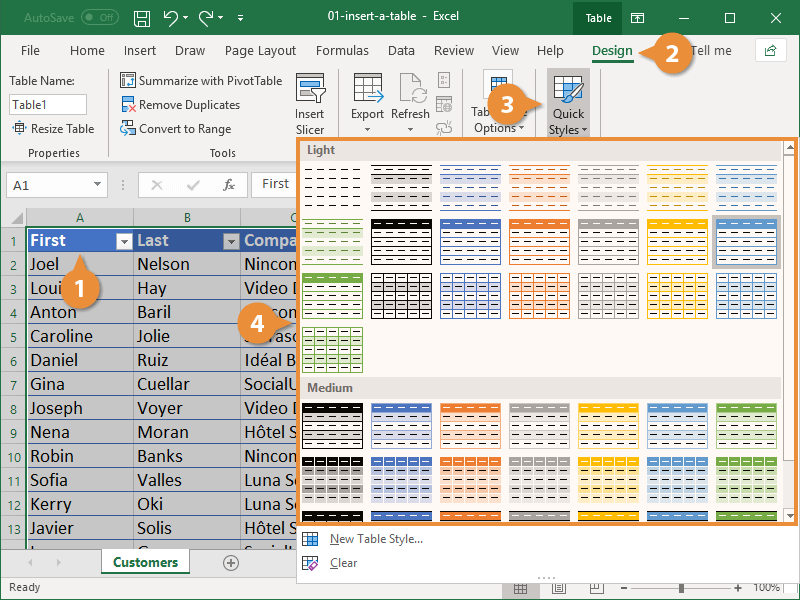
Apply a Table Style
You can change the appearance of a table at any time by applying a preset table formatting style.
- Click a cell in the table.
- Click the Design tab.
- Click the Quick Styles button from the Table Style group.
The table styles gallery appears. Here you can select styles from the Light, Medium, or Dark categories. You may need to scroll down the list to see the Dark category.
- Select a style.
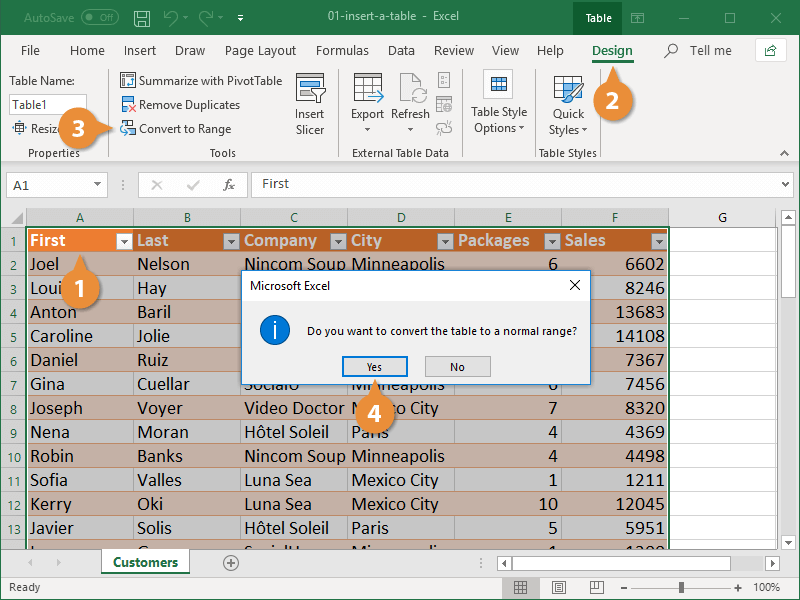
Convert to a Range
If a table is no longer needed, turn it back into a normal range of data.
- Click a cell in the table.
- Click the Design tab.
- Click the Convert to Range button.
- Click Yes.
Right-click a cell in the table and select Table, then Convert to Range from the contextual menu.
The table converts back to a normal range of cells, but the table formatting is still applied.
If you don’t want the table formatting to be applied, click the Quick Styles button on the Design tab and select None before converting the table to a range.