
Interactive Tutorial
How to Add a Total Row to a Table in Excel
Easily Insert a Total Row in Excel Tables to Automatically Sum, Average, and Analyze Your Data
-
Learn by Doing
-
LMS Ready
-
Earn Certificates

Try this Course with a Free Trial
Even after a table is created, you can add additional rows and columns. Whether you add new cells within the current range or adjacent to the table, they will automatically be formatted to match the current table style.
Insert a Row or Column Adjacent to the Table
- Click in a blank cell next to the table.
- Type a cell value.
- Click anywhere outside the cell or press the Enter key to add the value.
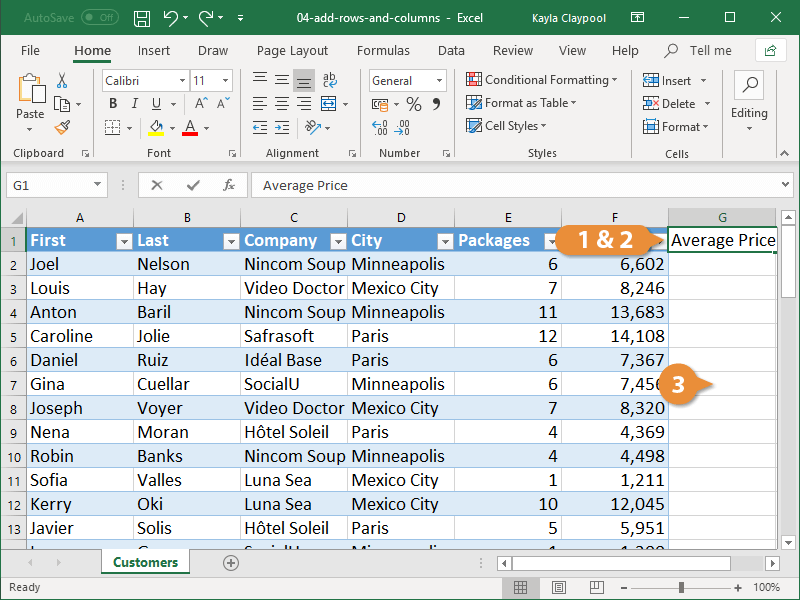
The new row or column is added to the table and the table formatting is applied.
When a formula is entered in a blank column of a table, the formula automatically fills the rest of the column, without using the AutoFill feature. If rows are added to the column, the formula appears in those rows as well.
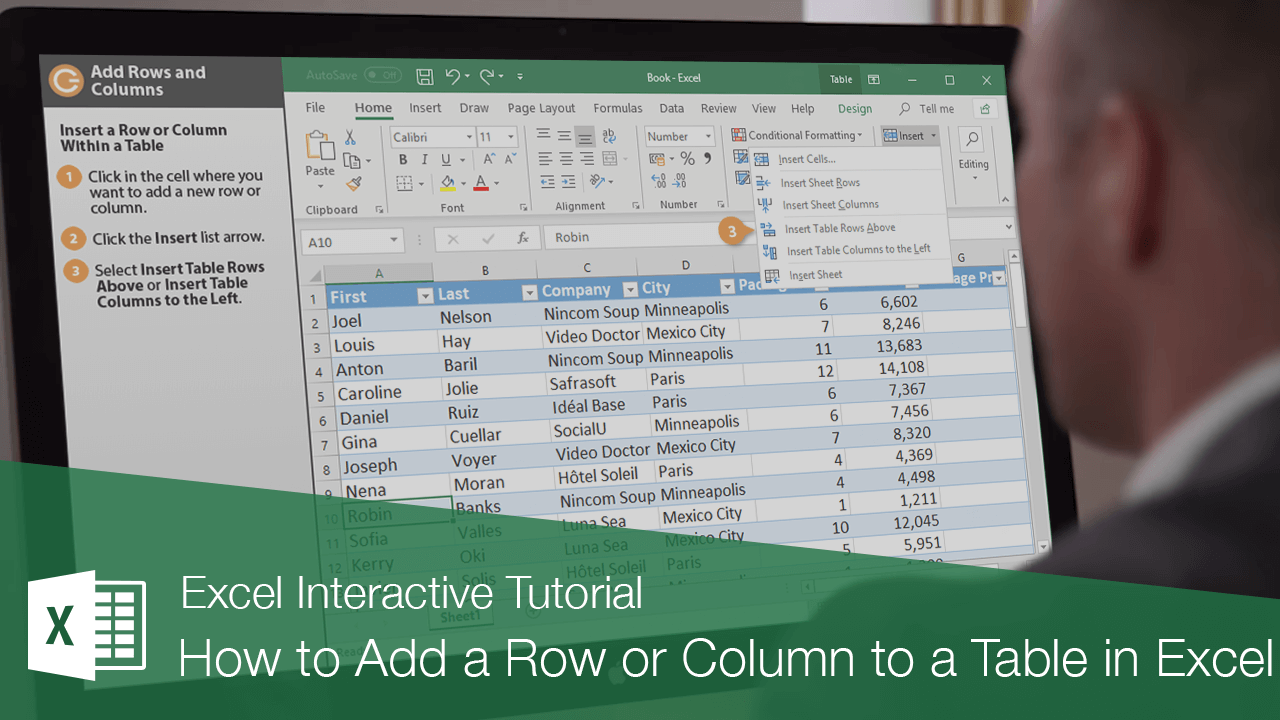
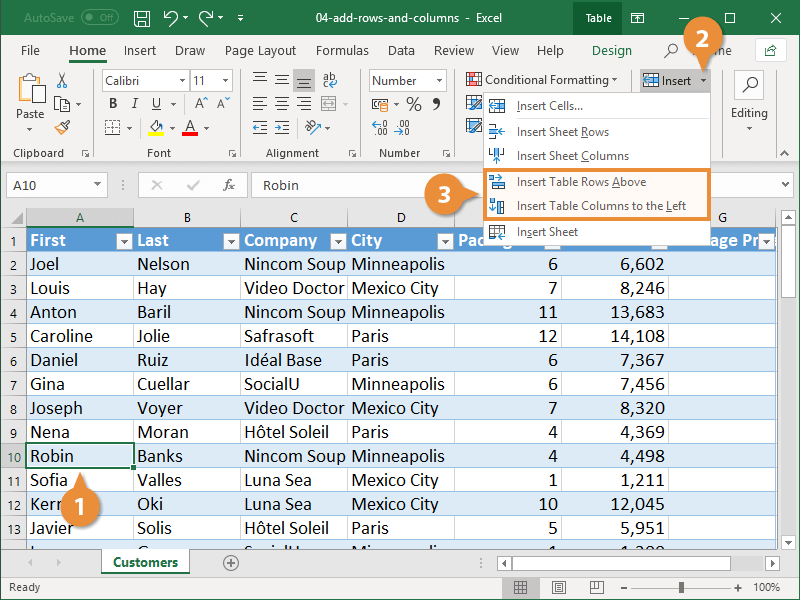
Insert a Row or Column within a Table
- Select a cell in the table row or column next to where you want to add the row or column.
Insert options aren’t available if you select a column header.
- Click the Insert list arrow on the Home tab.
- Select an insert table option.
- Insert Table Rows Above: Inserts a new row above the select cell.
- Insert Table Columns to the Left: Inserts a new column to the left of the selected cell.
Right-click a row or column next to where you want to add data, point to Insert in the menu, and select an insertion option.
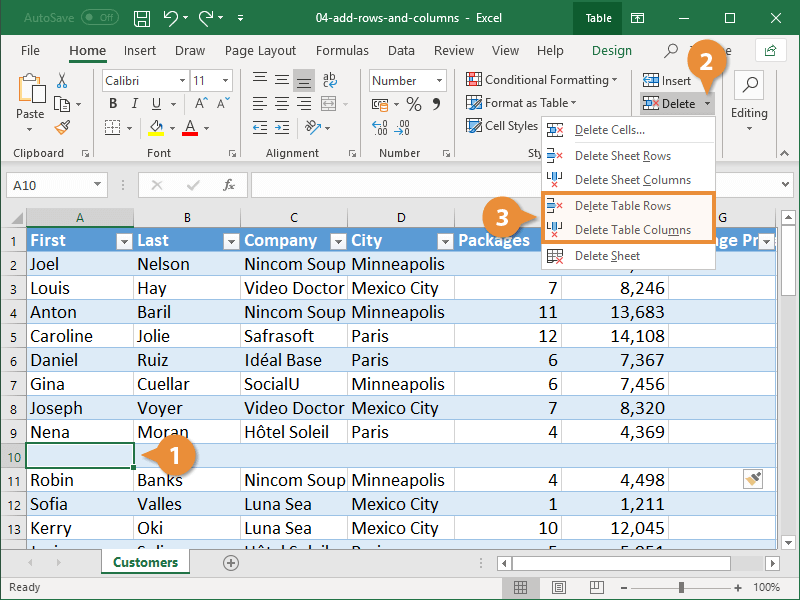
Delete Rows and Columns
You can also remove unwanted table rows and columns by deleting them.
- Select a cell in the row or column you want to delete.
- Click the Delete list arrow.
- Select Delete Table Rows or Delete Table Columns.
Right-click the row or column you want to delete, point to Delete in the menu, and select Table Columns or Table Rows.
The selected row(s) or column(s) and all the data in them are deleted.