
Interactive Tutorial
Data Validation Excel
Learn How to Use Data Validation in Excel to Control Cell Entries and Prevent Input Errors
-
Learn by Doing
-
LMS Ready
-
Earn Certificates

Try this Course with a Free Trial
You can help users enter accurate and appropriate information into your worksheets with Excel’s Data Validation feature. Data validation restricts the type of information that can be entered in a cell and can provide the user with instructions for entering information in a cell.
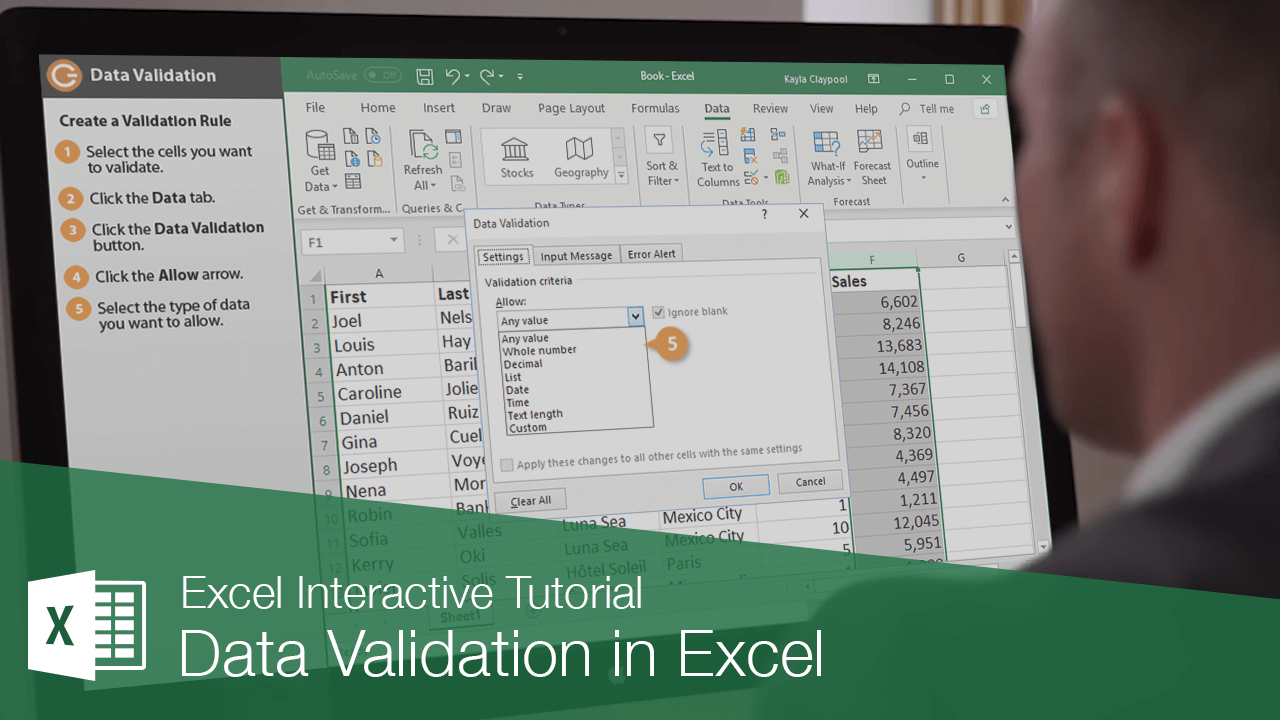
Create a Validation Rule
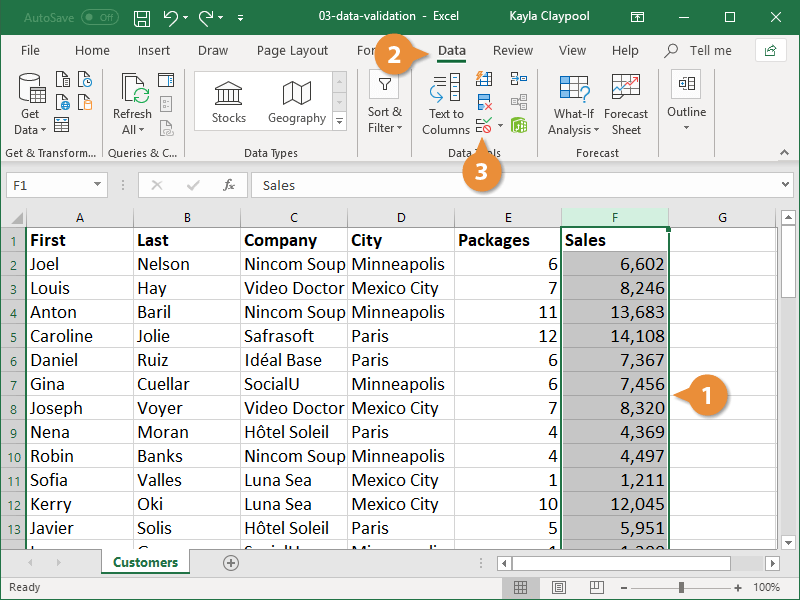
- Select the cells you want to validate.
- Click the Data tab.
- Click the Data Validation button.
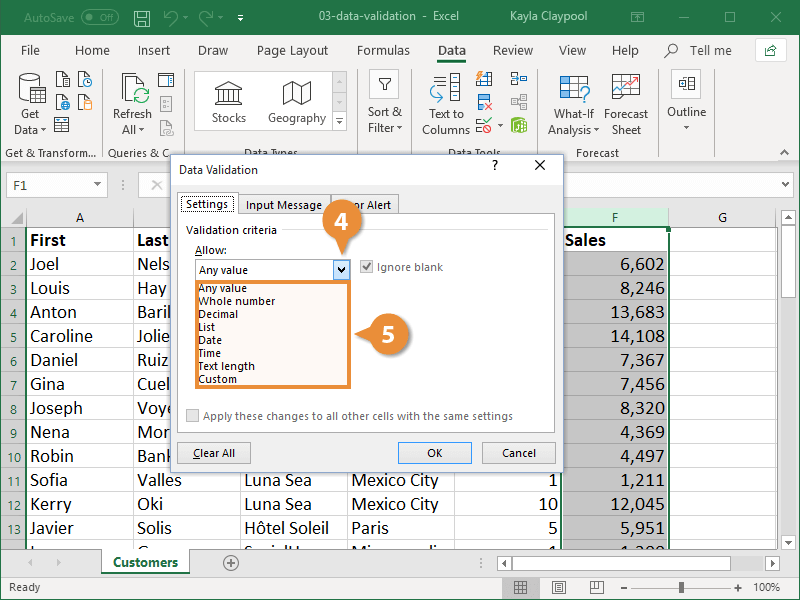
- Click the Allow list arrow.
- Select the type of data you want to allow.
- Any value: No validation criteria applied.
- Whole number: Allows a whole number between the minimum and maximum limits set.
- Decimal: Allows a decimal or a percent entered as a decimal between the set limits.
- List: Allows a value from a list of choices. A list arrow appears in the cell, and users can choose from the list.
- Date: Allows a date within set limits.
- Time: Allows a time within set limits.
- Text length: Allows text containing a certain number of characters.
- Custom: Allows a formula to be entered to calculate what is allowed in the cell.
- Specify the data validation rules.
The validation options will vary depending on the option selected in the Allow field.
- Click OK.

The data validation is set for the selected cell(s). When a user tries to enter data that is not valid, Excel will prevent the entry and display a message about the cell being restricted.
To find validated data in a worksheet, click the Find & Select button in the Editing group on the Home tab and select Data Validation. The validated cells are highlighted.
Add Input and Error Messages
Prevent data validation issues by setting up Excel to display a message whenever a cell or range of cells is selected. These messages are useful when other people will be entering data in your worksheet. An error message can be configured to appear when data is entered that does not match a data validation rule.
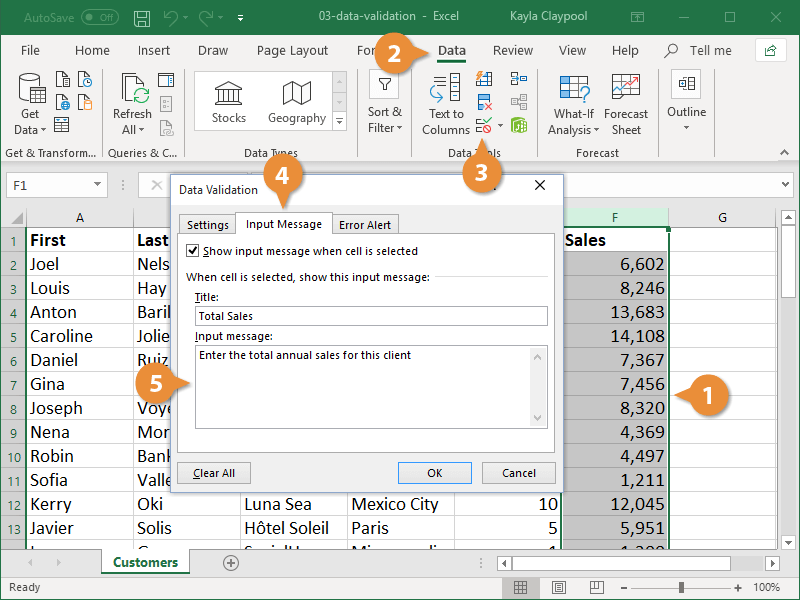
- Select the cells where you want an input message to appear.
- Click the Data tab.
- Click the Data Validation button.
- Click the Input Message tab.
- Enter an input message.
- Click the Error Alert tab.
- Select an error alert style.
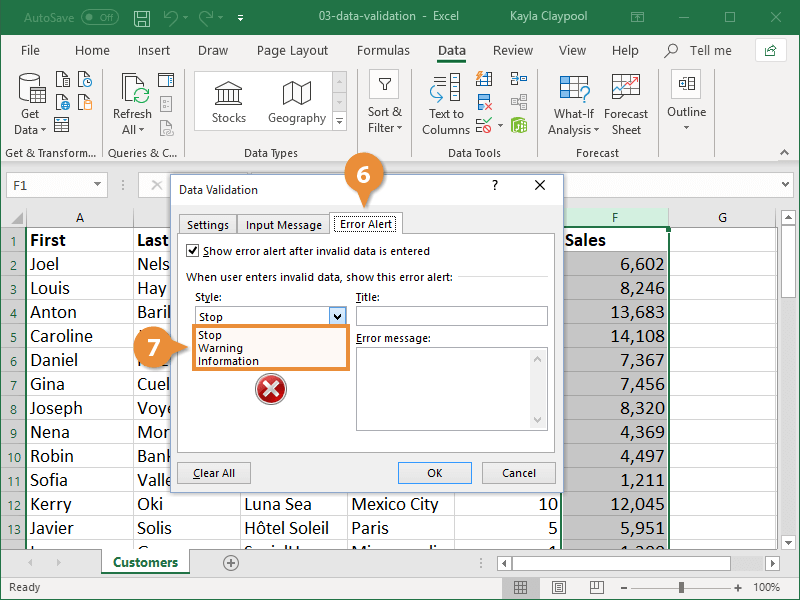
- Stop: Prevents users from adding invalid data in a cell.
- Warning: Warns that the data entered is invalid, but users can click Yes to accept the invalid entry, No to edit it, or Cancel to remove it.
- Information: Informs users that the data entered is invalid, but users can click OK to accept the invalid entry or Cancel to remove it.
- Enter an error alert message.
- Click OK.
- Select a cell with an input message.
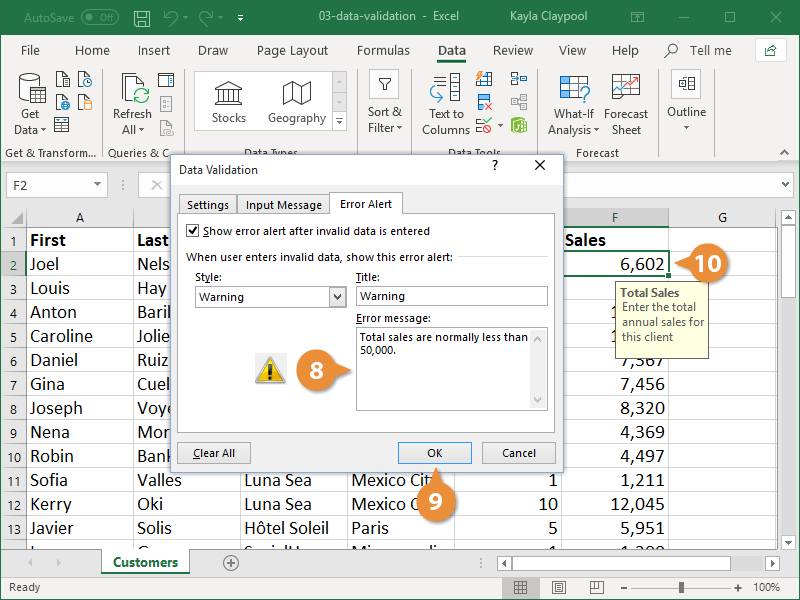
Now when a cell in the range is selected, the title and message display. If you enter an invalid value, a custom error message appears.