
Interactive Tutorial
Table of Contents in Word
Create, Update, and Customize a Table of Contents in Word for Easy Document Navigation
-
Learn by Doing
-
LMS Ready
-
Earn Certificates

Try this Course with a Free Trial

Word can generate a table of contents for your document based on the document’s heading styles. For example, paragraphs formatted with the Heading 1 style would be main headings in the table of contents, paragraphs formatted with the Heading 2 style would be subheadings, and so on.
Insert a Table of Contents
A table of contents can take up a lot of space. The best place for a table of contents is a blank page, near the beginning of a document.
- Click in the document where you want to insert a Table of Contents.
- Click the References tab on the ribbon.
- Click the Table of Contents button.
- Select a table of contents style.
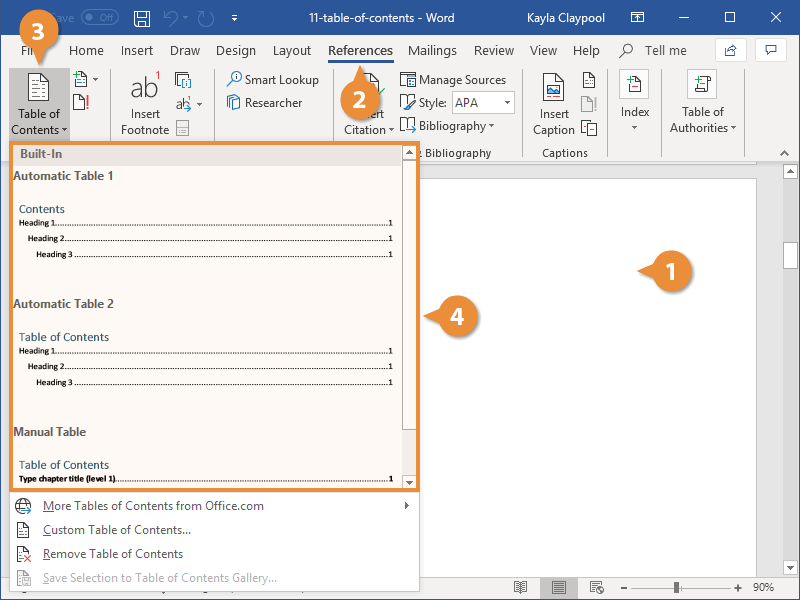
A gallery of built-in styles appears. You can select one of these, browse for more tables of contents on Office.com, or create a custom table of contents style.
The table of contents is inserted, listing all the headings in the document in outline order, as well as the page number that each heading appears on.
Customize a Table of Contents
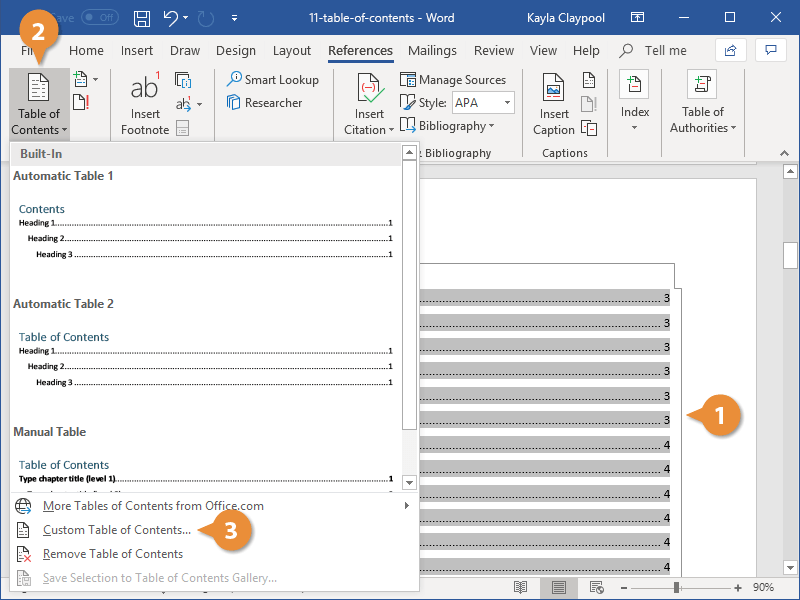
If one of the built-in templates isn’t quite what you’re looking for, you can customize a table of contents.
- Click anywhere in the table of contents.
- Click the Table of Contents button.
- Select Custom Table of Contents.
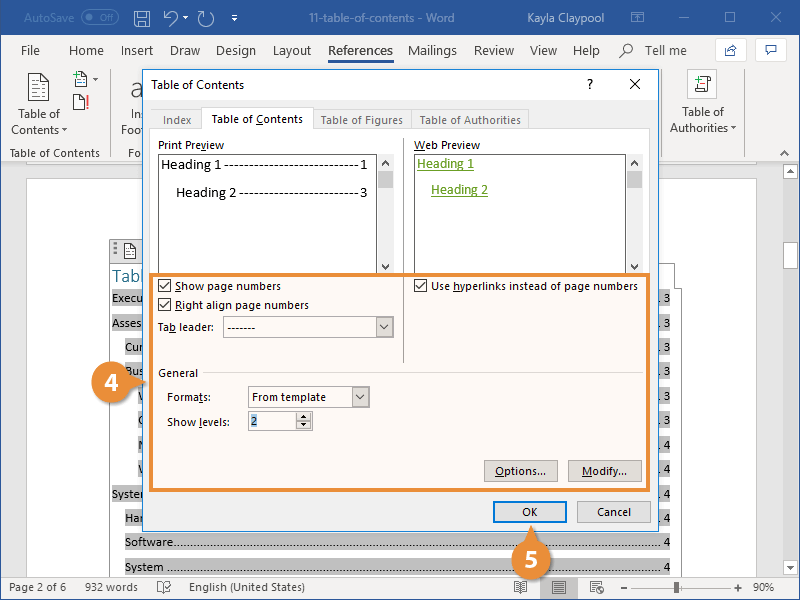
- Customize the appearance of the table of contents.
- Click OK.
- Click OK.
A dialog box opens, with options to customize the appearance and behavior of the table of contents.
You have the option to toggle whether page numbers appear and whether those page numbers are right-aligned, as well as specify what sort of tab leader appears between the heading text and the page number.
You can also select whether the table of contents uses the current document’s theme, or select another theme from the Formats list.
Finally, you can adjust how many outline levels deep the table of contents should go.
As you adjust the table of contents options, the previews update to show you how the table of contents will appear.
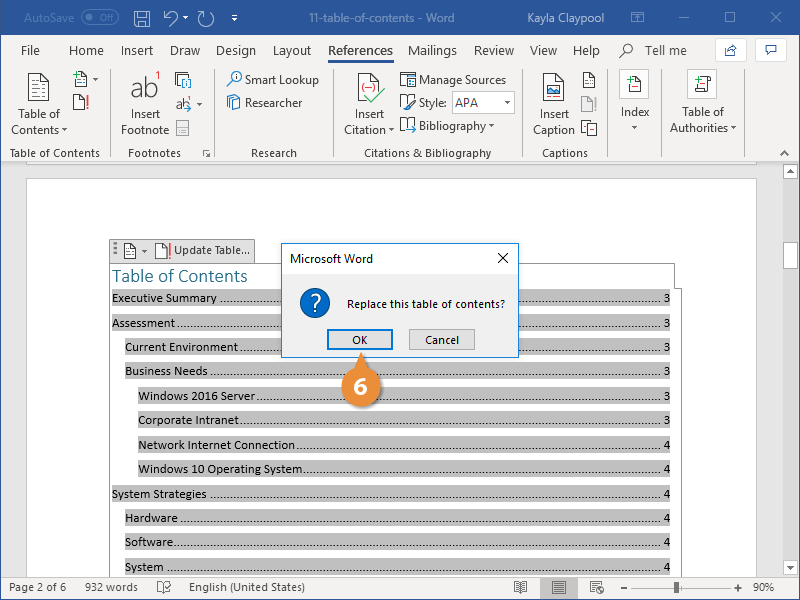
If you’re customizing an existing table of contents, you’ll need to confirm the changes that you’ve made.
The table of contents is replaced by the table that you customized.
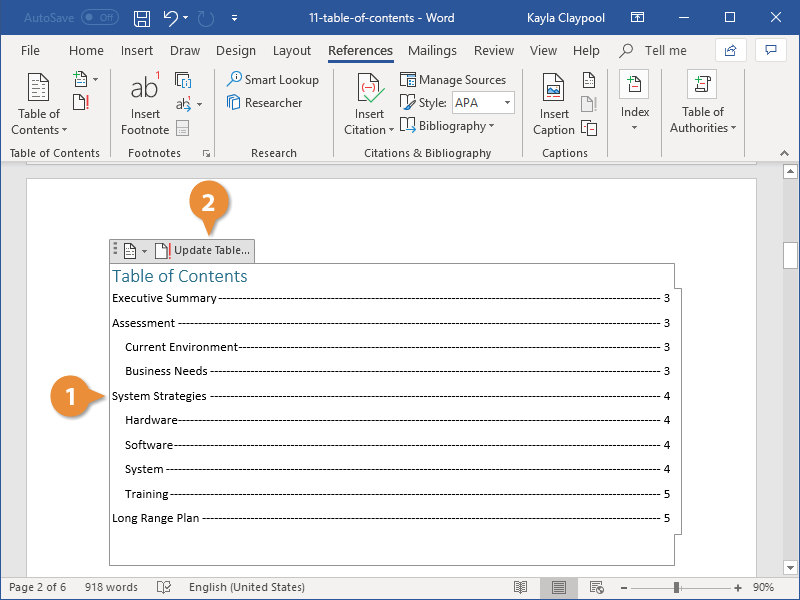
Update a Table of Contents
If the content of the document changes, you will need to update the table of contents to include new or changed information.
- Click inside the table of contents.
- Click Update Table button.
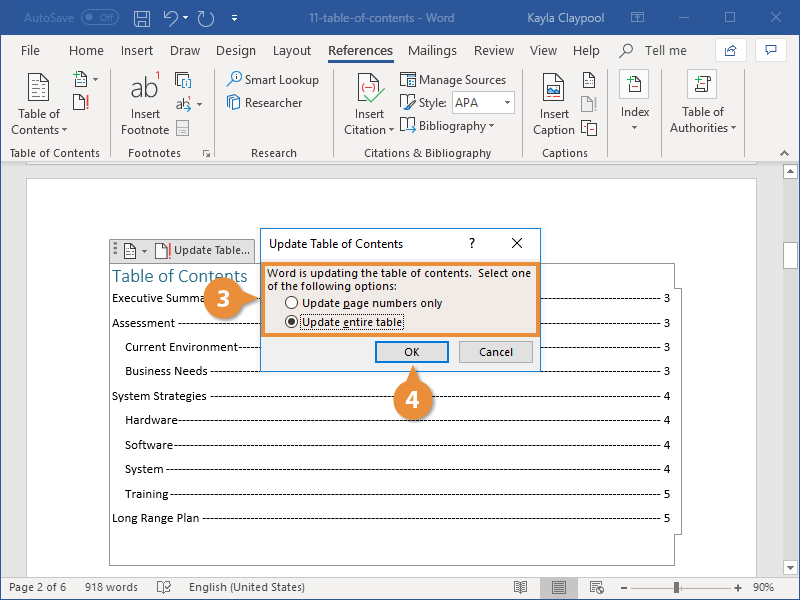
- Select what you want to update:
- Update page numbers only: This option will update page numbers, but not headings. Use this option if you’ve added text to sections, but haven’t added new headings or reordered existing ones.
- Update entire table: This option will update both headings and page numbers. Use this option if you’ve added new headings or reordered existing ones.
- Click OK
When the table of contents is selected, tabs will appear above it with options to change or update the table.
A dialog box will open, asking how you want to update the table.
The table of contents is updated to reflect the changes in the document.