
Interactive Tutorial
How to Create an Index in Word
Mark Entries and Generate an Index in Word to Help Readers Find Information Quickly
-
Learn by Doing
-
LMS Ready
-
Earn Certificates

Try this Course with a Free Trial
An index can usually be found at the end of a document, listing the key words and phrases in a document, along with the page numbers they appear on. There are two steps involved in creating an index: defining which words you want to appear in the index and then inserting the index.
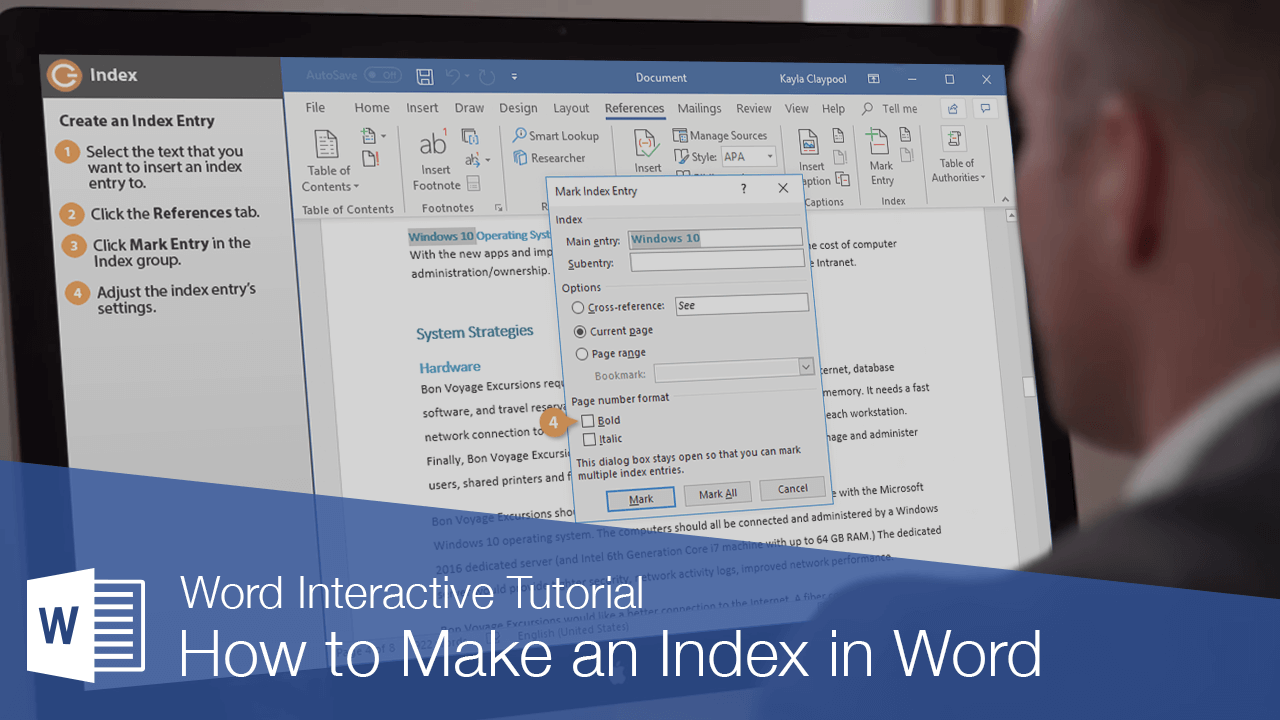
Insert an Index Entry
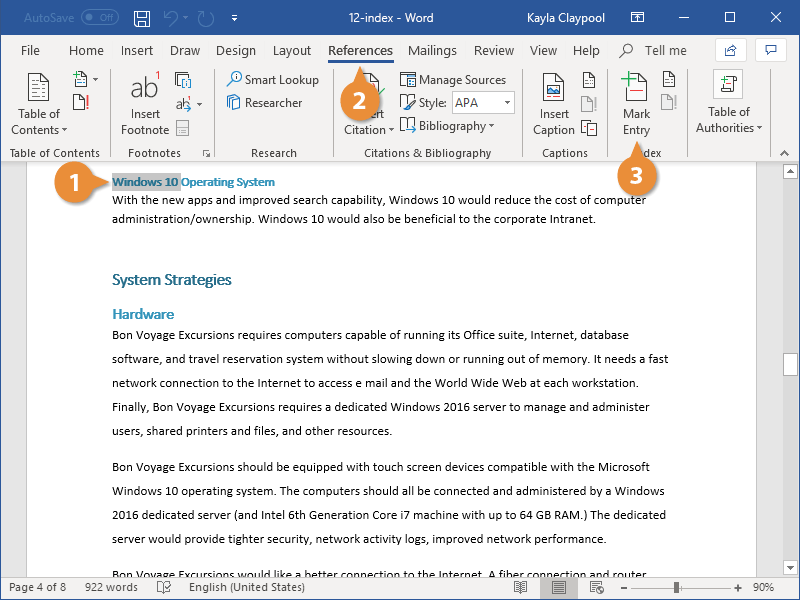
- Select the text you want to include in the index.
- Click the References tab.
- Click the Mark Entry in the Index group.
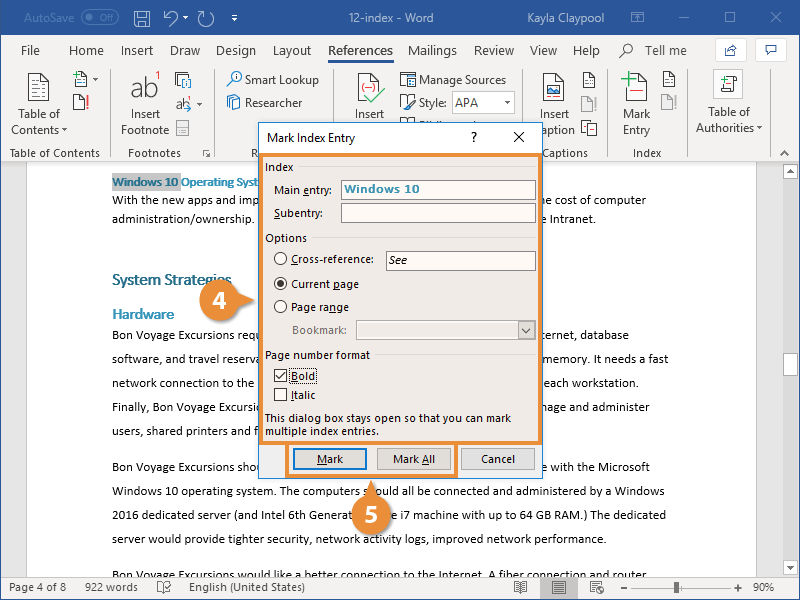
- Adjust the index entry’s settings and choose an index entry option:
- Cross-reference: Adds a reference to another index entry, instead of listing the current page number.
- Current page: Lists the current page number for the selected index entry. This is the default option.
- Page range: Lists the range of pages that are included in the bookmark that you click in the Bookmark list. Before using this option, you’ll need to create a bookmark of the selected range.
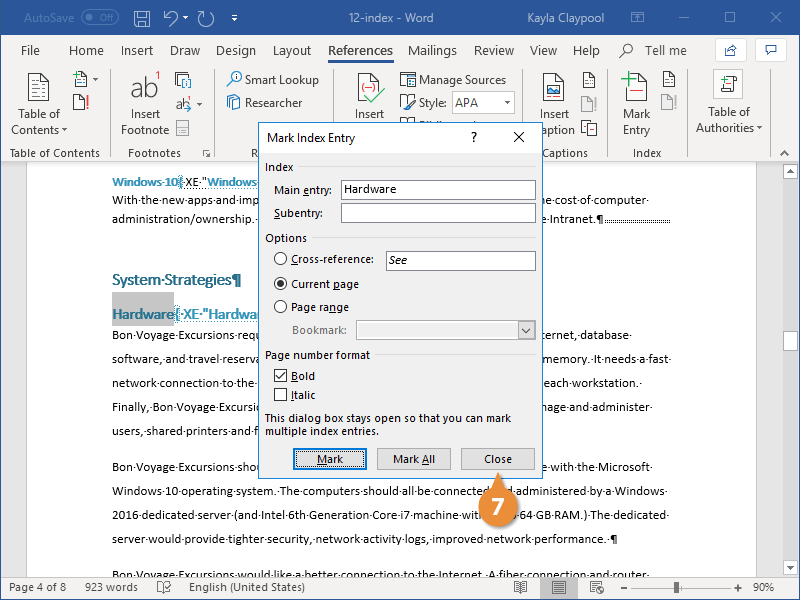
- Click the Mark or Mark All button.
- Repeat the process for your other index entries.
- Click Close when you’re done.
The Mark Index Entry dialog box opens, where you can set up how the index entry works. The main entry field is filled with the selected text, and you can also add a subentry that will appear below the main entry.
Clicking Mark will create an index entry for the selected instance of the word. Clicking Mark All will instead create an index entry for every instance of the selected word throughout the document.
Once you mark an entry, formatting marks will be displayed so that you can see the hidden text that marks index entries. The window remains open, so you can continue to mark index entries throughout the document.
Index entries are invisible and will not be printed. However, you can see them when the paragraph marks are turned on.
Insert an Index
Once index entries have been marked, you’re ready to insert the index.
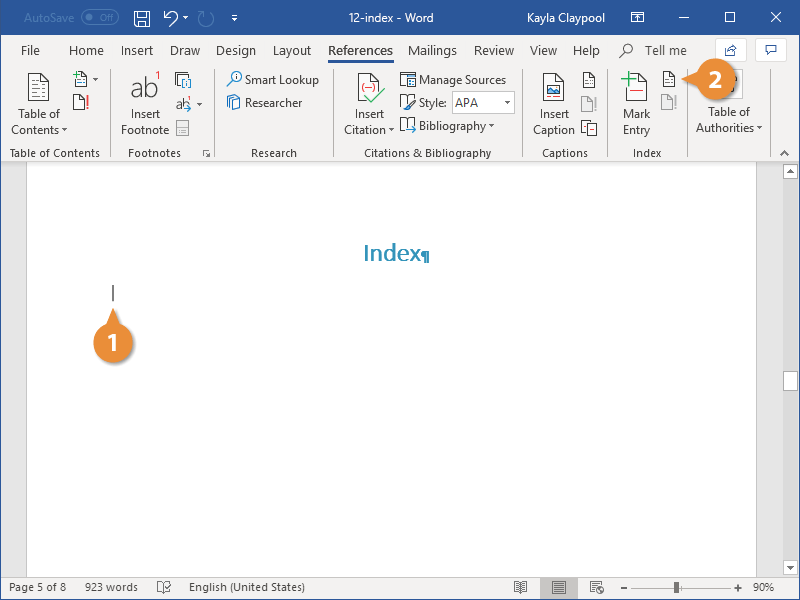
- Click in your document where you want to insert an index.
- Click the Insert Index button on the References tab.
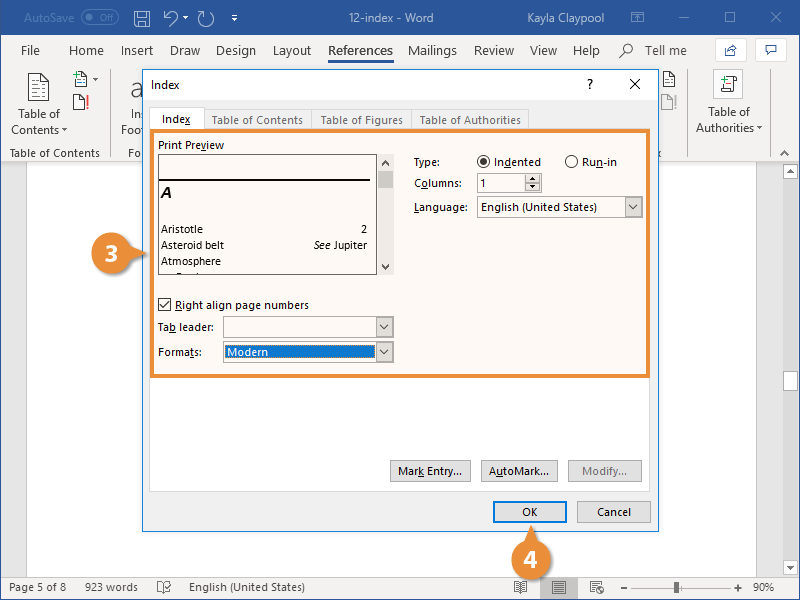
- Customize the appearance and behavior of the index.
- Click OK.
Indexes usually appear at the end of a document and can take up a lot of space, so a blank page at the end is ideal.
The Index dialog box opens, where you can set up how the index will appear.
You can choose whether to right align page numbers and select a tab leader that appears between text and page numbers. You can also select whether to use a document’s formatting theme or select another one.
You can choose whether subentries will be indented below the main entry or shown run-in style in a paragraph below the main entry.
Any changes you make to the index appearance will be shown in the Print Preview.
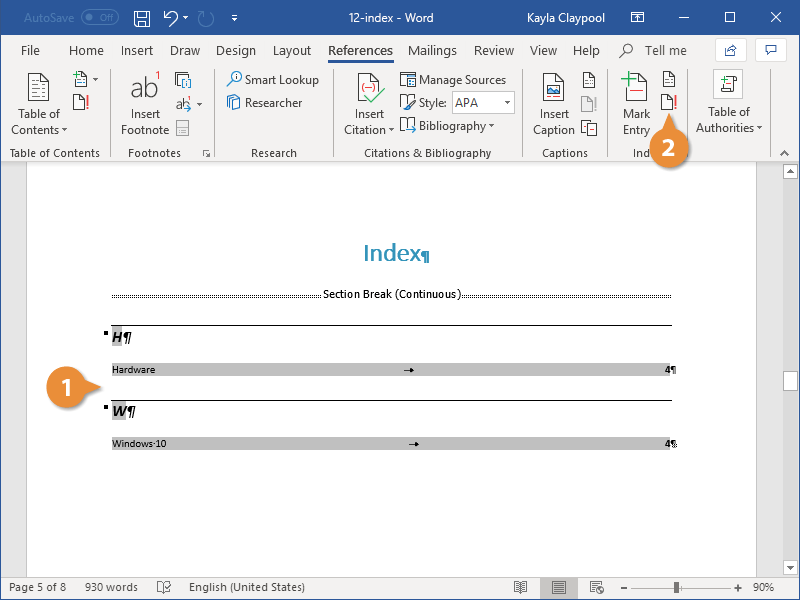
The index is inserted, automatically filling itself out with all the index entries in the document.
Update an Index
When you insert an index, it automatically adds every index entry in the document. If you add or modify index entries after the index is created, you’ll need to update the index.
- Click anywhere in the index.
- Click the Update button.
The index is updated, adding any newly created entries while updating the page numbers for any entries that may have moved.