
Interactive Tutorial
How to Save Custom Colors in Word
Design Custom Templates in Microsoft Word to Save Time and Maintain Consistent Formatting
-
Learn by Doing
-
LMS Ready
-
Earn Certificates

Try this Course with a Free Trial
In addition to using existing themes and style sets, you can make your own. You can create new themes and style sets from scratch or tweak existing ones. By using custom styles and themes, you can easily control exactly how your document looks.
Create Custom Color Sets
You can create your own color set to give your document a fresh, unique look or comply with your organization’s brand standards.
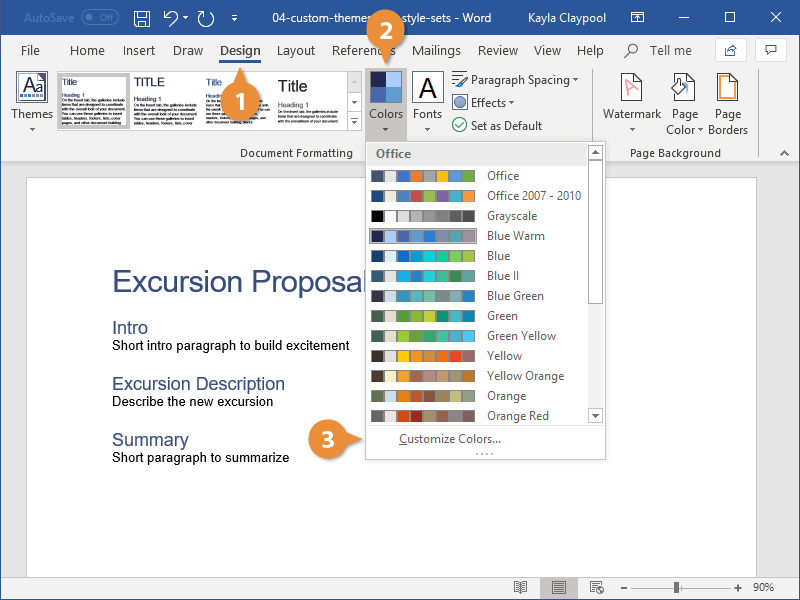
- Click the Design tab.
- Click the Colors button.
This menu shows previews of all the existing color sets, but you can also create your own.
- Select Customize Colors.
In this dialog box, you can set the text, background, and accent colors.
- Click a color's button.

- Select More Colors.

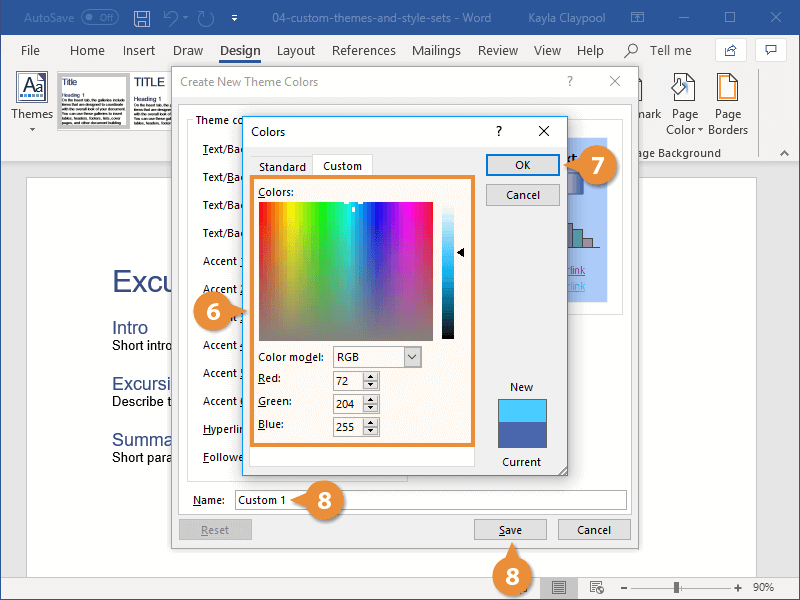
Here, you can choose a color from the color picker or enter the exact color value in the text fields.
- Specify a color.
- Click OK.
The color is changed. Continue changing the other colors in the set the same way.
- When you’ve finished setting colors, give the color set a name and click Save.
You can switch the colors with another from the current theme or a variant of one of those colors.
If you’d prefer to create a new color set entirely, rather than shuffling existing theme colors around, you can.
The new color set is saved and automatically applied.
Create Custom Font Sets
You can also create custom font sets to use in custom themes.
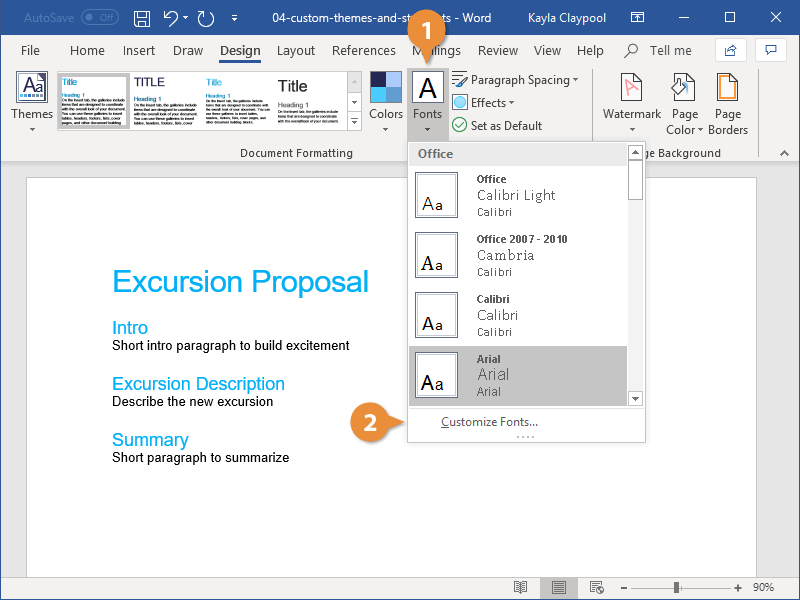
- Click the Fonts button on the Design tab.
This menu lists all the font sets available, but you can also create your own.
- Select Customize Fonts.
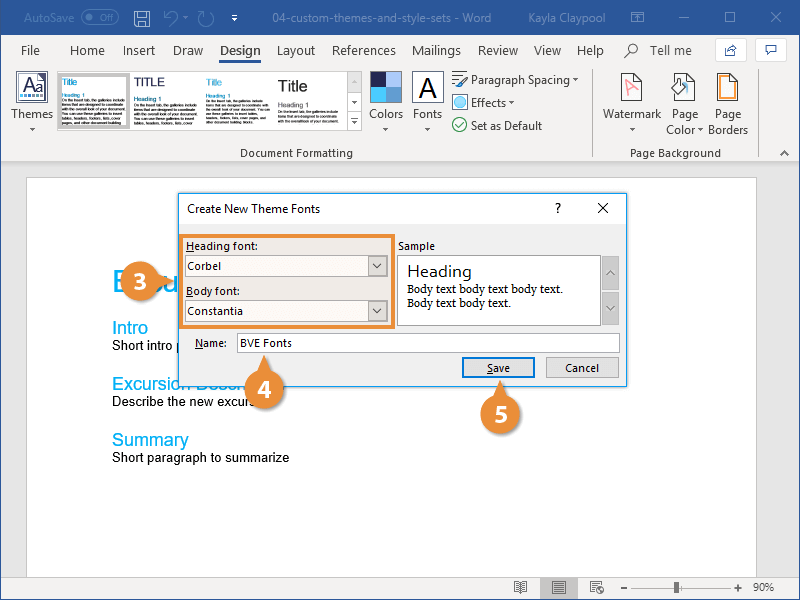
In this dialog box, you can select new Heading and Body fonts. A preview, showing the two current fonts, also appears.
- Customize the Heading and Body fonts.
Once you’ve selected two fonts that look good in the preview, you’re ready to save the font set.
- Give the font set a name and click Save.
The font set is saved and automatically applied.
Create Custom Themes
When you have a color set and font set combination that you like, you can save it as a theme to use in other documents.
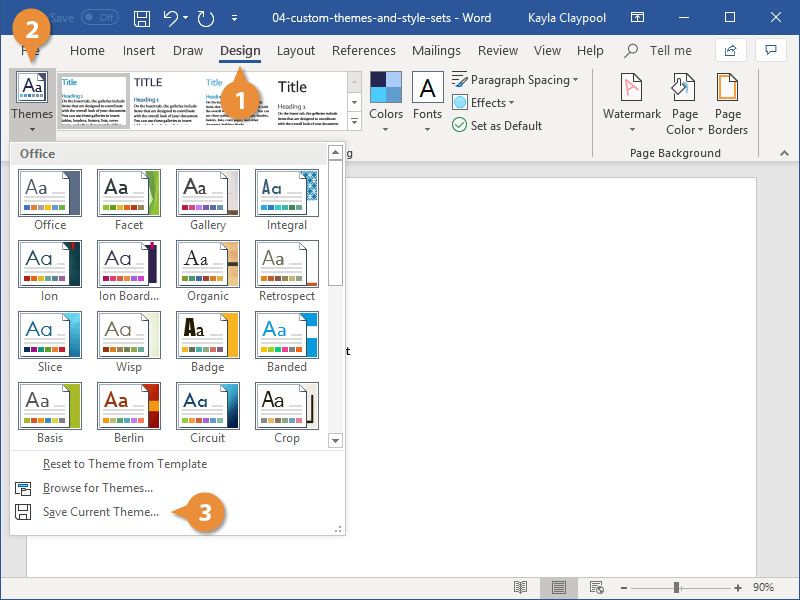
- Apply the theme colors, fonts, and effects you want to use in new documents, then click the Design tab.
- Click the Themes button.
- Select Save Current Theme button.
- Type a name for your theme and click Save.
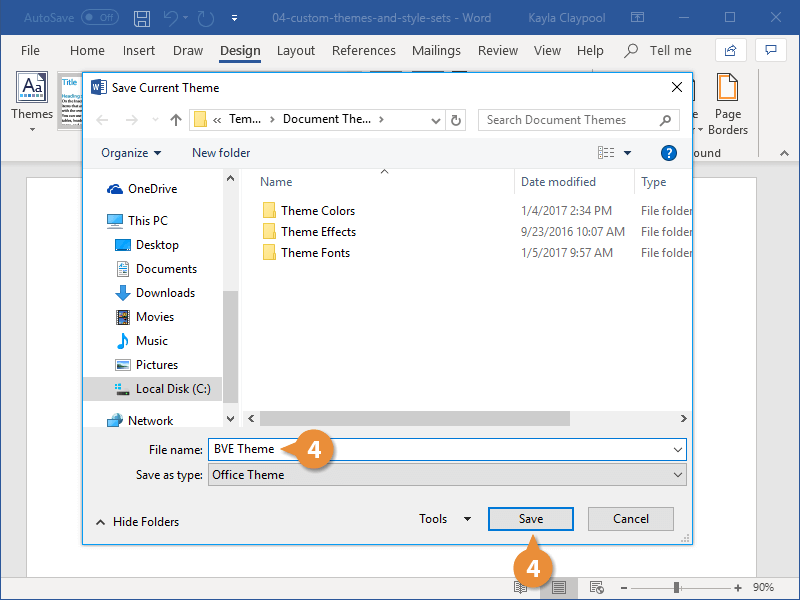
Your theme is saved and will be found in a special Custom group in the Themes menu.
Custom themes you’ve saved will be available for use in all your documents. You can even share the theme file with others so they can also use your new theme.
Create Custom Style Sets
If you’ve customized the basic styles in a document, you can create a custom style set.
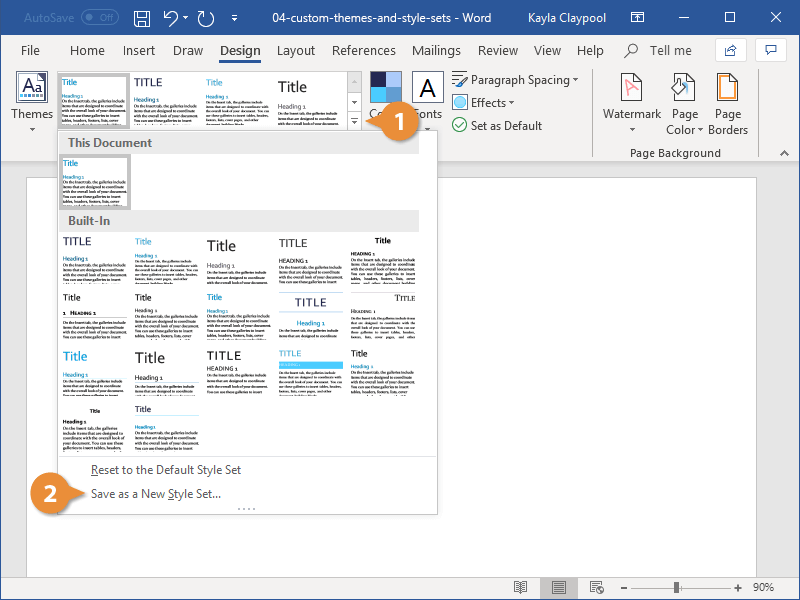
- Click the Style Set gallery menu button on the Design tab.
You can select an existing style set here or save your custom style set currently in use.
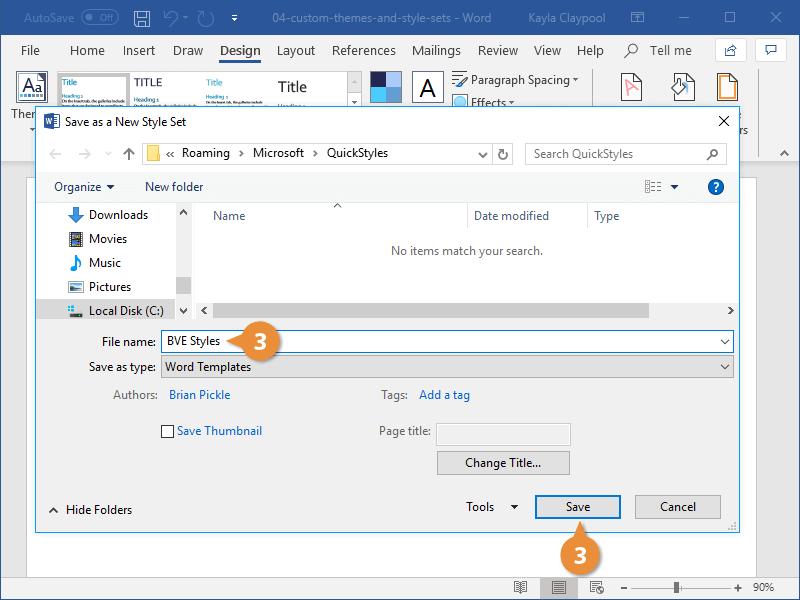
- Select Save as a New Style Set.
- Give the style set a name and click Save.
The style set is saved. Just like with themes, a new Custom group will appear in the Styles gallery, above the built-in style sets.