
Interactive Tutorial
How to Create a Template in Word
Design Custom Templates in Microsoft Word to Save Time and Maintain Consistent Formatting
-
Learn by Doing
-
LMS Ready
-
Earn Certificates

Try this Course with a Free Trial
A template is like a mold for Word documents; it contains formatting options and document properties that you can use again and again when creating new documents. If you find yourself applying and creating the same properties, features, or content each time you create a new document, you can save yourself some time by creating a template.
Use a Document Template
- Click the File tab.
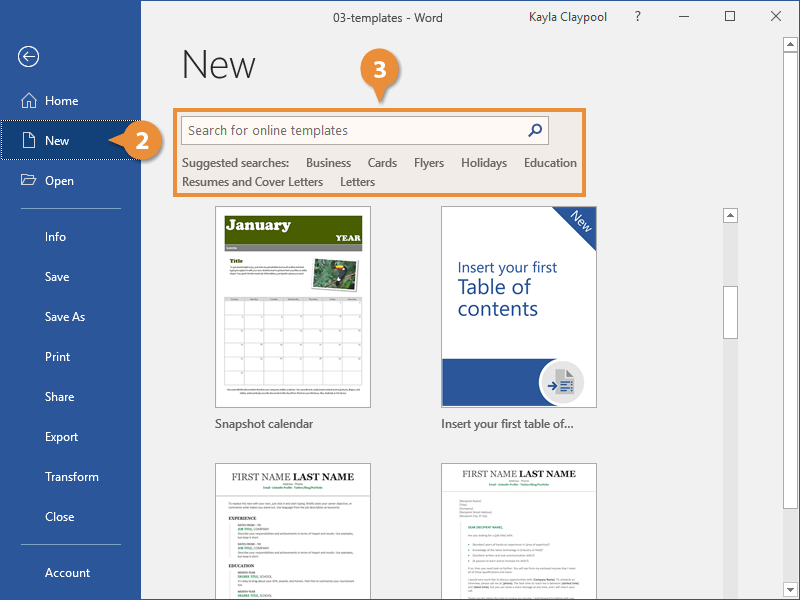
- Click New.
- Search or browse for a template.
- Select a template.
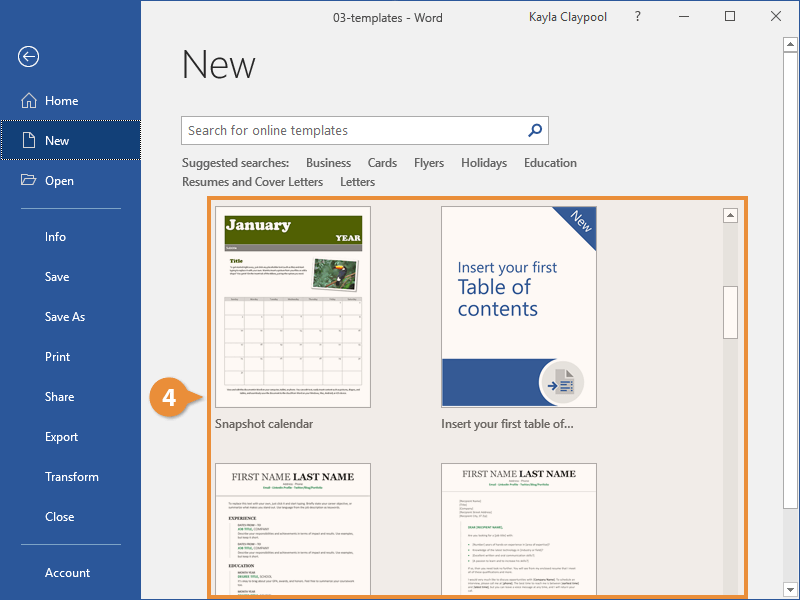
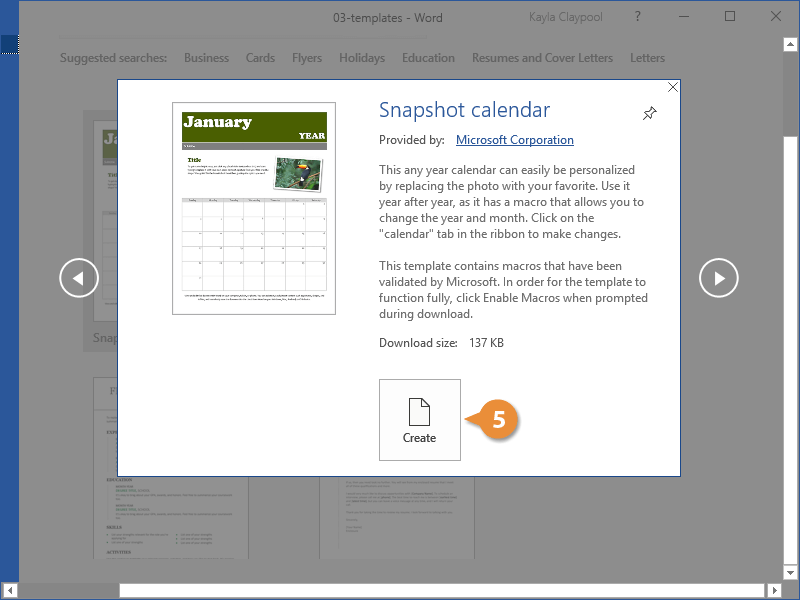
- Click Create.
A few Featured templates will be displayed on the New screen.
You can search for additional templates using the search field or click one of the suggested searches to begin browsing templates.
If you’ve created or installed any custom templates, a Personal heading will appear next to Featured. Clicking the Personal heading will display any custom templates you’ve created or added.
Once you start searching for templates, a list of categories will appear on the right. You can select categories from this list to narrow down the templates that appear.
A pop-up window opens, with more information about the selected template. A description, thumbnail, and the name of the publisher are displayed.
A download size will also be shown for online templates.
The template is downloaded, and a new document is created based on it.
Some templates may have additional options that you need to set, such as the month and year of a calendar. In this case, a dialog box will appear prompting you to fill in the details.
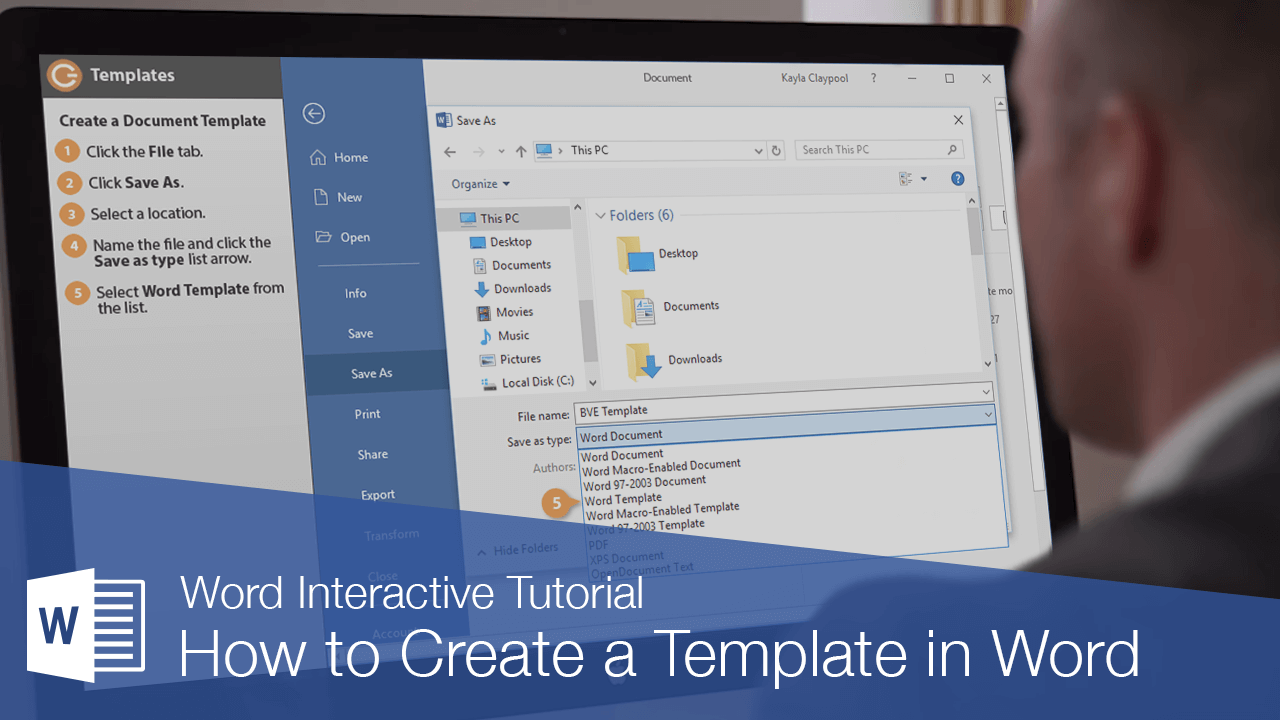
Create a Document Template
If a built-in template doesn’t work for you and you find yourself applying and customizing the same properties, features, or content each time you create a new document, you can save yourself some time by creating your own template.
- Open or create the document that you want to use as the template, then click the File tab.

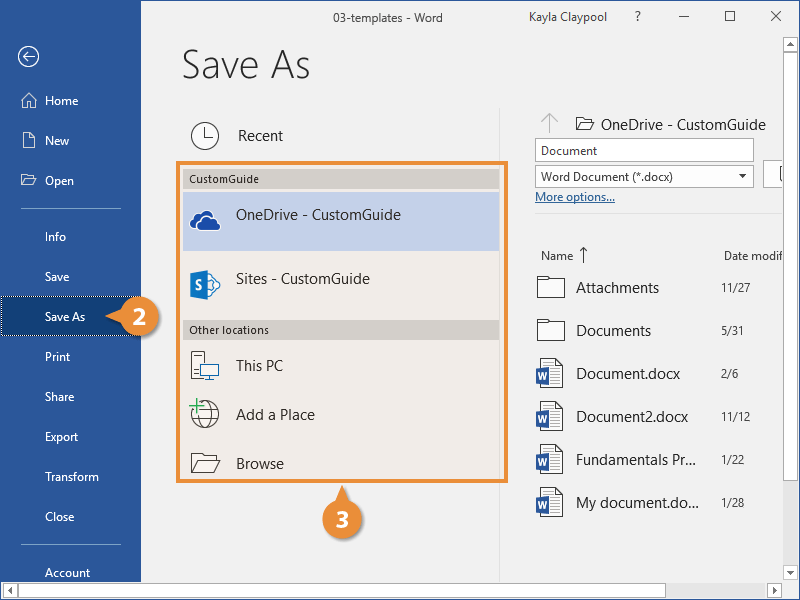
- Click Save As.
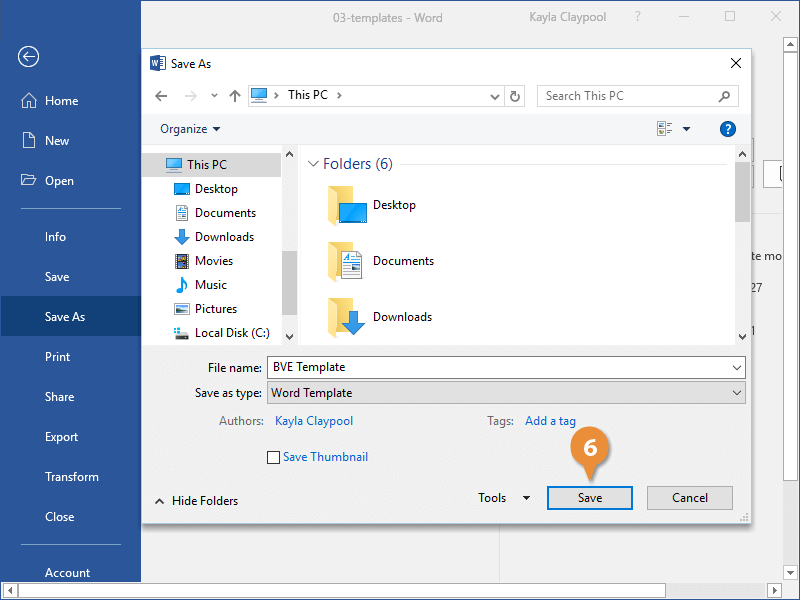
- Select a location.
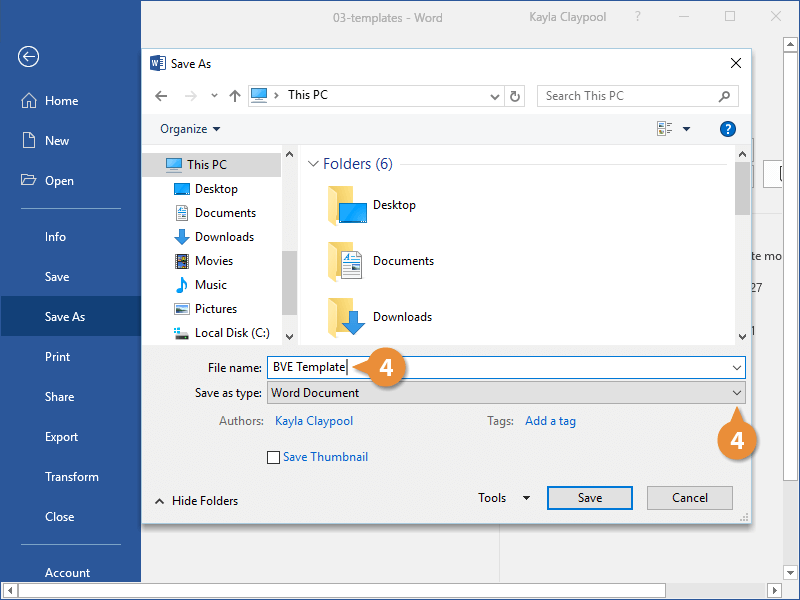
- Name the file and click the Save As Type list arrow.
- Select Word Template from the list.
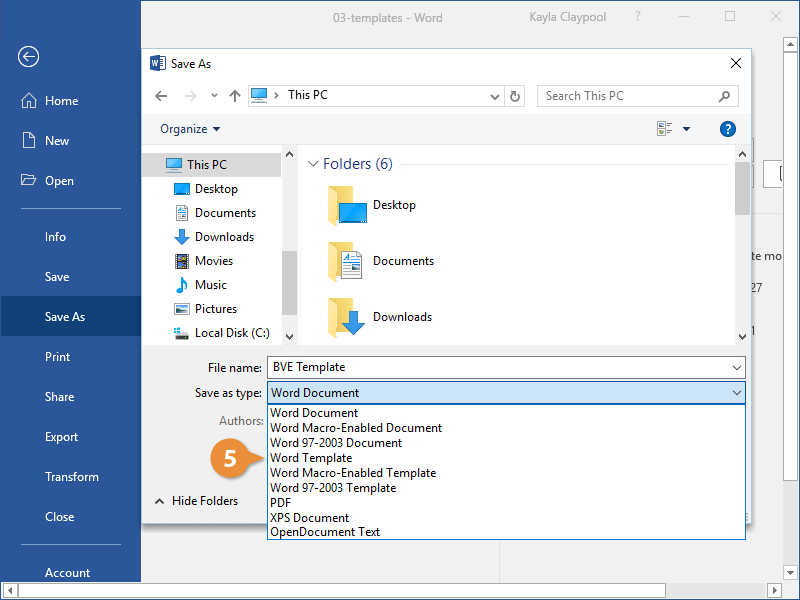
- Click Save.
Remember, everything that appears in the document will appear in the template.
If you have added macros, building blocks, or styles, they will also be included in the template.
You can save a template to your computer, to your personal OneDrive, or to a shared SharePoint site or OneDrive location.
If you’re saving it locally to your computer, Word automatically changes the location to the Templates folder. Saving to the Templates folder will make it easy to find the template in the New Document menu, but you can select a different location if you would prefer.
The template is saved with the .dotx file extension. Each time someone uses the template for a new document, a copy is created to ensure the template is never overwritten.
Edit a Custom Template
Once you’ve created a custom template, using it is just as easy as using a built-in template. If you want to make changes to a template you’ve made, you’ll need to open the template itself.
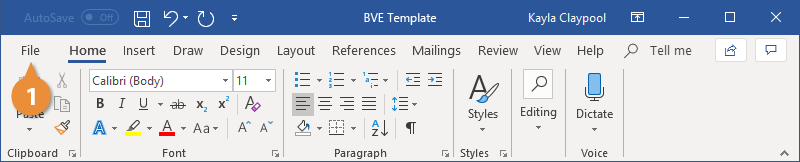
- Click the File tab.
- Click Open.
- Click Browse.
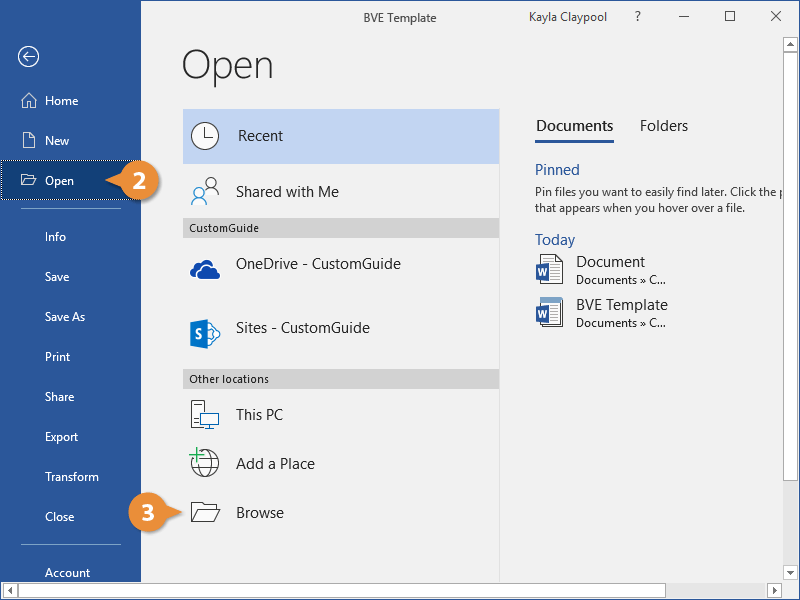
- Navigate to Documents / Custom Office Templates.
- Select a template.
- Click Open.

This is the default location for any custom templates you’ve created or added.
Opening a template this way allows you to change the template itself. Any changes you make now will be reflected every time you use the template in the future.