
Interactive Tutorial
How to Add Page Numbers in Word
Insert and Format Page Numbers in Word to Organize and Professionalize Your Documents
-
Learn by Doing
-
LMS Ready
-
Earn Certificates

Try this Course with a Free Trial
If you have a longer document, you can add automatic page numbering to make it easier to know your place in the document.
Add Page Numbers
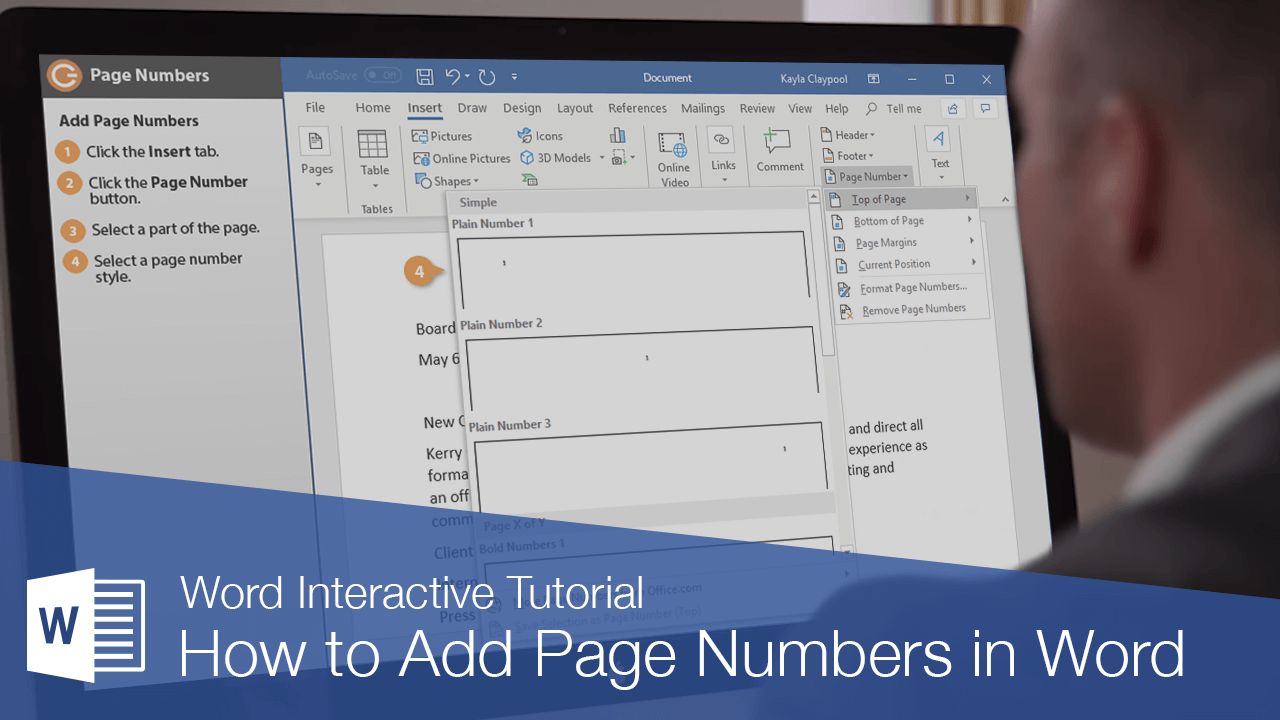
- Click the Insert tab.
- Click the Page Number button.
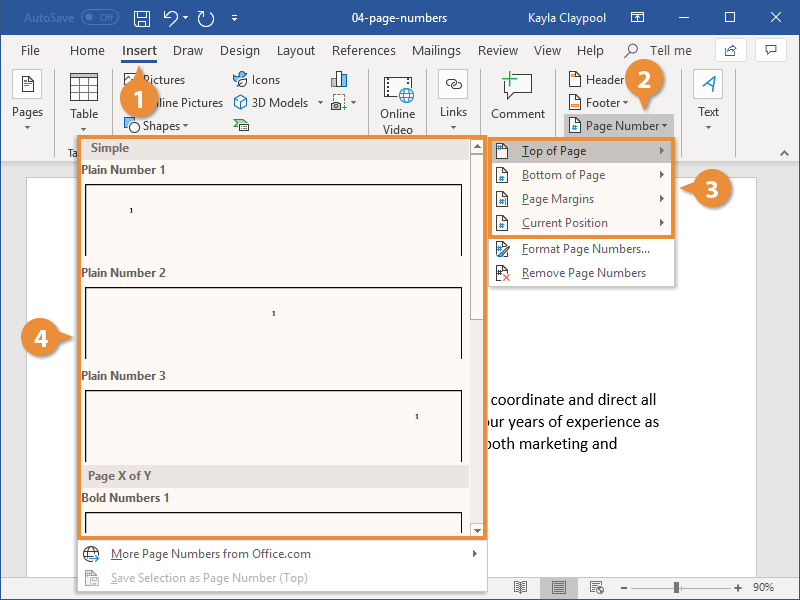
Next, choose where you want the page number to appear. You can choose either the header or footer, in the side margins, or where the text cursor is currently placed.
- Select a part of the page.
There are plenty of built-in designs available, from plain numbers to more stylized numbers and shapes.
- Select a page number style.
The page number is added as a new page header or footer. The page number will increment automatically for each page, while the other text and decoration will stay the same.
- Click the Close Header and Footer button.
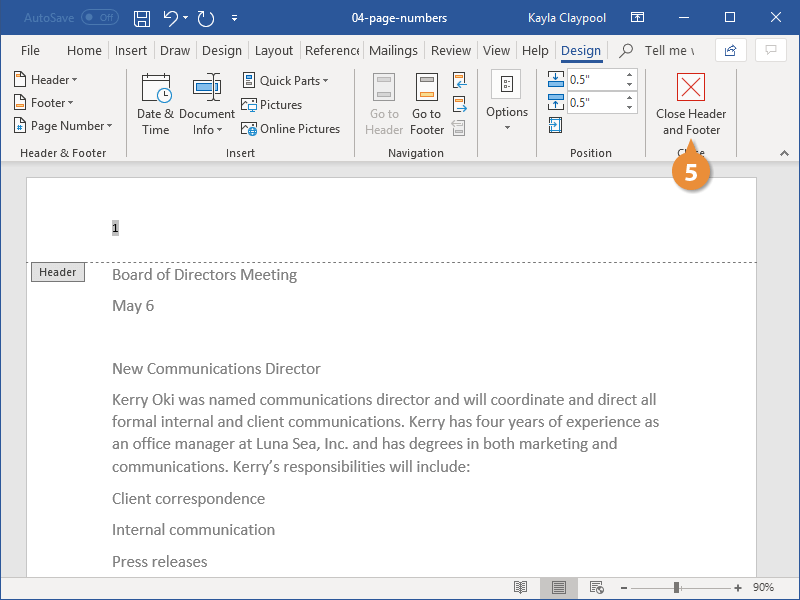
The page number is added.
Format Page Numbers
Once you’ve added page numbers, you can customize the number format, enable chapter numbers, and adjust how the numbering starts.
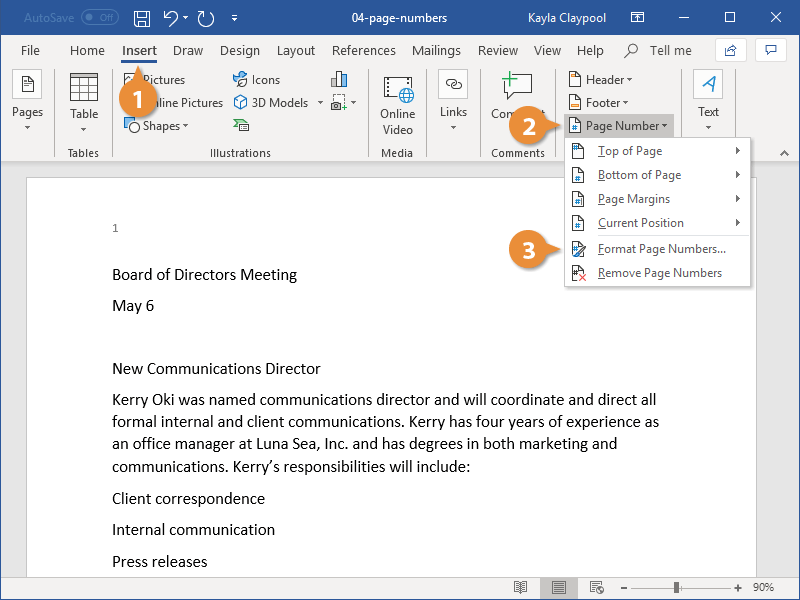
- Click the Insert tab.
- Click the Page Number button.
- Select Format Page Numbers.
- (Optional) Choose a number format.
In addition to numbers, you could also use letters or roman numerals.
- (Optional) Include chapter numbers.
If your document is set up with chapter numbers, you can have those appear with the page numbers.
- (Optional) Modify page numbering.
If the document you’re working on is a continuation of another document, you can also specify a number that the page numbers will start at.
- Click OK.
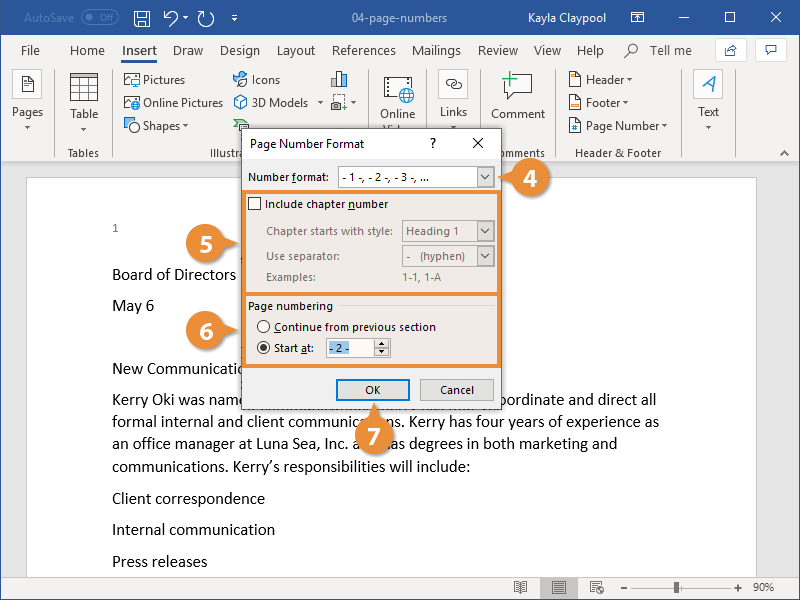
The Page Number Format dialog box opens, with a few ways to customize how page numbers appear.
The number format has changed.
Remove Page Numbers
If your document no longer needs page numbers, they're easy to remove.
- Click the Page Numbers button.
- Select Page Numbers button.
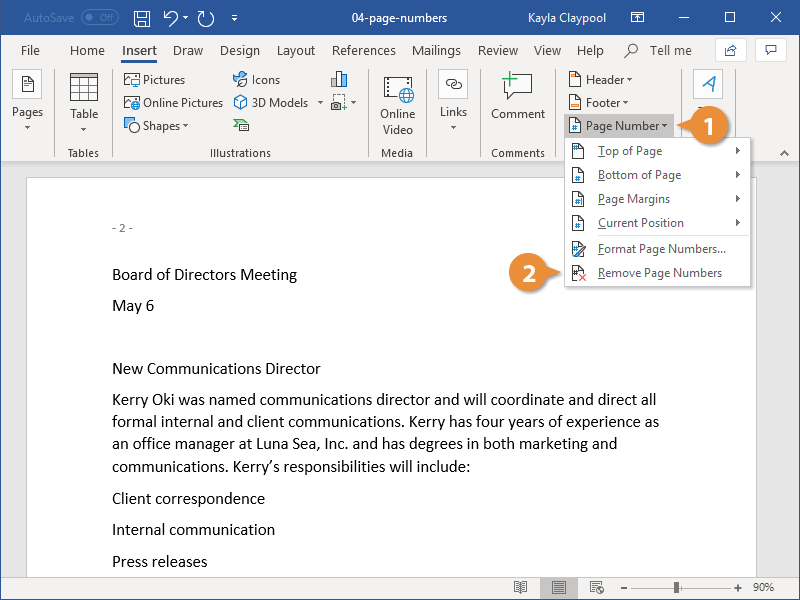
The page numbers are removed.
You can also remove page numbers manually by editing the header or footer to remove the page number placeholders.