
Interactive Tutorial
How to Switch Between Sheets in Excel
Learn How to Switch Between Worksheets in Excel Using Tabs, Shortcuts, and Navigation Tools Efficiently
-
Learn by Doing
-
LMS Ready
-
Earn Certificates

Try this Course with a Free Trial
An Excel worksheet can span 16,384 columns and 1,048,576 rows; fortunately, very few worksheets get this big, but knowing how to navigate through a worksheet is another critical Excel topic you’ll need to know before you can master Excel. This lesson explains the most common ways to navigate an Excel worksheet.
Select a Cell
- Select a single cell by using:
- The Mouse: Click any cell with the cross pointer.
- The Keyboard: Move the cell pointer using your keyboard’s arrow keys.
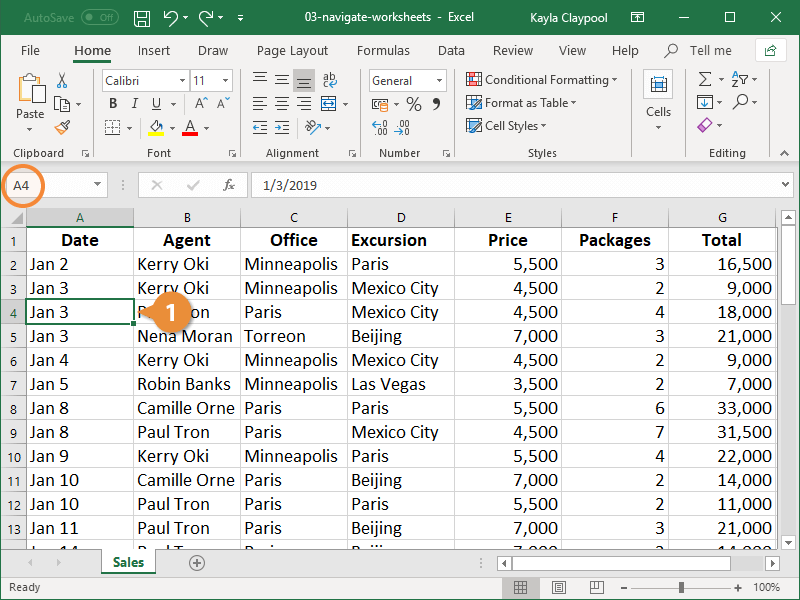
To help you know where you are in a worksheet, Excel displays row headings, identified by numbers, on the left side of the worksheet, and column headings, identified by letters, at the top of the worksheet. Each cell in a worksheet has its own cell address made from its column letter and row number—such as cell A1, A2, B1, B2, etc. You can immediately find the address of a cell by looking at the Name Box, which shows the current cell address.
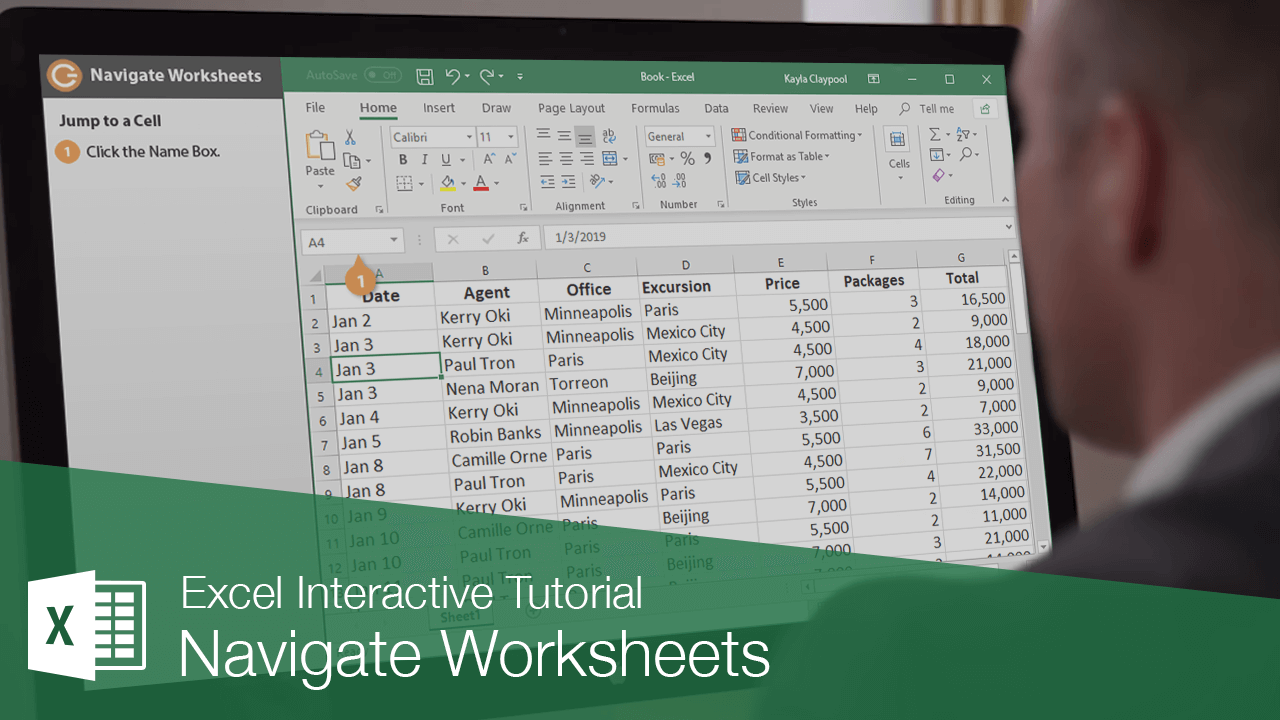
Jump to a Cell
The Name Box is an easy way to get to the cell you want.
- Click the Name box.
- Type the cell reference you want to go to.
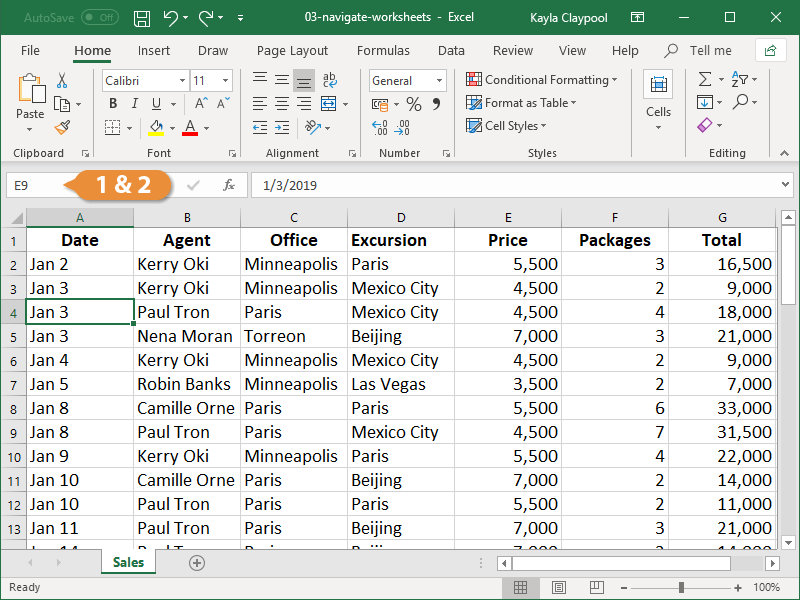
For example, if you want to go to cell D4, type D4.
- Press Enter.
Go To Dialog Box
The Go To dialog box can be helpful when worksheets start getting very large. Here’s how to use it:
- Click the Find & Select button on the Home tab.
- Select Go To.
Press Ctrl + G to open the Go To dialog box.
- Enter or select the cell reference you want to go to.
- Click OK.
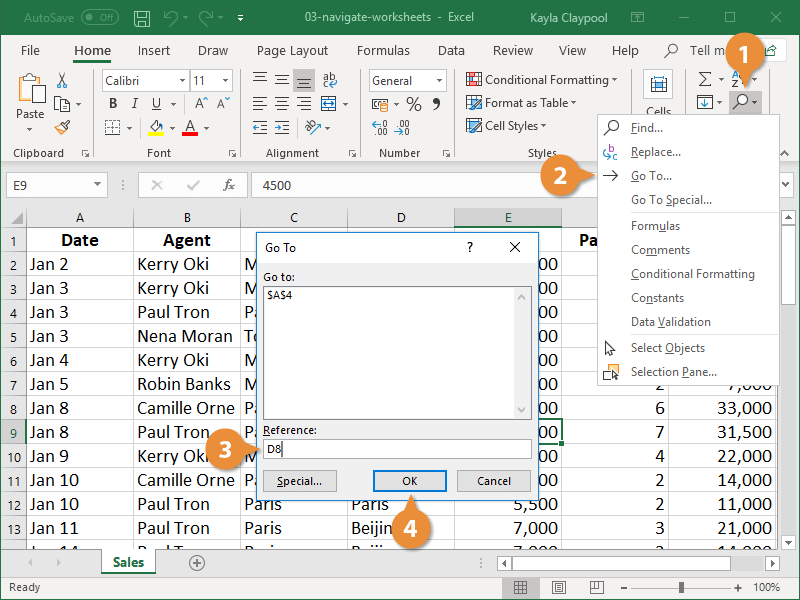
Excel jumps to the specified cell.
Navigation Shortcuts
Excel has several shortcuts that make it fast to get around your worksheets; they’re included in this table:
| Press | To Move |
|---|---|
| ? or Enter | Down one row |
| ? or Shift + Enter | Up one row |
| ? or Tab | Right one column |
| ? or Shift + Tab | Left one column |
| Home | To column A in the current row |
| Ctrl + Home | To the first cell (A1) in the worksheet |
| Ctrl + End | To the last cell with data in the worksheet |
| Page Up | Up one screen |
| Page Down | Down one screen |
| Ctrl + G | Opens the Go To dialog box where you can go to a specific cell address |