
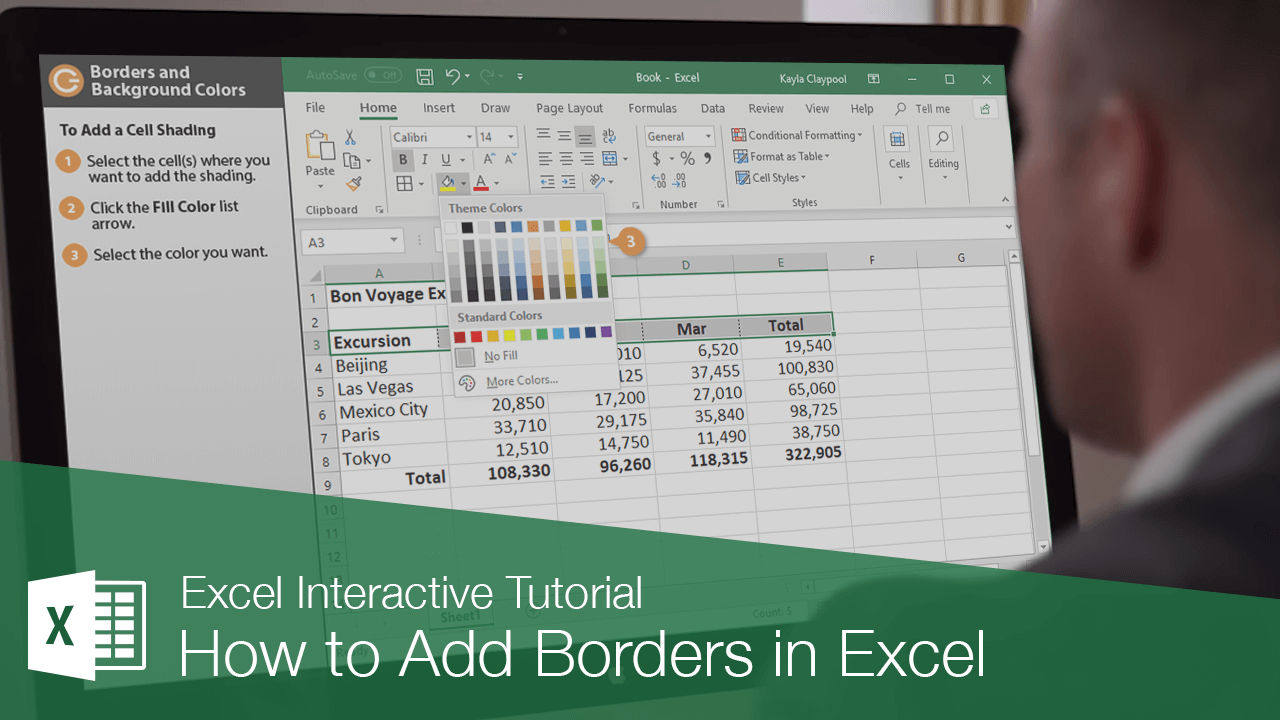
Interactive Tutorial
How to Add Borders in Excel
Learn How to Add and Customize Borders in Excel to Organize Data and Improve Spreadsheet Readability
-
Learn by Doing
-
LMS Ready
-
Earn Certificates

Try this Course with a Free Trial
Adding cell borders and filling cells with colors and patterns is an easy way to make your data stand out, appear more organized, and make the spreadsheet easier to read.
Add a Cell Border
- Select the cell(s) where you want to add the border.
- Click the Border list arrow from the Home tab.
A list of borders you can add to the selected cell(s) appears. Use the examples shown next to each border option to decide which border type will work best for you.
- Select a border type.
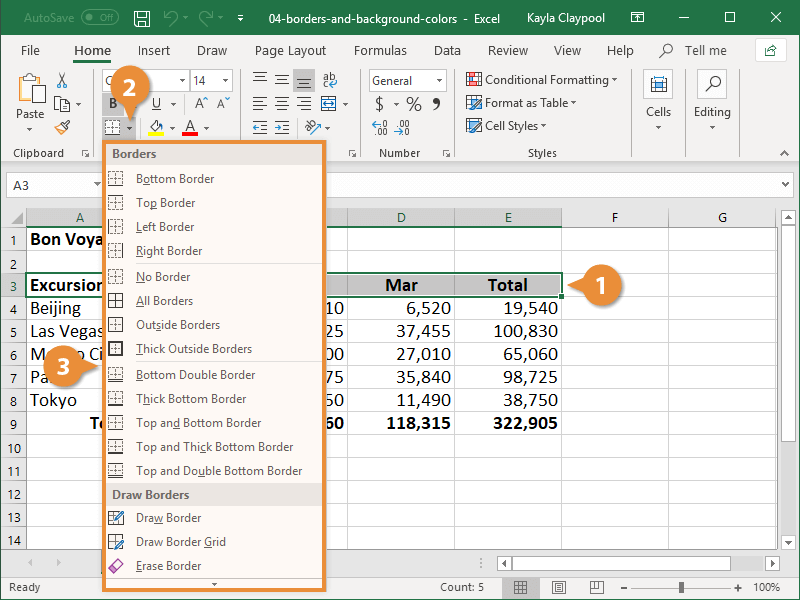
To remove a border, click the Border list arrow in the Font group and select No Border.
Advanced Border Options
To have more control over the look and style of the cell borders, use the advanced border options.
- Select the cell(s) where you want to add the border.
- Click the Font dialog box launcher.
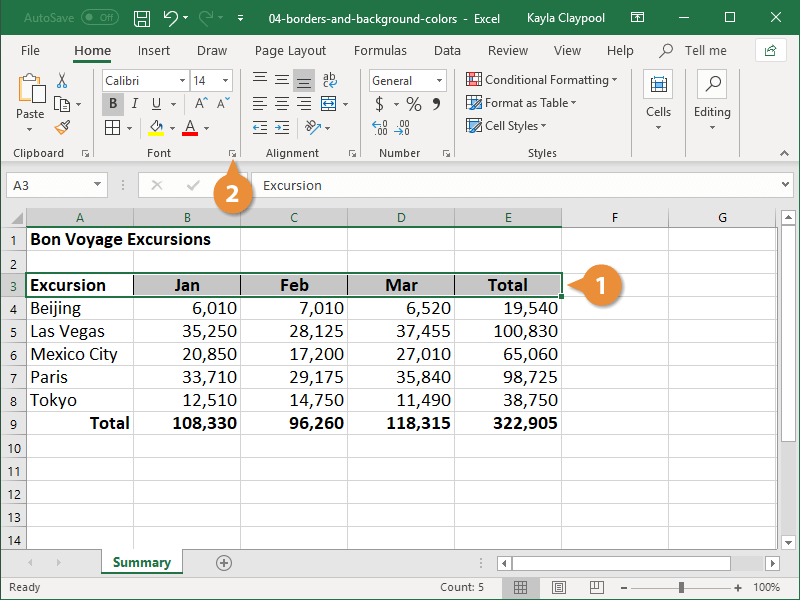
- Click the Border tab.
- Select the line style and color you want.
You now need to specify where you want the new border style to appear.
- Select a preset option or apply borders individually in the Borders section.
- Click OK.
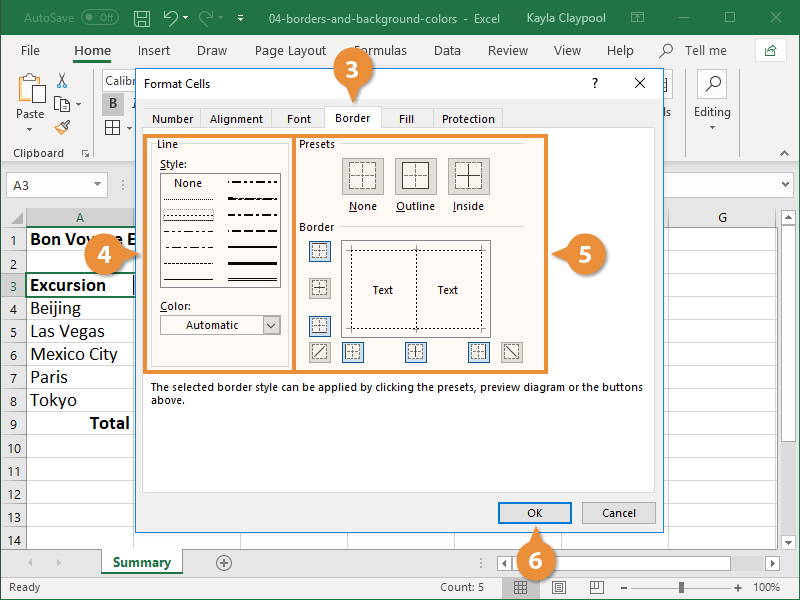
The border is applied to the cell range.
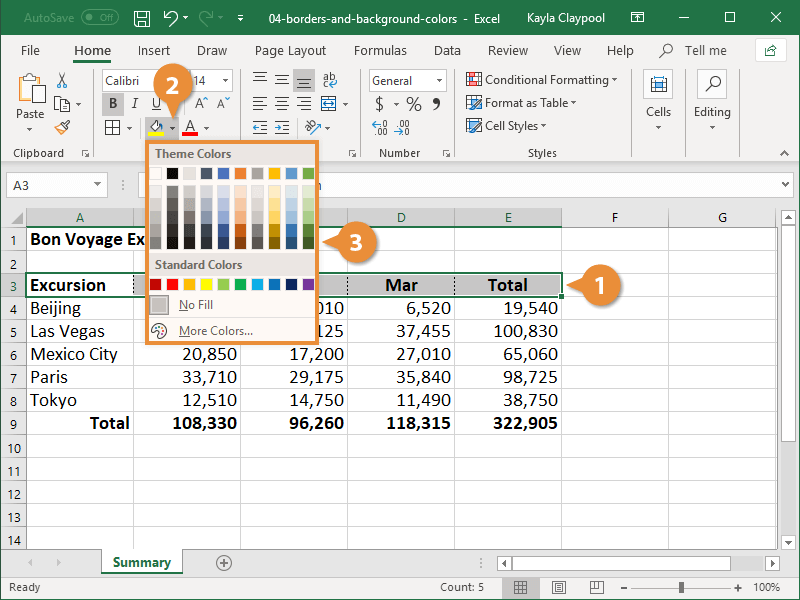
Add Cell Shading
- Select the cell(s) where you want to add the shading.
- Click the Fill Color list arrow.
A palate of theme colors is displayed in the menu. If you want to use a different color, select More Colors.
- Select the color you want to apply.
A background color is applied to the cell(s). Make sure the background provides enough contrast with the text to be legible.