Interactive Tutorial
Excel Named Range
Learn How to Create and Use Named Ranges in Excel to Simplify Formulas and Improve Data Management
-
Learn by Doing
-
LMS Ready
-
Earn Certificates

Try this Course with a Free Trial
Cell references can be confusing, especially when you're working with formulas. However, cell and range names can help. You can define a name for a cell, cell range, non-adjacent cells, formula, constant, or table.
For example, you could name the cell range B16:H16 “Total Sales.” Then, instead of totaling sales with the formula =SUM(B16:H16), you could use the defined name to create the more readable formula, =SUM(TotalSales).
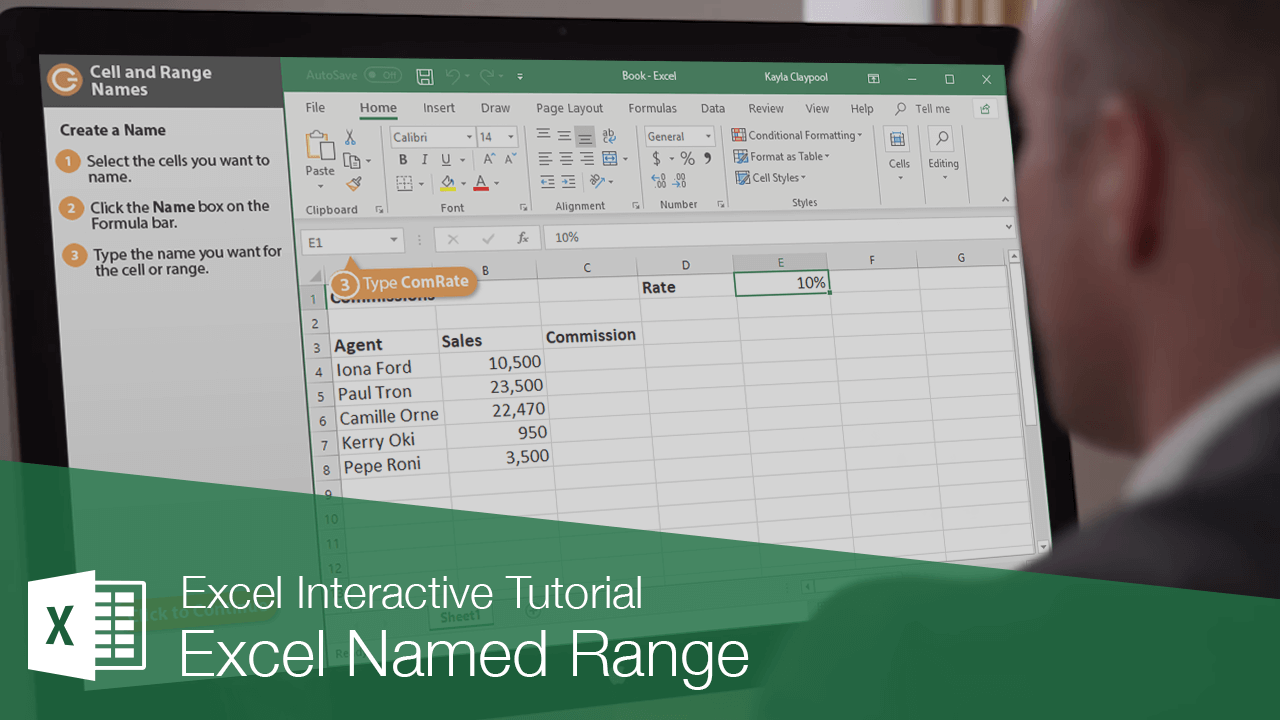
Create a Name
- Select the cell(s) you want to name.
- Click the Name box in the Formula bar.
- Type the name you want for the cell or range.
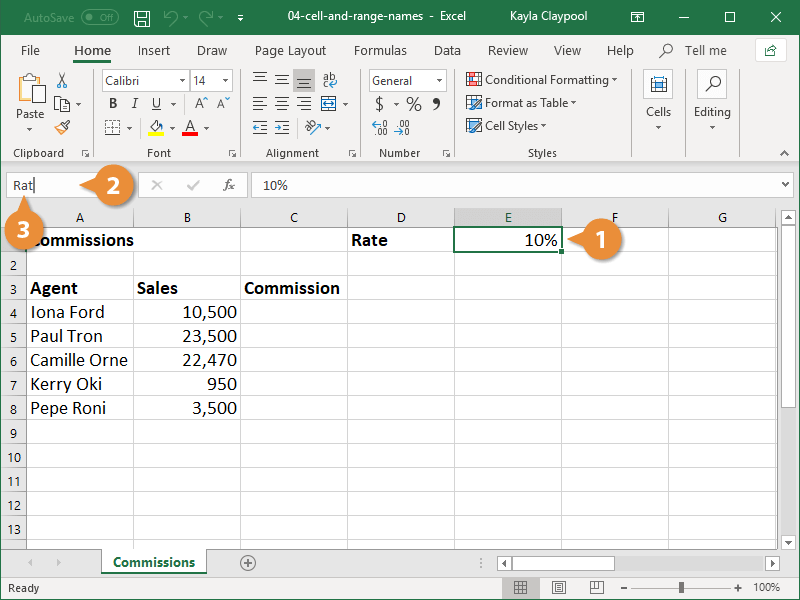
A cell or range name cannot include spaces. Use a period or underscore instead.
- Press Enter.
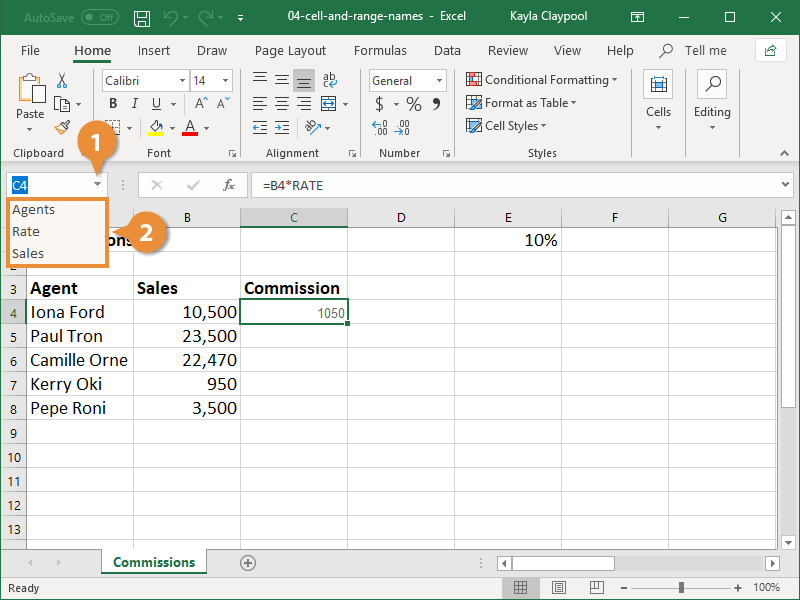
Now, when you create a formula, use the name to reference the cell(s) instead.
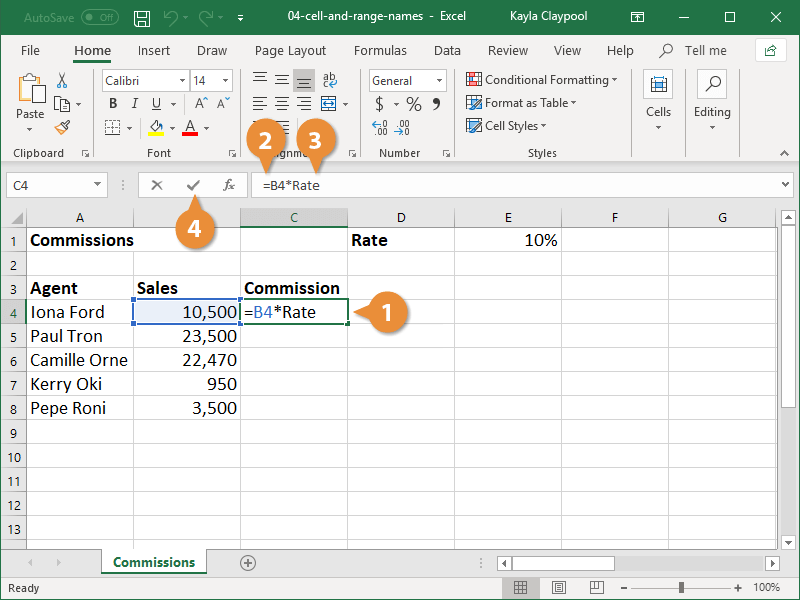
Use a Cell or Range Name in a Formula
- Click the cell where you want to add the formula.
- Type = followed by the formula you want to use.
- When you want to use a name, just type it.
- Click Enter when you’re finished.
You can also click the Formulas tab on the Ribbon, click the Use in Formula button, and select a name from the list.
Go to a Name
Cell and range names also make it easier to navigate a workbook. You can select a range name to jump to it in the workbook.
- Click the Name box list arrow.
A list of all the named ranges in the workbook appears.
- Select the name you want to go to.
Excel takes you to your named cell or cell range.
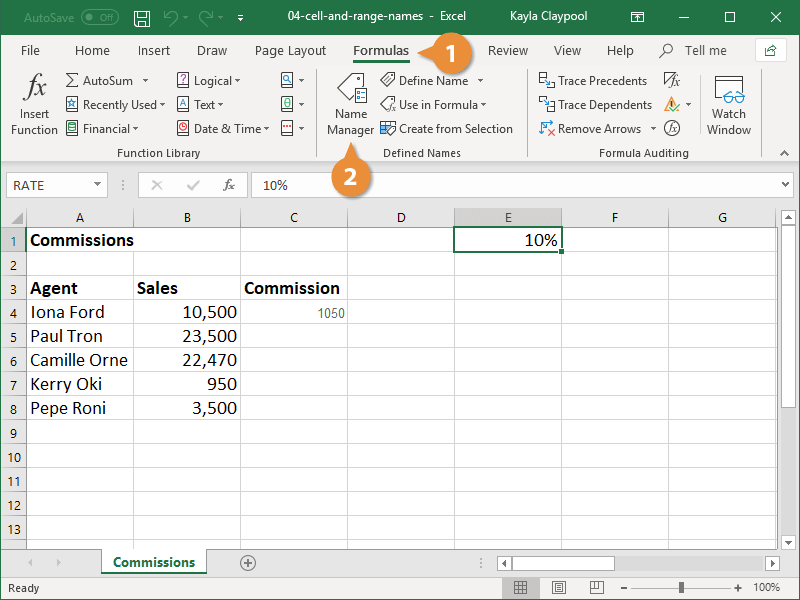
Edit and Delete Cell or Range Names
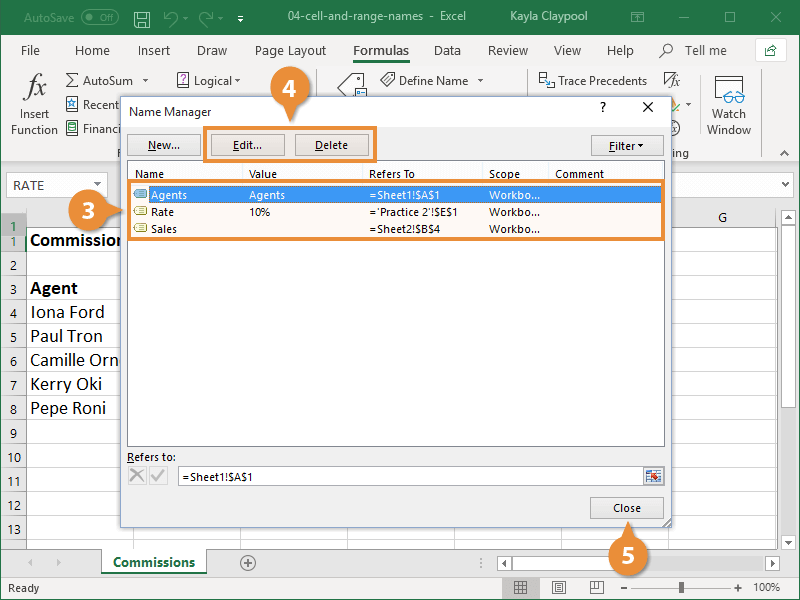
When you need to change or remove a named range, use the Name Manager.
- Click the Formulas tab.
- Click the Name Manager button.
- Select the name you want to edit or delete.
- Click Edit or Delete.
- Use Edit to change the name or update which cell or range the name refers to.
- Use Delete if you no longer need the named cell or range.
- Click Close when you’re finished.