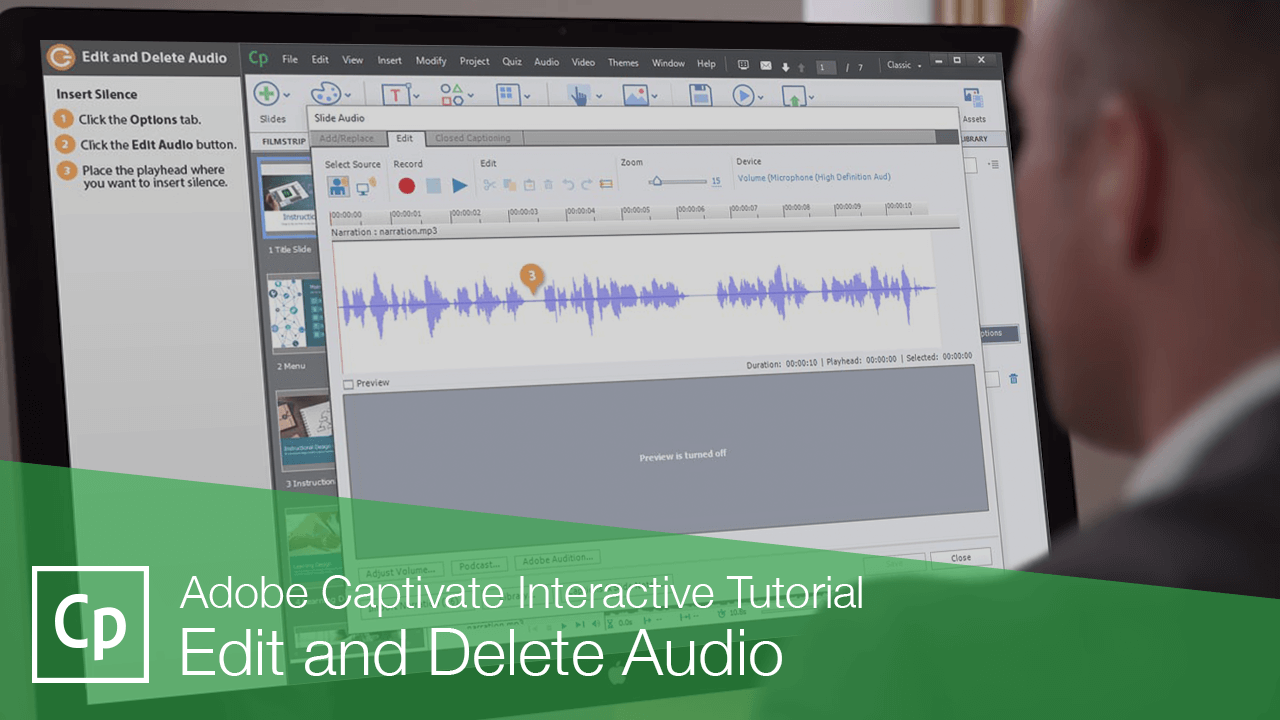
Interactive Tutorial
Edit and Delete Audio
Refine your Captivate projects by trimming, replacing, or removing audio clips
-
Learn by Doing
-
LMS Ready
-
Earn Certificates

Try this Course with a Free Trial
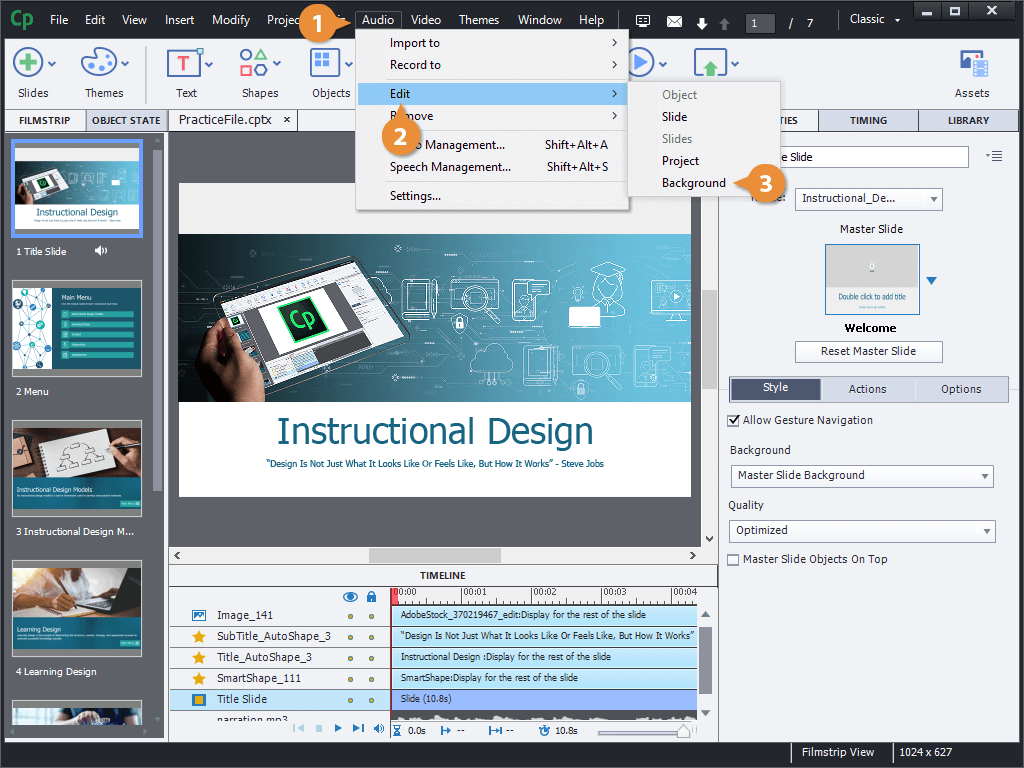
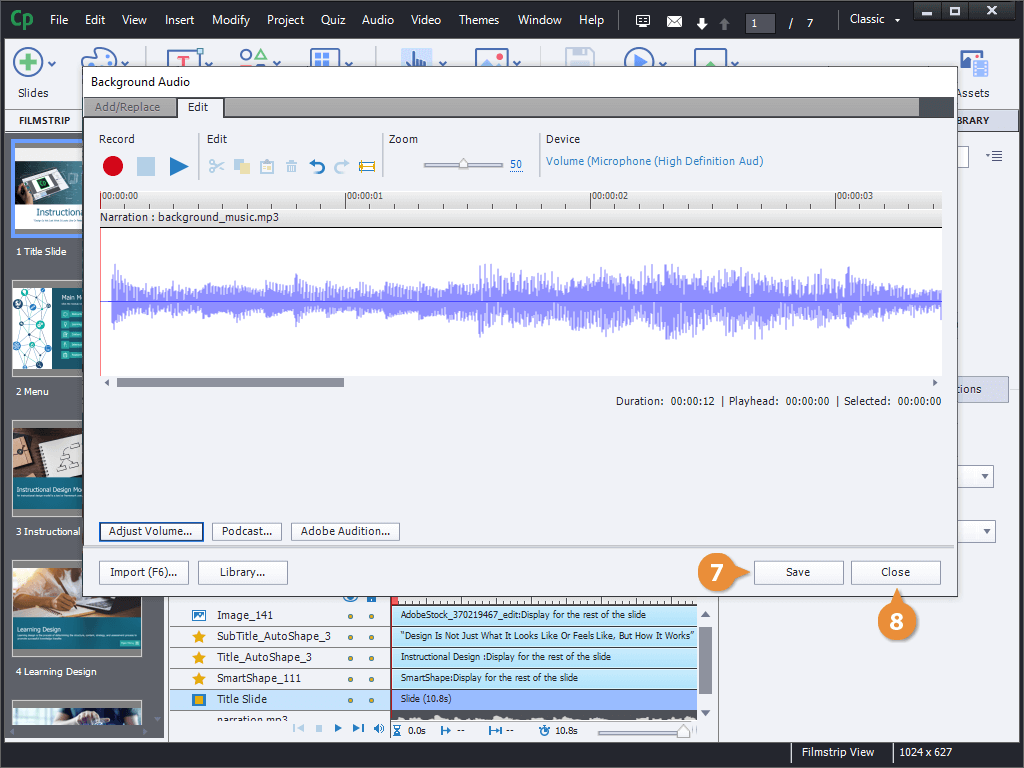
Captivate includes a basic built-in audio editor, so you can make adjustments to audio after it's been imported and added to objects and slides.
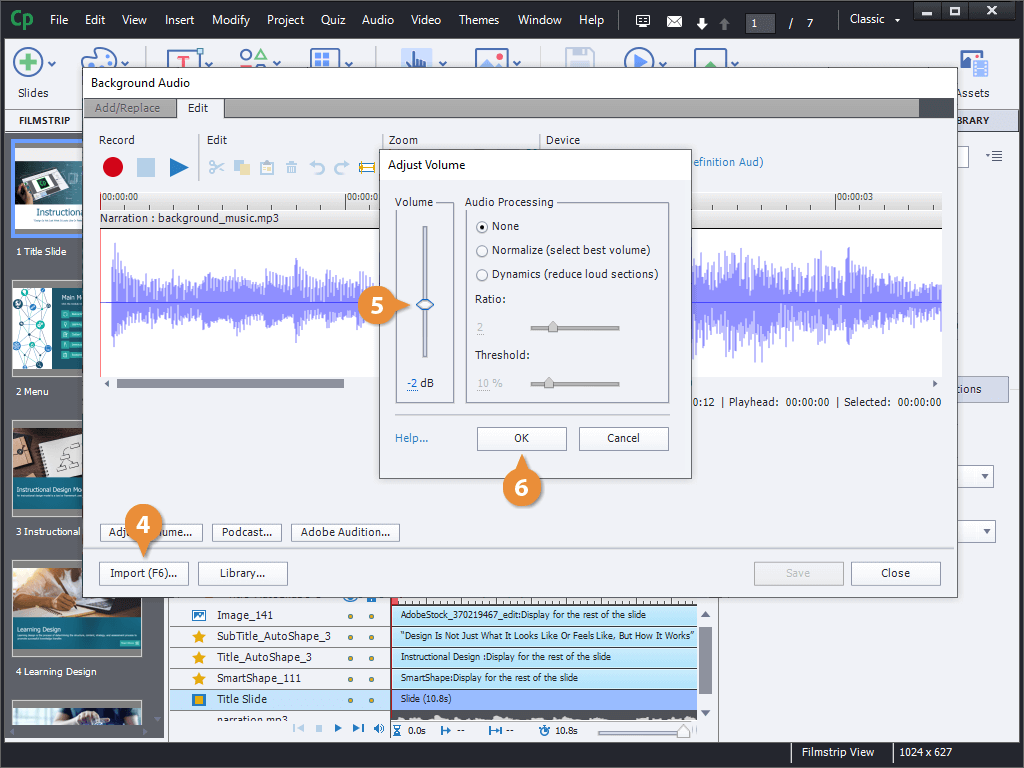
Adjust Audio Volume
Insert Silence
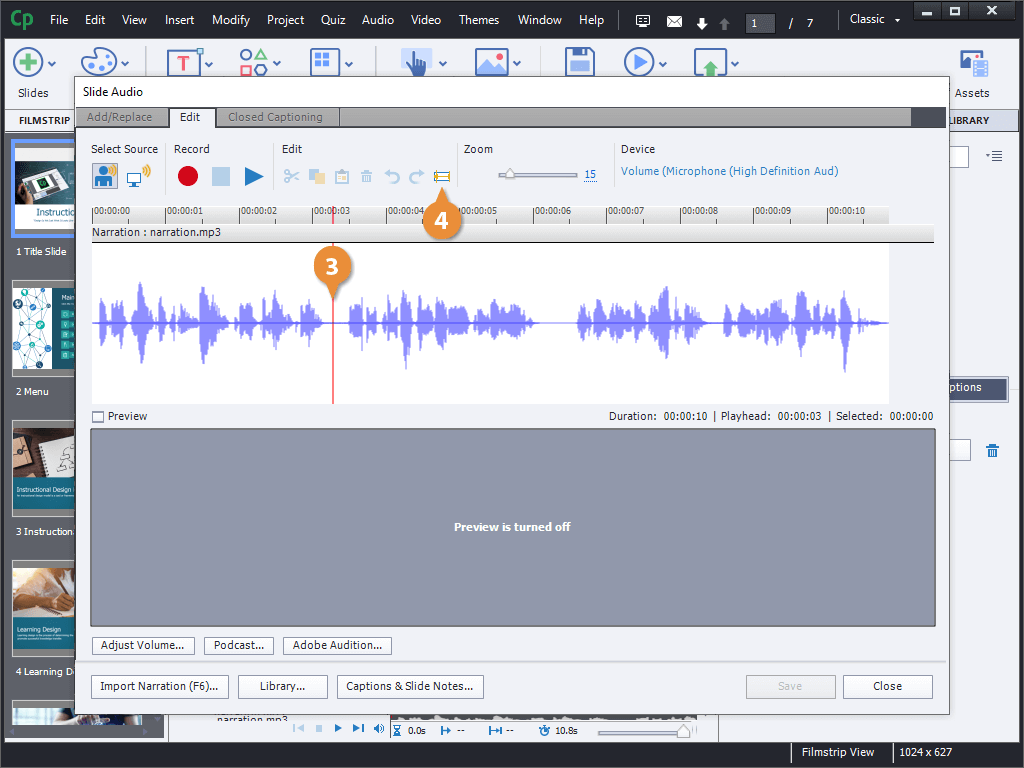
Next, let's see how to insert a period of silence into an audio clip.
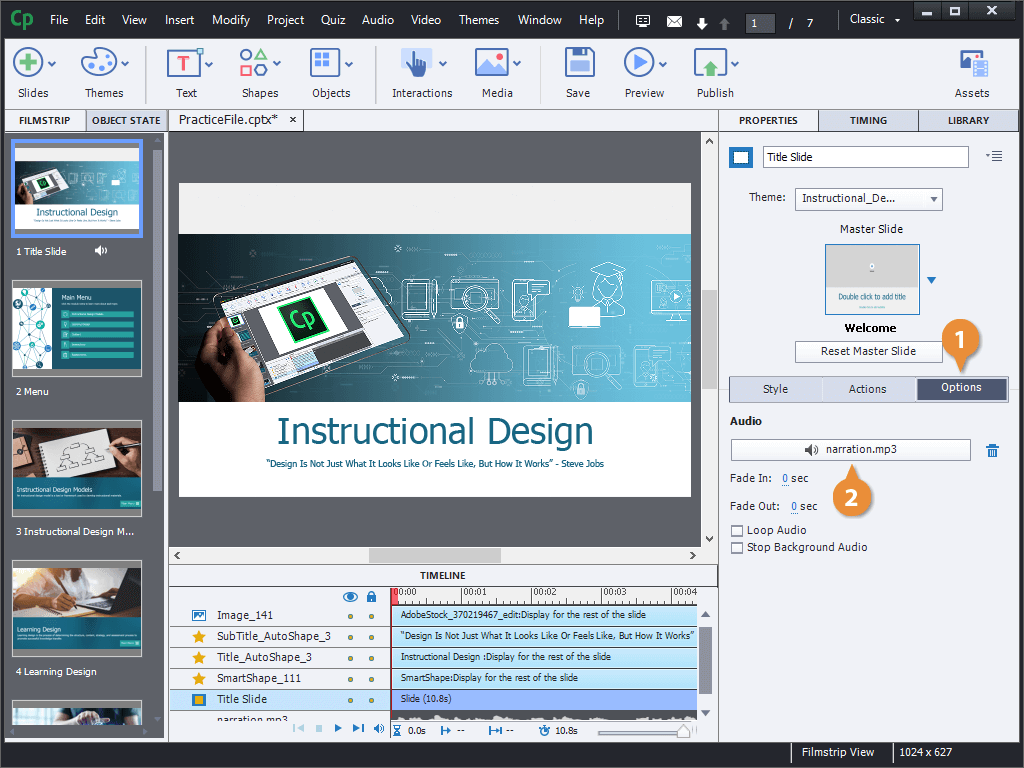
- Click the Options tab.
- Click the Edit Audio button.
- Place the playhead where you want to insert silence.
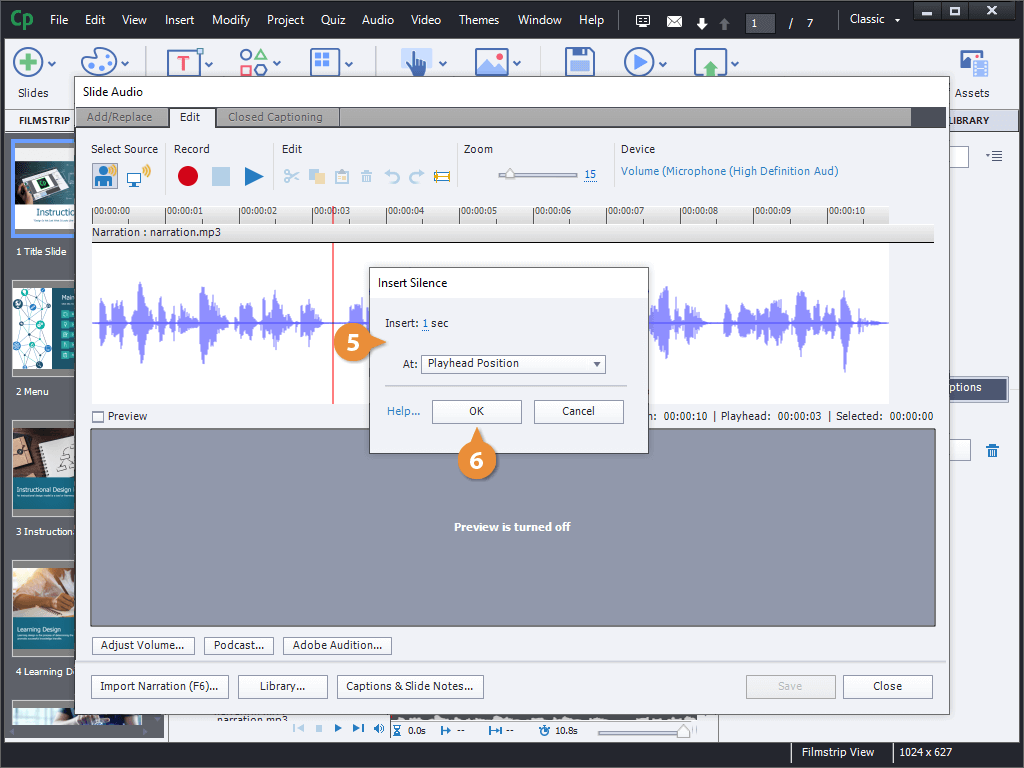
- Click the Click Insert Silence button.
- Specify how much silence to insert.
- Click OK.
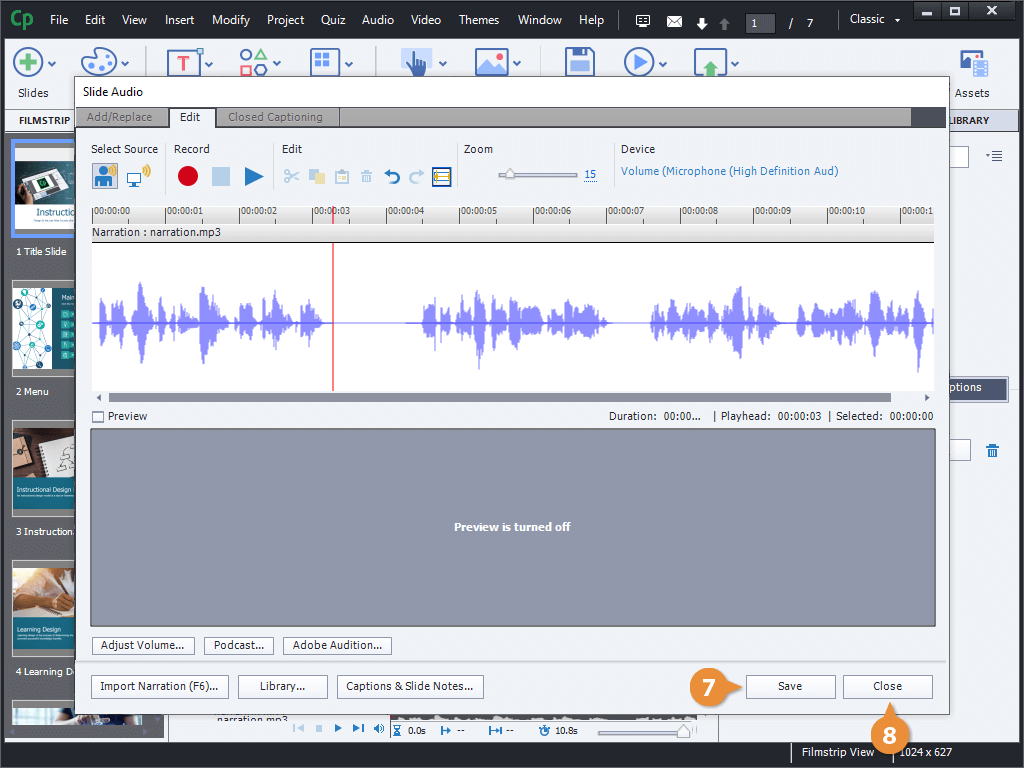
- Click Save.
- Click Close.
The Slide Audio dialog box opens. Depending on how long the slide's audio file is, you may need to zoom out to see the waveform better.
The audio file is saved, and there's now an extra second of silence added. The name of the audio file is also changed in the library, to indicate that it's been edited.
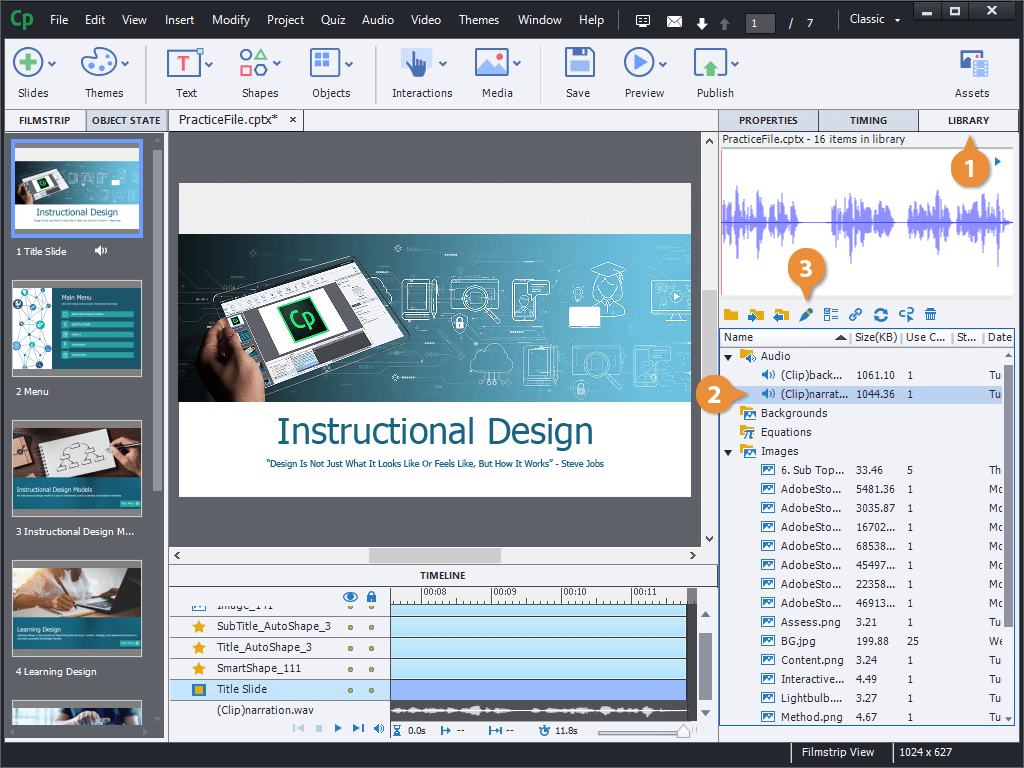
Trim Audio
- Click the Library tab.
- Select an audio file in the library.
- Click the Edit button.
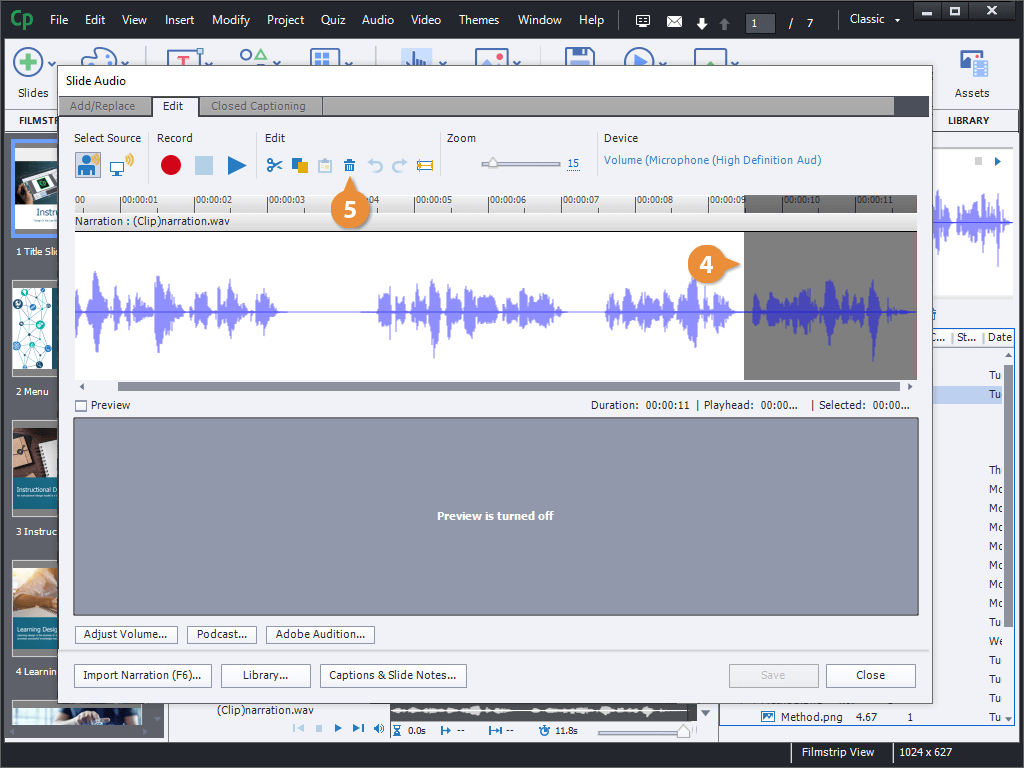
- Select a section of audio on the waveform.
- Click the Delete button.
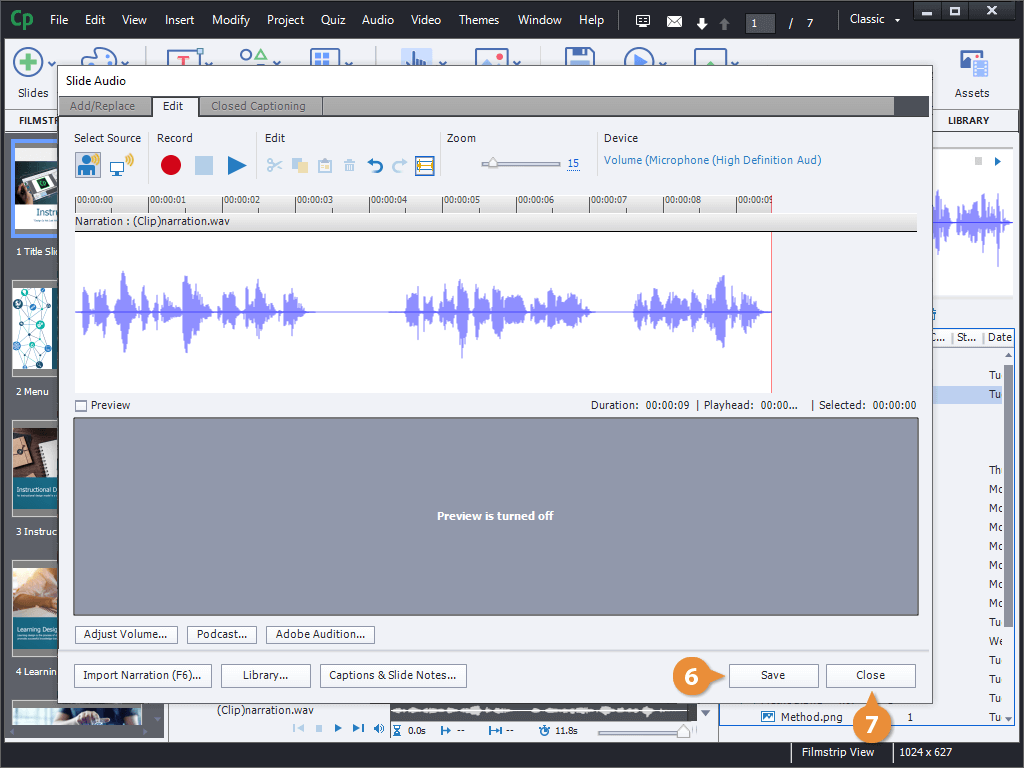
- Click Save.
- Click Close.
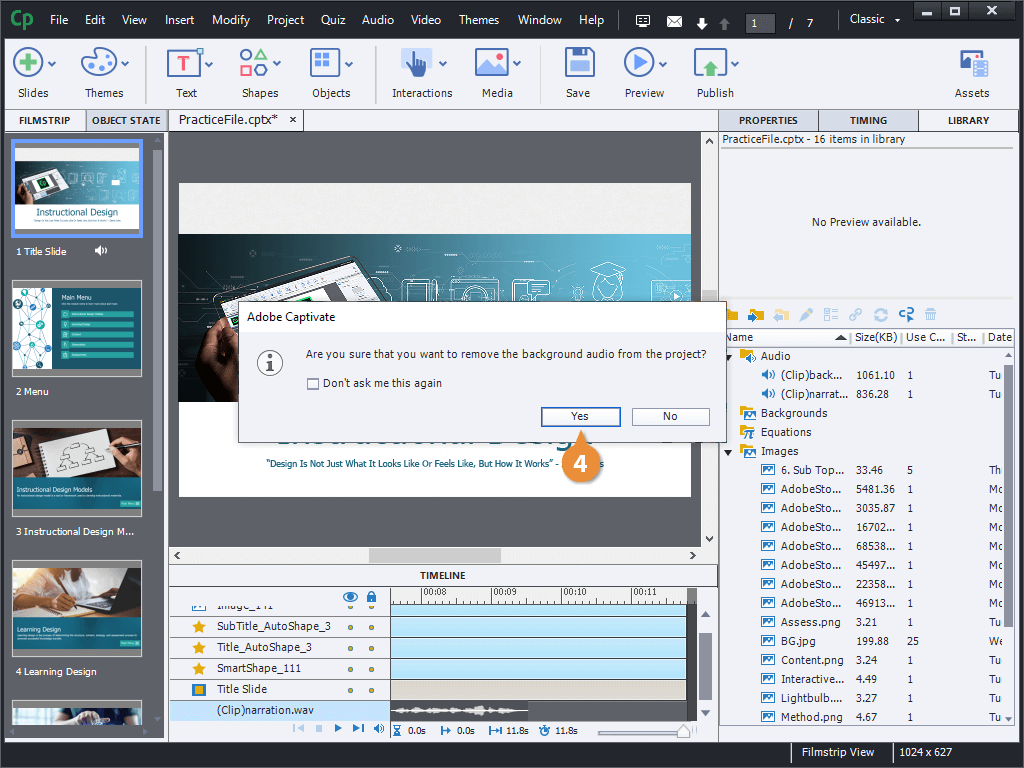
Remove Audio
- Click Audio on the menu bar.
- Select Remove.
- Select an audio location to remove.
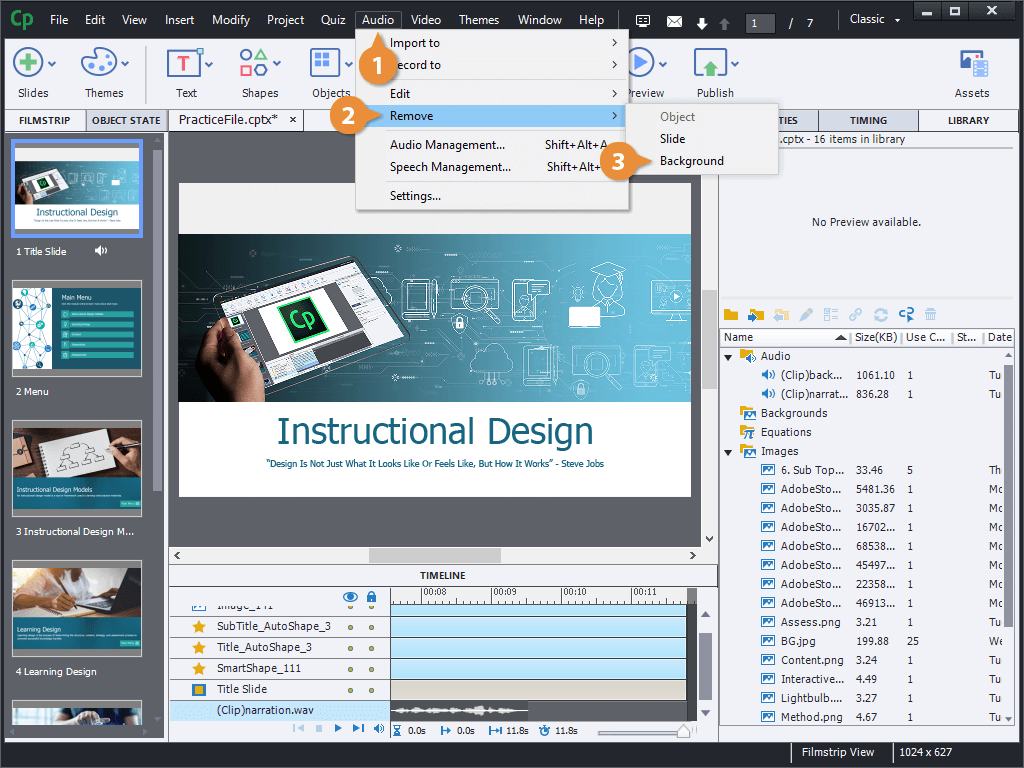
- Click Yes.