
Interactive Tutorial
Word Options Dialog Box
Customize Word Settings in the Options Dialog Box to Control Editing, Display, and Save Preferences
-
Learn by Doing
-
LMS Ready
-
Earn Certificates

Try this Course with a Free Trial
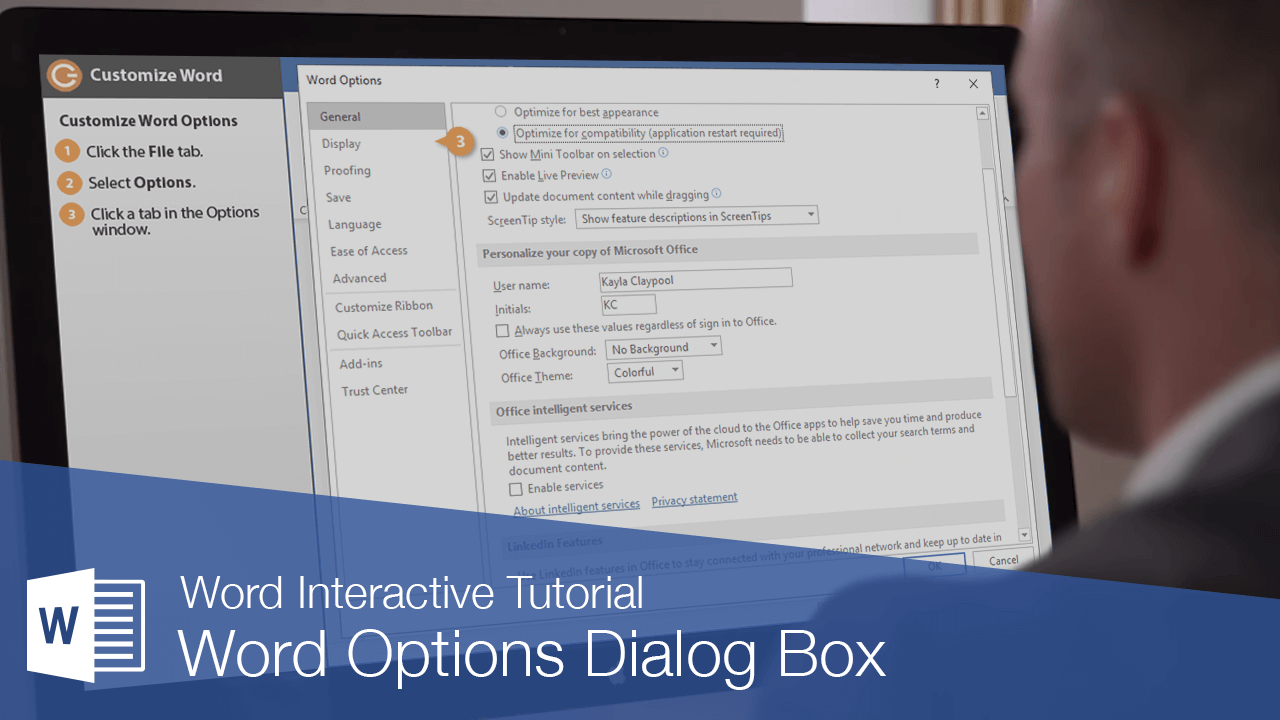
There are plenty of additional settings found in Word’s Options window that change how it works. If some of Word's default behavior doesn't quite work for you, changing one of these settings may help.
Customize Word Options
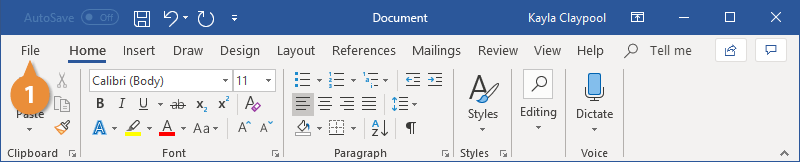
- Click the File tab.
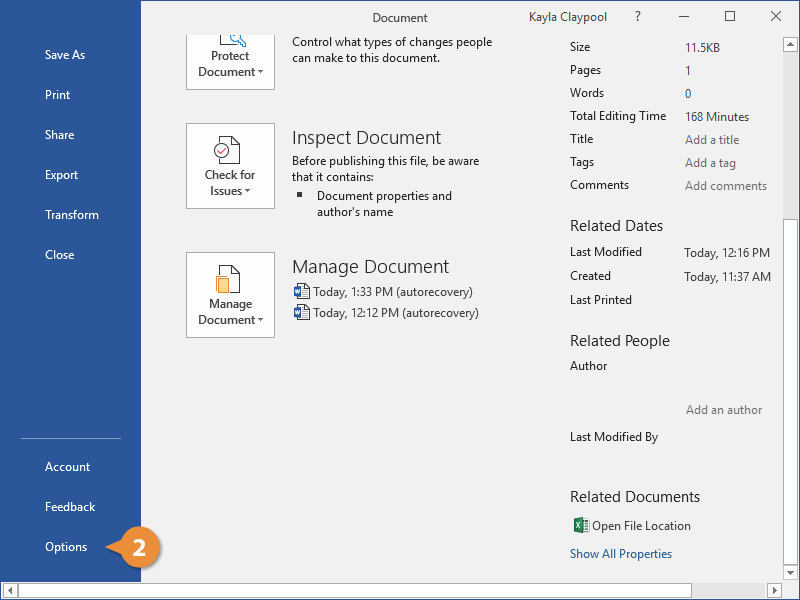
- Select Options.
The first tab in the Options window is General options. It contains some basic settings, such as the Mini Toolbar, your name and initials, and the theme and background of the window.
The other tabs control different sets of options:
- Display controls how content appears on the screen, whether any formatting marks appear, and how the document prints.
- Proofing controls spelling and grammar check, as well as autocorrect.
- Save controls default file types and saving locations.
- Language controls the languages used for display and editing purposes.
- Advanced controls a variety of options that don't have a home elsewhere.
- Click a tab in the Options window.
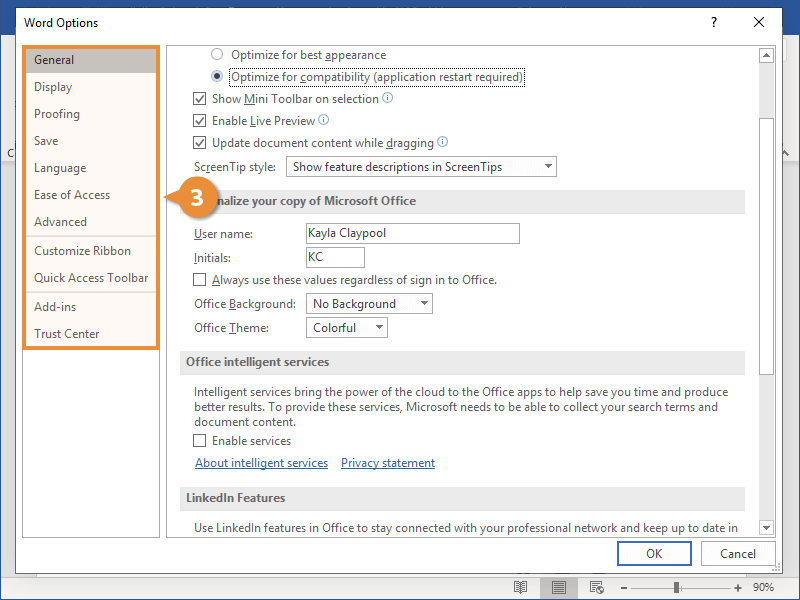
The Options window displays the options available for the selected tab.
Customize the Ribbon
The Options window is also where you can customize what ribbon tabs appear, what commands appear on the ribbon, and what commands appear on the Quick Access Toolbar.
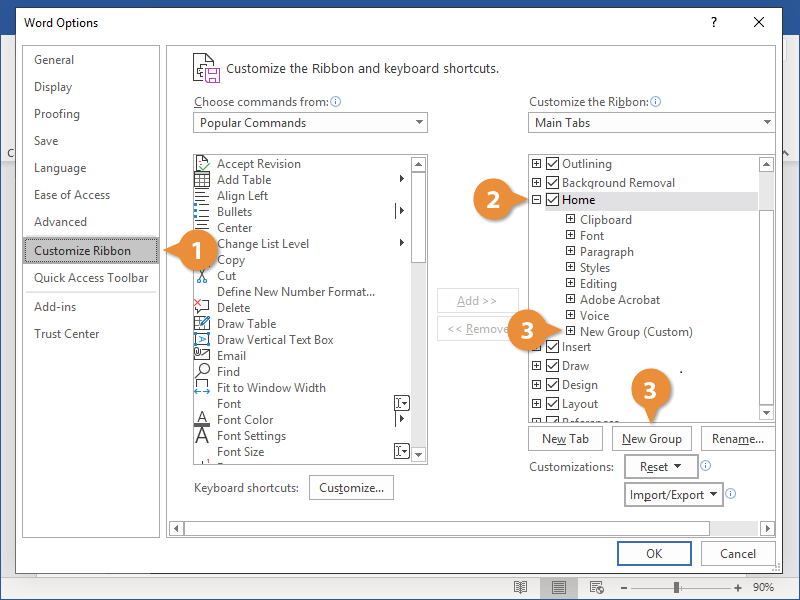
- In the Word Options window, click the Customize Ribbon tab.
The column on the left displays commands that you can add to or remove from the ribbon, while the column on the right shows the available ribbon tabs and groups.
The ribbon tabs can be toggled with the check box next to each one or expanded to show the groups and command buttons.
- Select and expand a ribbon tab.
You cannot customize the commands that appear in a default ribbon group; however, you can add commands to custom groups you create yourself.
- Select a custom group, or add a new one by clicking the New Group button.
- Select a command from the left column.
- Click the Add button.
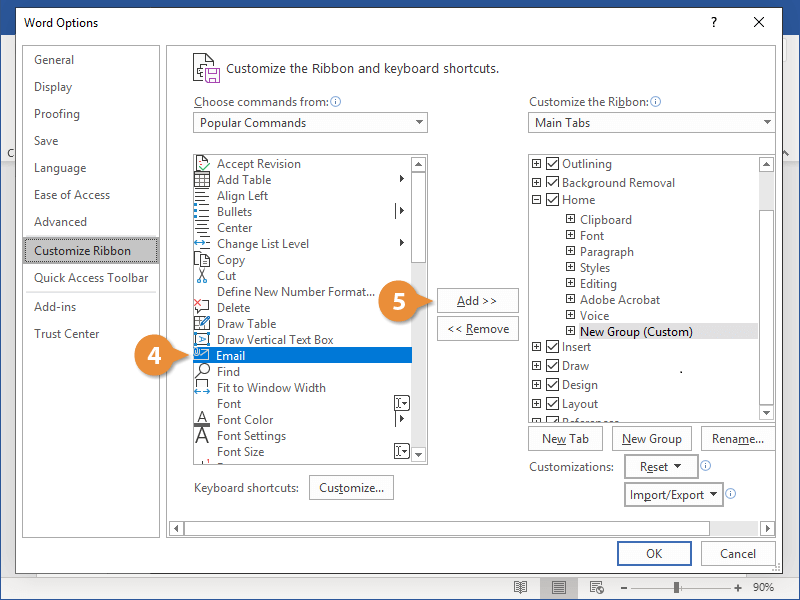
The command is added to the ribbon group.
You can also remove commands from the ribbon by selecting them in the right column and clicking Remove.
Customize the Quick Access Toolbar
You can customize the Quick Access Toolbar from the Options window as well, controlling which commands are available there.
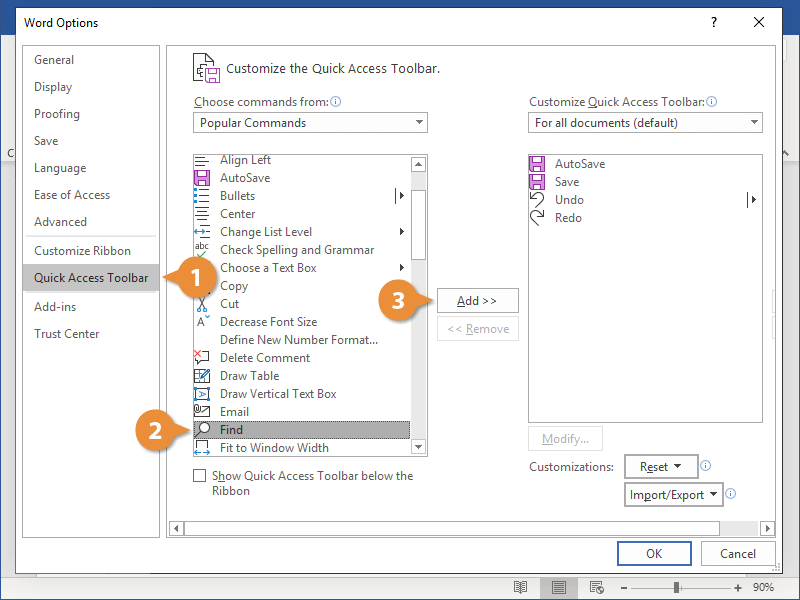
- In the Word Options window, click the Quick Access Toolbar tab.
The column on the left displays commands that you can add to the Quick Access Toolbar, while the column on the right shows the commands that are already there.
- Select a command from the left column.
- Click the Add button.
The command is added to the Quick Access Toolbar.
You can remove a command from the Quick Access Toolbar by selecting it in the right column, then clicking the Remove button.
You can also reorder the commands by selecting one in the right column, and then clicking the Up or Down arrow buttons to move it up or down in the order.
Change the Default Font
You can also customize the default font that is used when you start a new document.
- Start in a new, blank document.
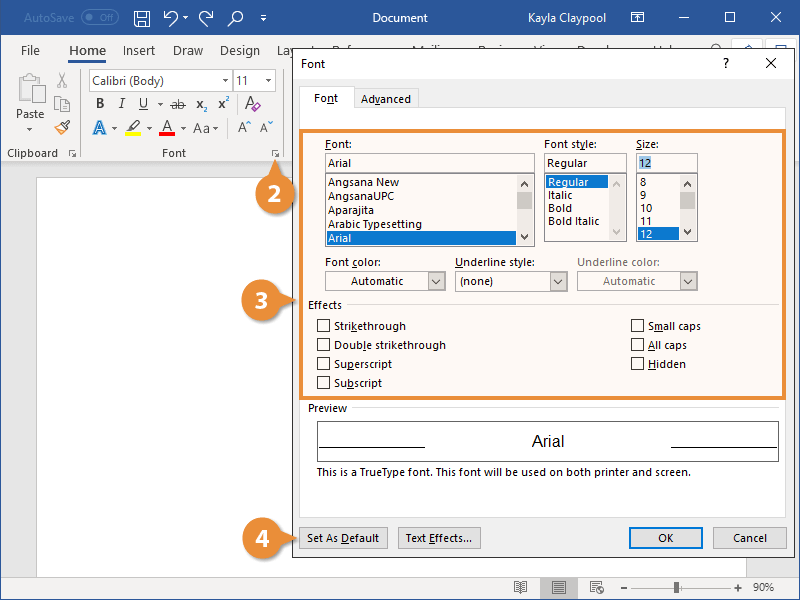
- Click the Font group’s dialog box launcher.
- Customize how you want the default font to appear.
You can customize the font, as well as the style, size, and effects.
- Click the Set As Default button.
You can choose to change the default for just the current document, or for all documents based on this document’s template in the future.
- Choose All documents based on the Normal template.
- Click OK.
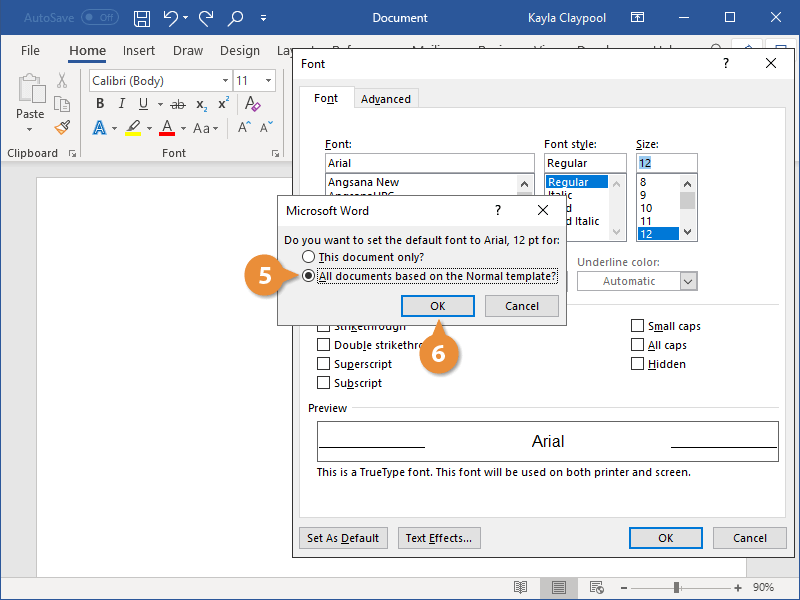
The default font is changed for the current document and any newly-created documents.