
Interactive Tutorial
Smart Art Word
Insert and Format SmartArt in Word to Create Professional Diagrams and Visuals
-
Learn by Doing
-
LMS Ready
-
Earn Certificates

Try this Course with a Free Trial
The SmartArt feature lets you create and customize designer-quality diagrams to convey information with graphics instead of just text. You can even convert bulleted lists into a diagram using the SmartArt diagram tools.
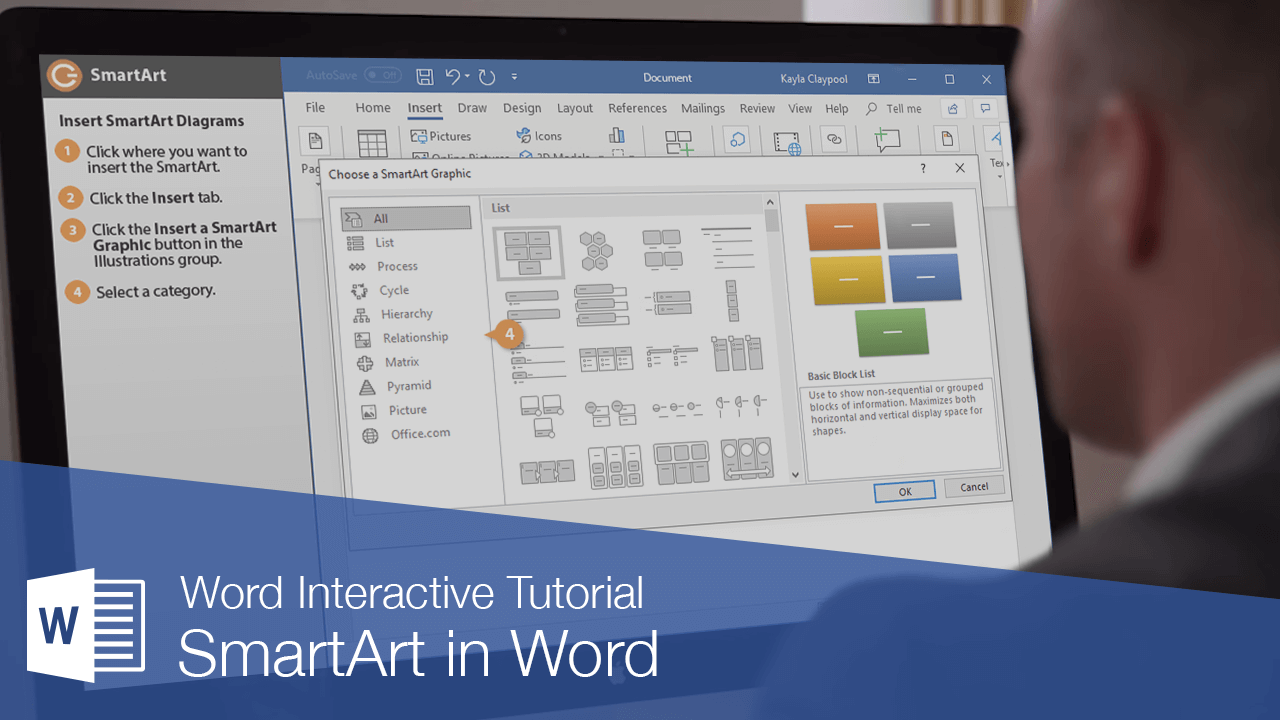
Insert SmartArt Diagrams
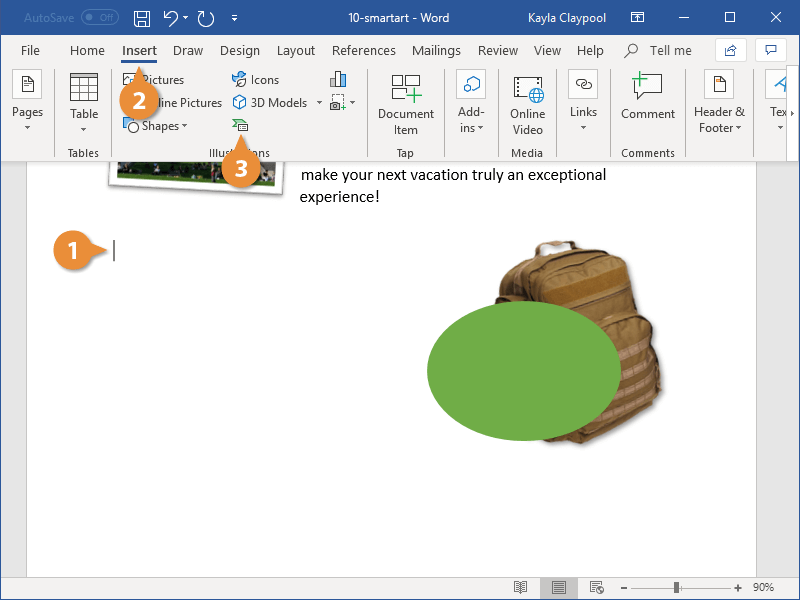
- Click where you want to insert the SmartArt.
- Click the Insert tab.
- Click the SmartArt button in the Illustrations group.
- Select a category.
- Select a graphic.
- Click OK.
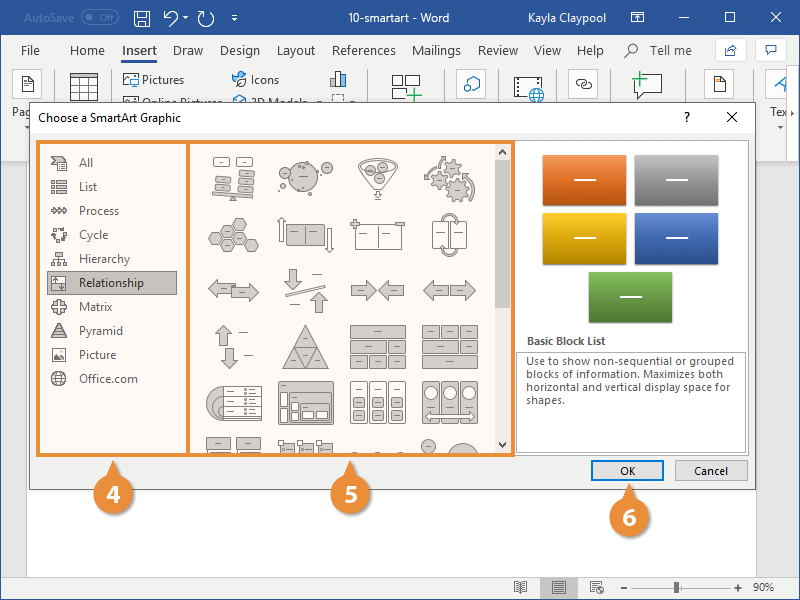
A dialog box opens, displaying categories of SmartArt on the left, styles of SmartArt graphics in the middle, and a preview and description of the selected SmartArt on the right.
The selected SmartArt graphic is inserted.
Each part of the graphic contains placeholder text, ready for you to fill it in.
Add Text
- Click the arrow on the SmartArt graphic’s left border.
- Enter text for each bullet in the text pane.
- Click the text pane’s Close button when you’re done.
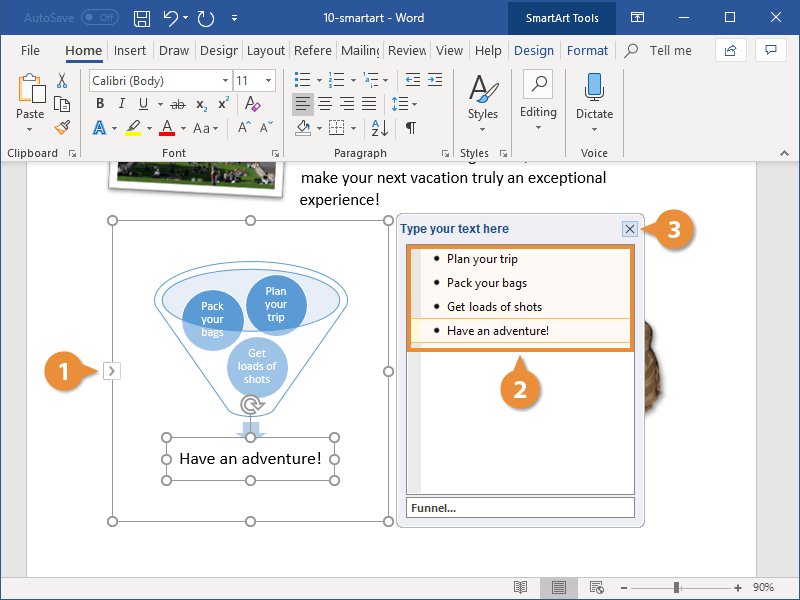
The text pane opens, where you can enter the text for the SmartArt graphic.
You can also open the text pane by clicking the Text Pane button on the Design tab in the SmartArt Tools ribbon group.
You can also click each text placeholder in the SmartArt graphic to directly add text.
Some SmartArt graphics can accommodate more bullet points than they start with. To add another bullet, press Enter in the text pane.
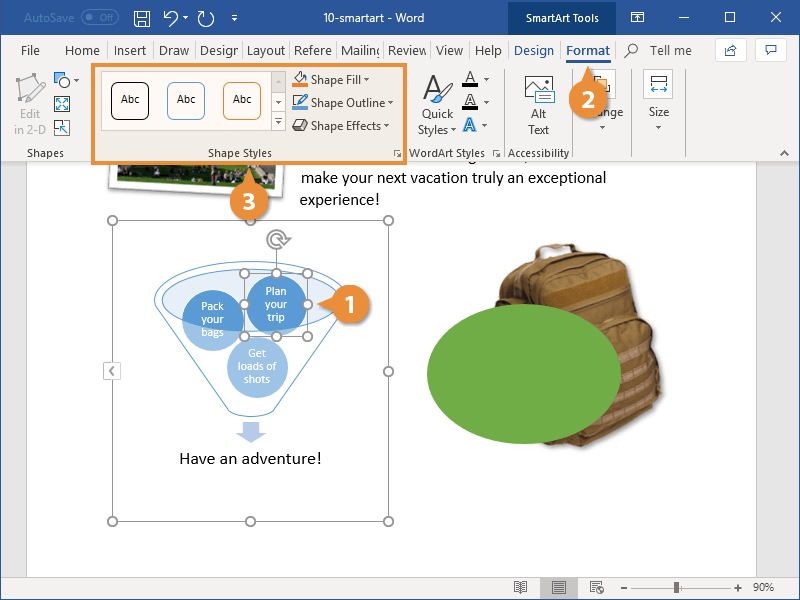
Format SmartArt
Finally, you can customize the look of each shape in the SmartArt graphic.
- Click the SmartArt shape you want to format.
- Click the Format tab under SmartArt Tools.
- Use the options in the Shape Styles group to format each shape.
You can continue formatting the shapes how you want.
Use the options in the Shape Styles pane for advanced formatting.