
Interactive Tutorial
How to Show Formatting Marks in Word
Display Paragraph Marks, Spaces, and Hidden Formatting Symbols to Edit Word Documents Precisely
-
Learn by Doing
-
LMS Ready
-
Earn Certificates

Try this Course with a Free Trial
There are several ways to change how a document’s contents are displayed on the screen using the preset document views. You can also zoom in or out to view more or less of the page at a time and view multiple documents at once.
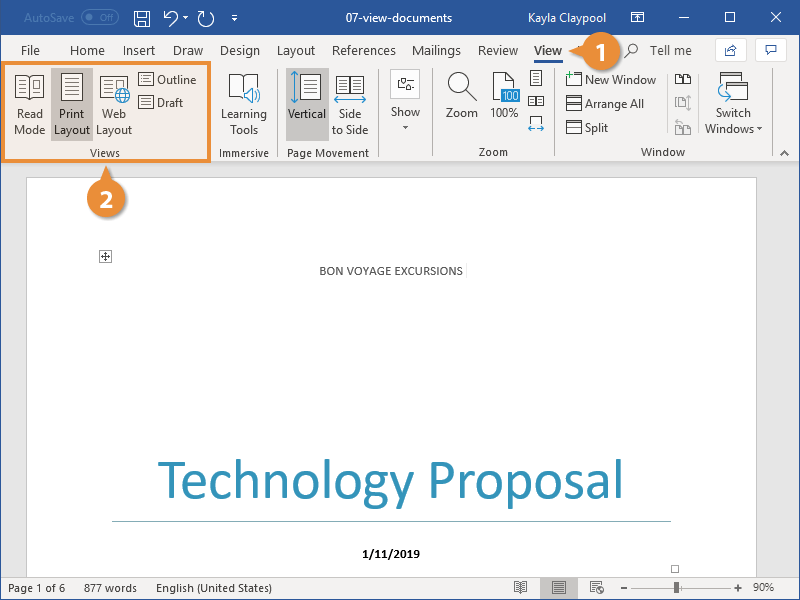
Change Document Views
- Click the View tab.
- Select a view:
- Read Mode only shows necessary toolbars, making room for enlarged text and navigational tools. This view is read-only, so you won’t be able to make edits.
- Print Layout view displays your document as it will appear when printed. It’s best for working in documents with advanced formatting.
- Web Layout view shows backgrounds, wraps text to fit inside the window, and positions graphics just as they are in a web browser.
- Outline view displays your document in classic outline form.
- Draft view works well for most simple word-processing tasks, such as typing, editing, and simple formatting. Does not display advanced formatting, such as page boundaries, headers and footers, or floating pictures.
You can quickly access Read Mode, Print Layout, and Web Layout views from the View buttons in the status bar.
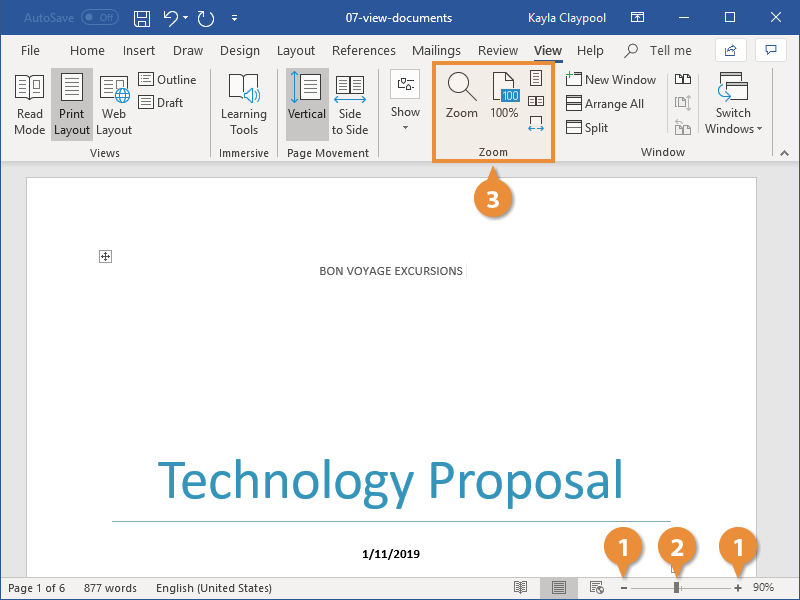
Zoom
Sometimes it is helpful to make a document appear larger on the computer’s screen, especially if you have a small monitor or poor eyesight. It can also be helpful to zoom out so that you can see how the whole document looks.
- Click the Zoom In or Zoom Out buttons on the status bar.
The page zooms in or out.
- Click and drag the zoom slider to adjust the zoom level.
Using the zoom slider is a more precise way to adjust the zoom on your document.
- Click one of the options in the Zoom group on the View tab of the ribbon to control the zoom level further.
- Click the Zoom button to open the Zoom dialog box, where you can specify a zoom level.
- Click the 100% button on the View tab to return your document to viewing at 100%.
- Click the One Page button to zoom the document out so that one entire page is visible in the window.
- Click the Multiple Pages button to see multiple full pages side by side.
- Click the Page Width button to automatically zoom the document in so that the page fills the window side-to-side.
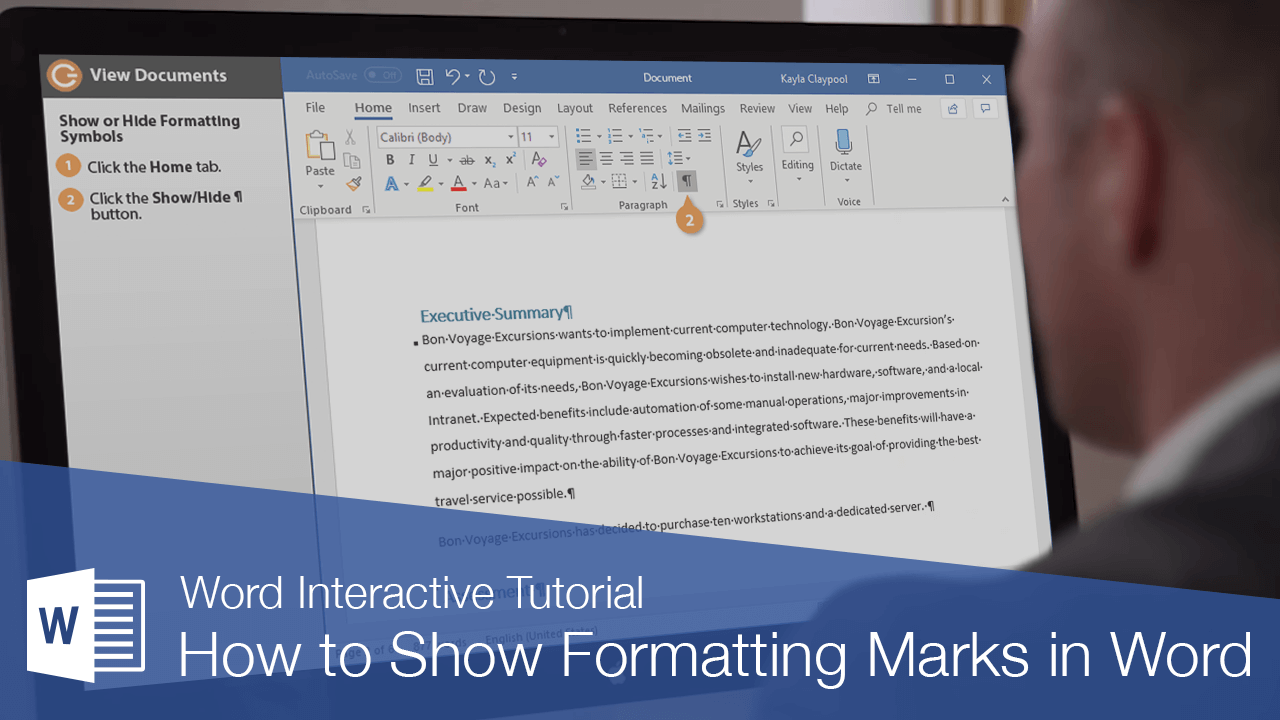
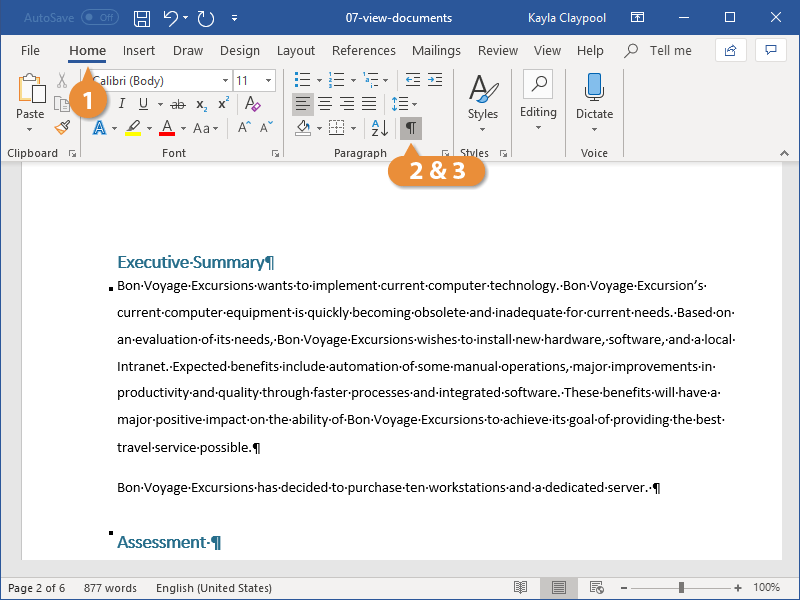
Show or Hide Formatting Symbols
Every document is filled with hidden formatting symbols that help control how the text is laid out on the page. New paragraphs, carriage returns, tabs, spaces, and page breaks can be seen, selected, moved, and deleted.
Viewing these formatting symbols lets you see where you may have added extra spaces between words, for example, or whether spaces or tab stops were used to indent text.
- Click Home tab.
- Click Show/Hide ¶ button.
The hidden formatting symbols are now shown. These symbols represent spaces, new paragraphs, page breaks, and other bits of text and page formatting.
- Click Show/Hide ¶ button again.
The symbols are hidden once again.
Press Ctrl + * to display or hide the formatting symbols.