
Interactive Tutorial
How to Move a Table in Word
Reposition Tables in Word for Better Page Layout and Professional Document Formatting
-
Learn by Doing
-
LMS Ready
-
Earn Certificates

Try this Course with a Free Trial
Tables aren’t simply stuck where they are when you first insert them. You can move them around manually or let Word position them automatically for you.
Align a Table
You can position a table the same way that you position regular text, using the alignment controls.
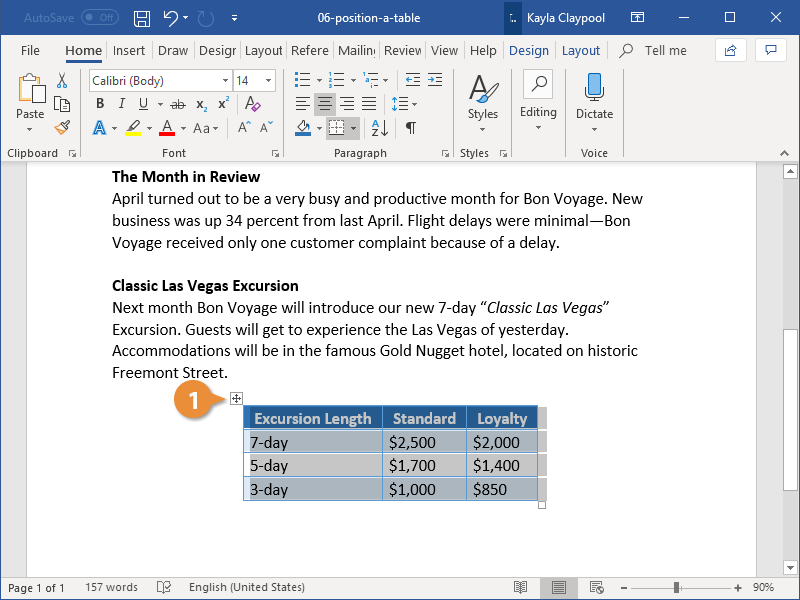
- Select the table by clicking the Move handle (
 ) that appears above the top left corner of the table.
 - Select an alignment option in the Paragraph group on the Home tab.
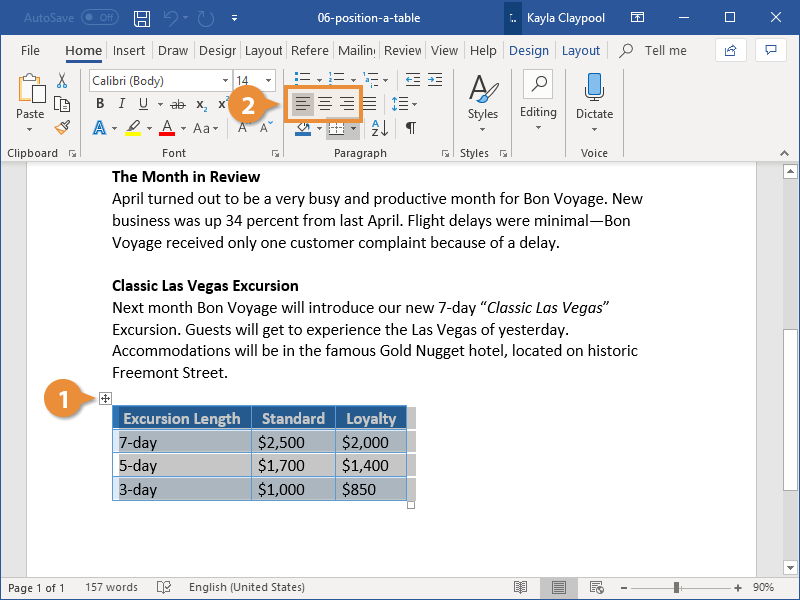
It’s important that the whole table is selected. If only certain cells are selected, the text in those cells will be aligned instead of the table.
The table is aligned to the left, center, or right margin of the page, just like text would be.
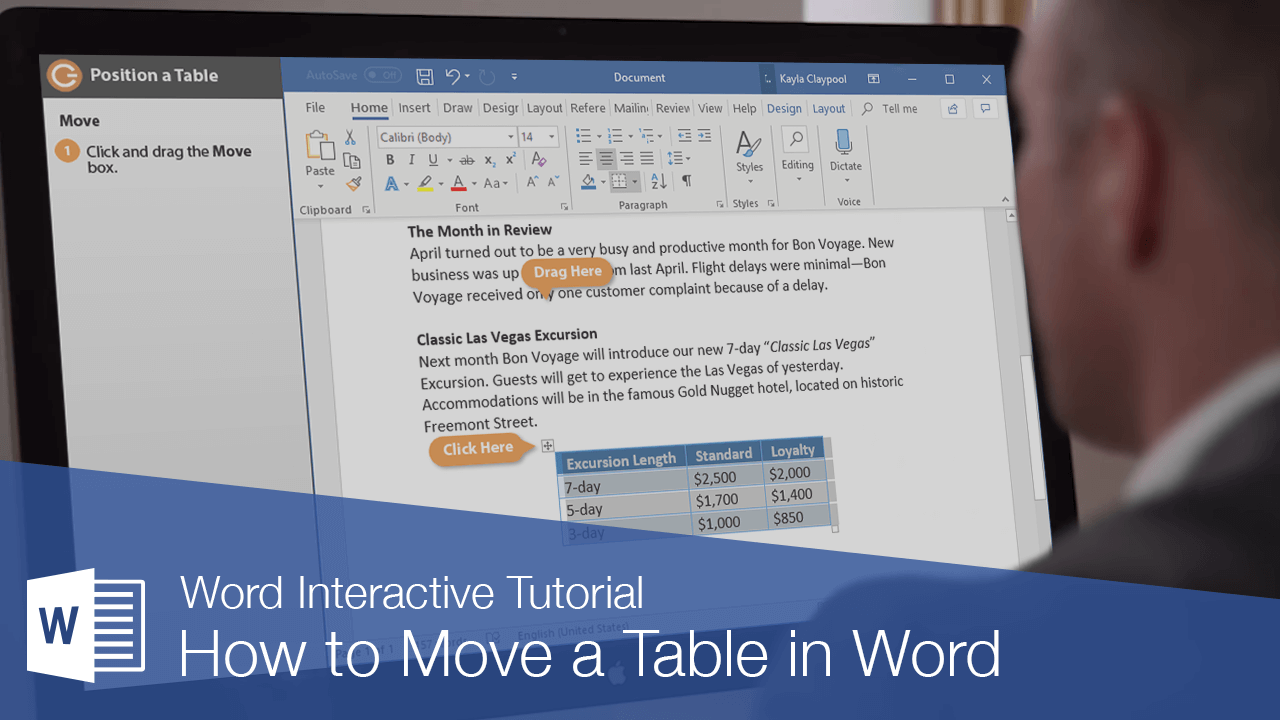
Move a Table
If the basic alignment options don’t position the table where you want it to be, you can move the table around the page manually.
- Click the table’s Move handle () and drag it to where you want to move the table.
The table moves, and the text on the page moves around to make room.
Adjust Text Wrapping
Text wrapping controls how text in your document flows around a table.
- With the table selected, click the Layout tab in the Table Tools ribbon group.
- Click Properties.
- None will clear the areas to the left and the right of the table.
- Around will let the text wrap around the table on the left and right sides.
- Make your text wrapping selection.
- Click OK.
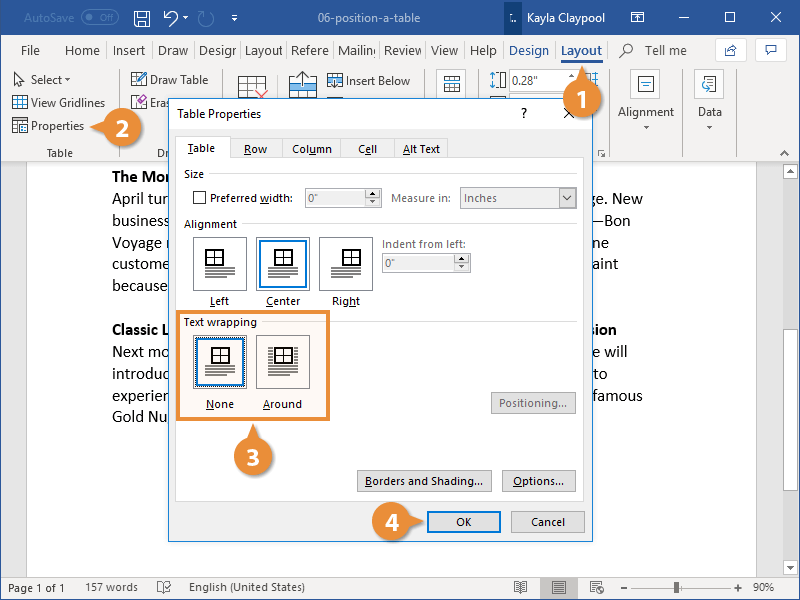
In the Text Wrapping section of the dialog box, you can choose from two text wrapping options.
The text wrapping is changed to the selected setting.
Resize a Table
You can also easily resize a table to fit within a certain space.
- Click and drag the Sizing box in the bottom-right corner of the table to make your table larger or smaller.
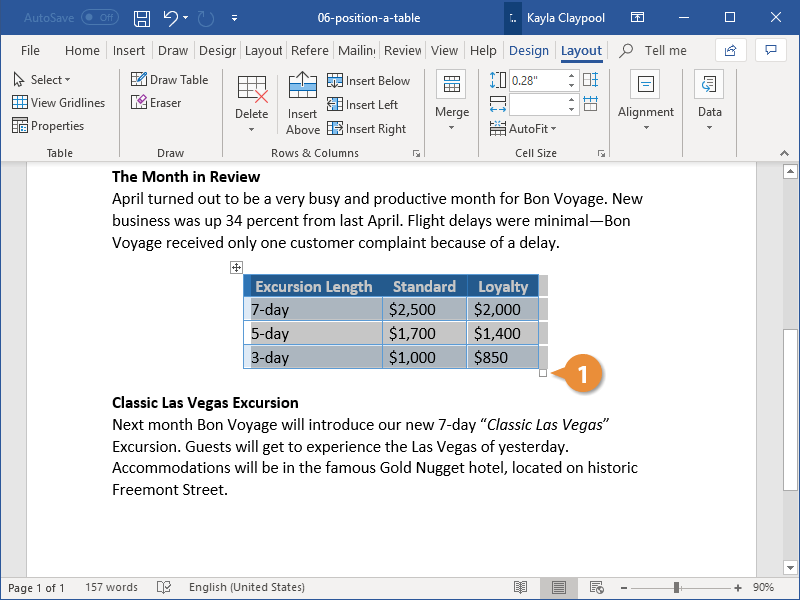
The table is resized, with the columns and rows resizing proportionally.
You can also specify a preferred table width, but not height, in the Table Properties dialog box.