
Interactive Tutorial
How to Layer Pictures in Word
Arrange and Overlap Images in Word for Creative Layouts and Professional Designs
-
Learn by Doing
-
LMS Ready
-
Earn Certificates

Try this Course with a Free Trial
Word layers objects, like a stack of papers, so you can easily adjust which objects appear in front of the others and which are sent to the back.
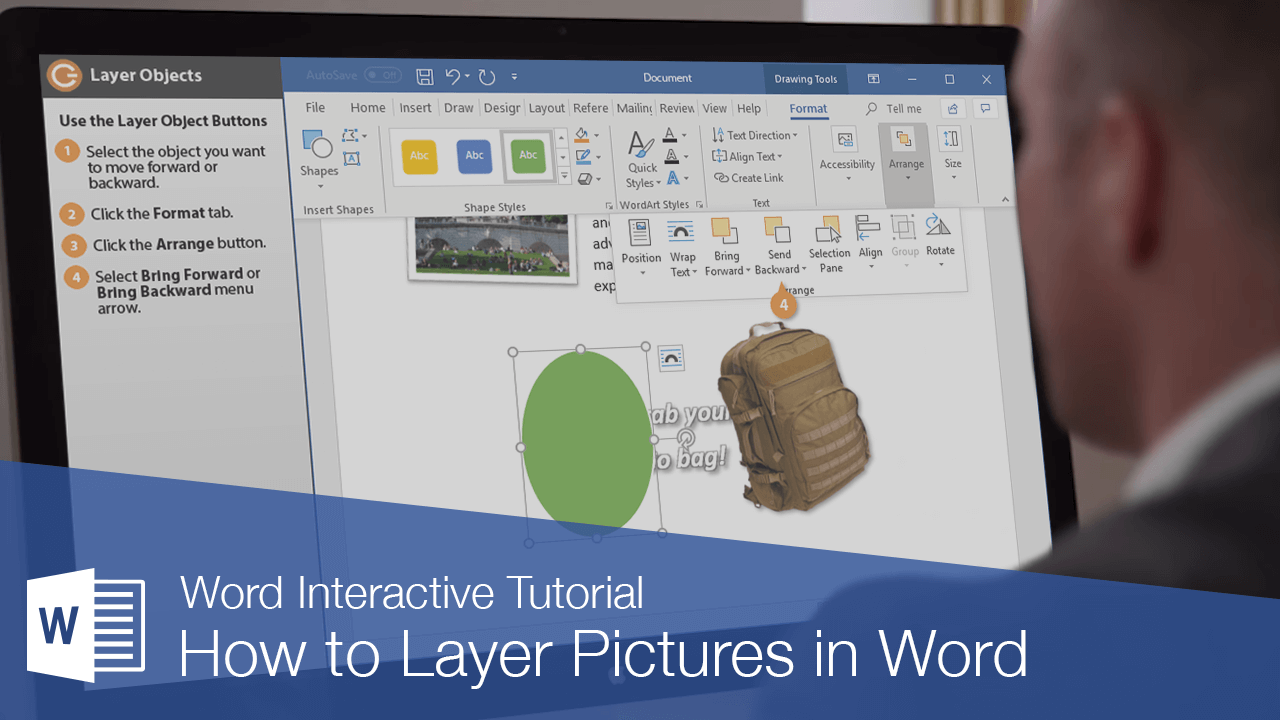
Use the Layer Object Buttons
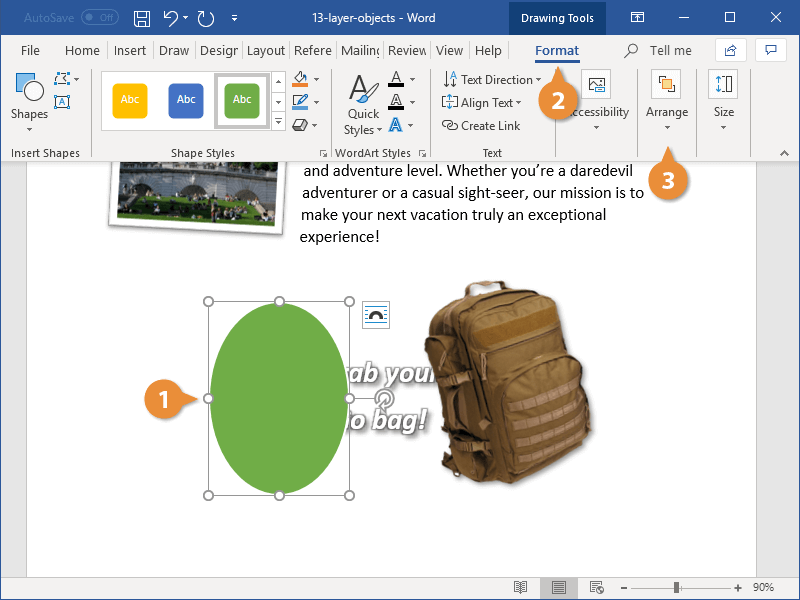
- Select the object.
- Click the Format tab.
- If necessary, expand the Arrange group.
- Click the Bring Forward or Send Backward list arrow.
- Bring to Front/Bring in Front of Text: Brings the selected object to the very front, or just in front of the text.
- Send to Back/Send Behind Text: Sends the selected object to the very back, or just behind the text.
- Bring Forward: Brings the selected object up one layer.
- Send Backward: Sends the selected object down one layer.
- Select a layering option.
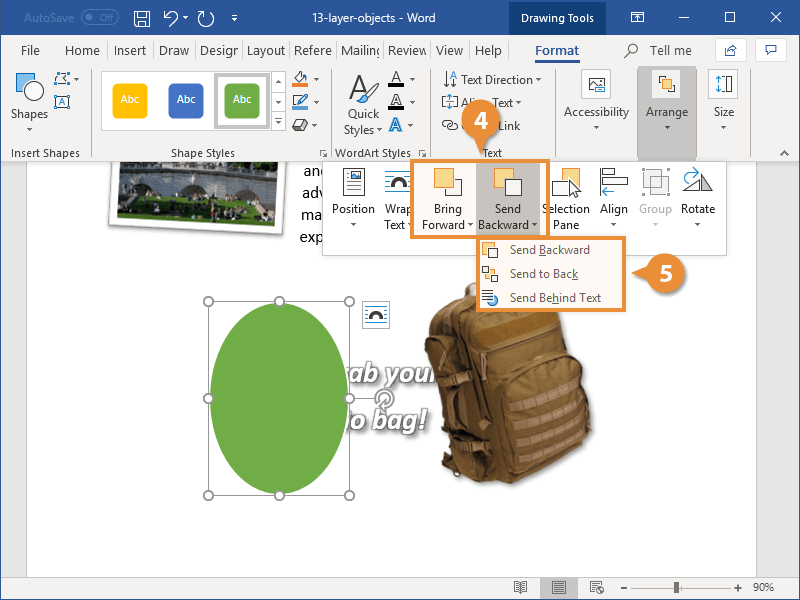
The Arrange group has options to both bring the selected object forward to a higher layer or to send it backward to a lower layer.
There are several options available for adjusting the object’s layer.
The selected object moves up or down in the object layers.
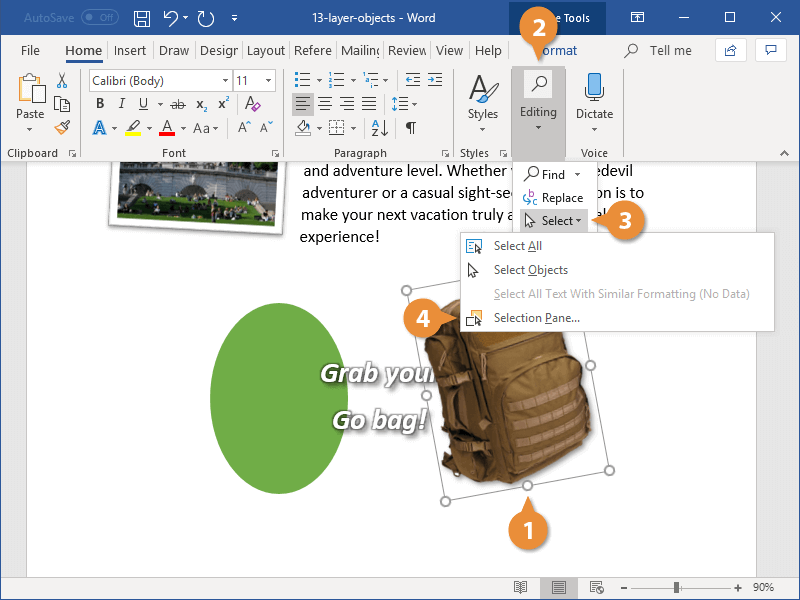
Use the Selection Pane
You can use the Selection pane to see a list of all the objects on a page, rearrange their layer order, and toggle their visibility.
- Select an object.
- Expand the Editing group in the Home tab.
- Click the Select button.
- Select Selection Pane.
- Click the Up or Down arrow to move the selected object.
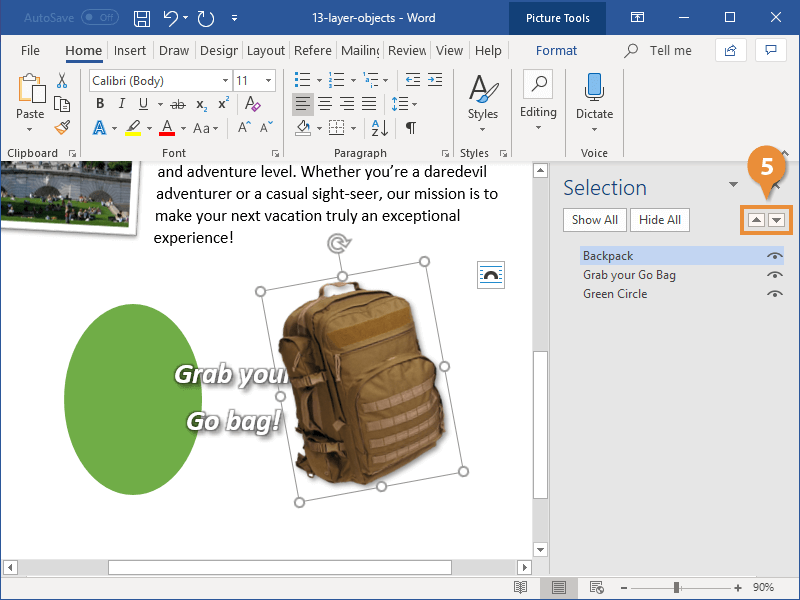
The Selection pane appears at the right, and you can see how the graphics are layered.
The selected object moves up or down in the layer order.
The Selection pane can also be used to toggle the visibility of objects by clicking the visibility icon to the right of the selected object. You can toggle the visibility of all the page’s objects by clicking Hide All or reveal them all by clicking Show All.