
Interactive Tutorial
How to Insert a Picture in Word
Add and Position Images in Word to Enhance Your Document’s Visual Appeal
-
Learn by Doing
-
LMS Ready
-
Earn Certificates

Try this Course with a Free Trial
You can insert graphics and pictures that you have on hand into your document. For example, you can insert an image made in another program, or a photo off a digital camera.
Insert a Picture
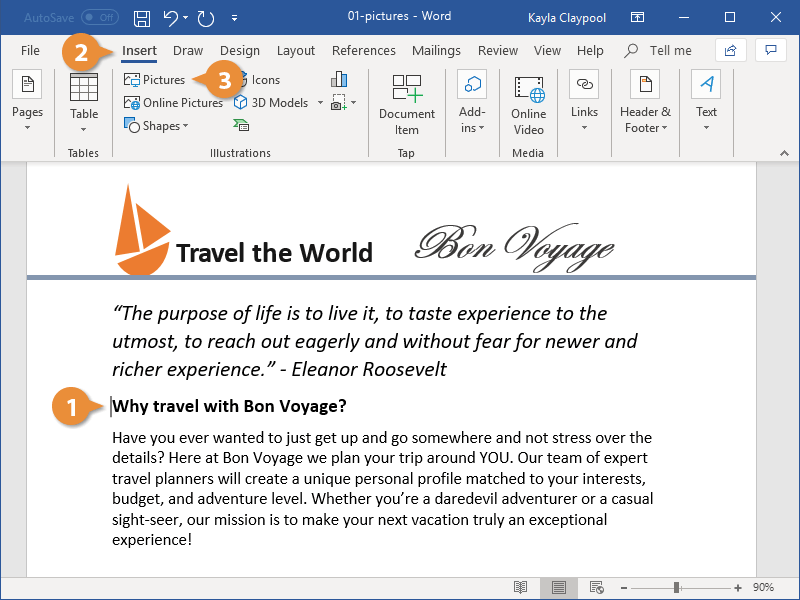
- Click in your document where you want to insert your picture.
- Click the Insert tab.
- Click Pictures button.
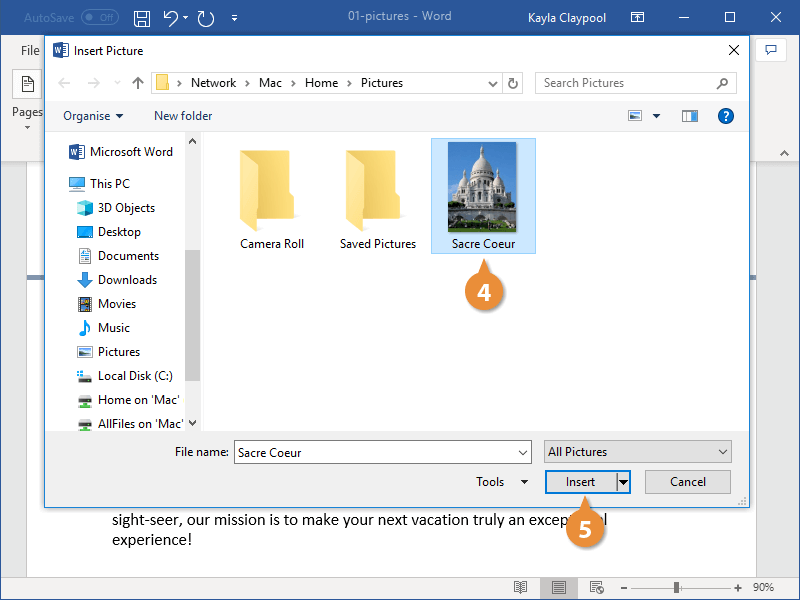
- Navigate to the picture you want to insert and select it.
- Click Insert button.
A file browser window opens.
To insert more than one file at a time, press and hold down Ctrl as you select them.
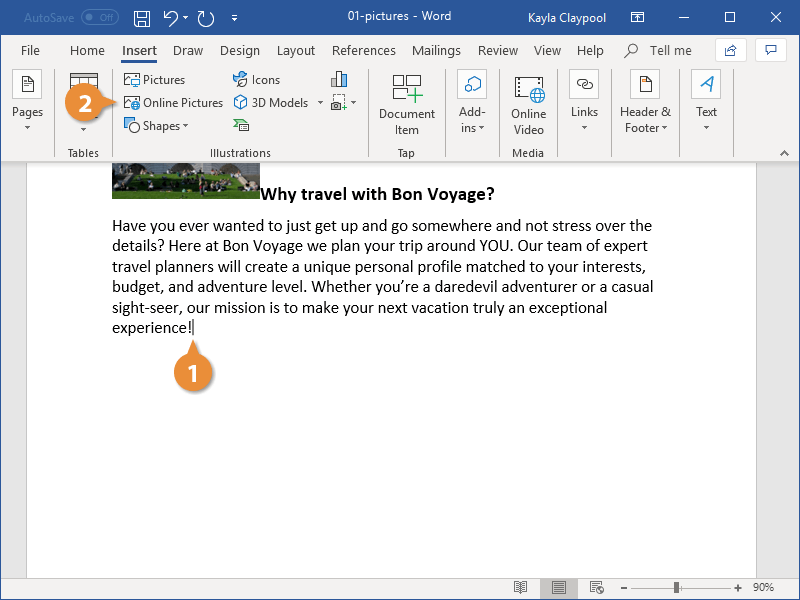
The selected picture is inserted.
Insert an Online Picture
You can also use the internet to search for a picture if you don't have one handy in your files.
- Click where you want to insert your online picture.
- Click the Online PIctures button on the Insert tab.
- Enter keyword text into the search field and press Enter.
- Size: Choose how big you want the image to be, from a small thumbnail to an extra-large image.
- Type: You can search for a photograph, clipart, line drawings, animations, or images with transparent backgrounds.
- Color: Select a color to show images that primarily feature that color.
- Layout: Search for square, wide, or tall images.
- Select the picture you wish to use.
- Click the Insert button.
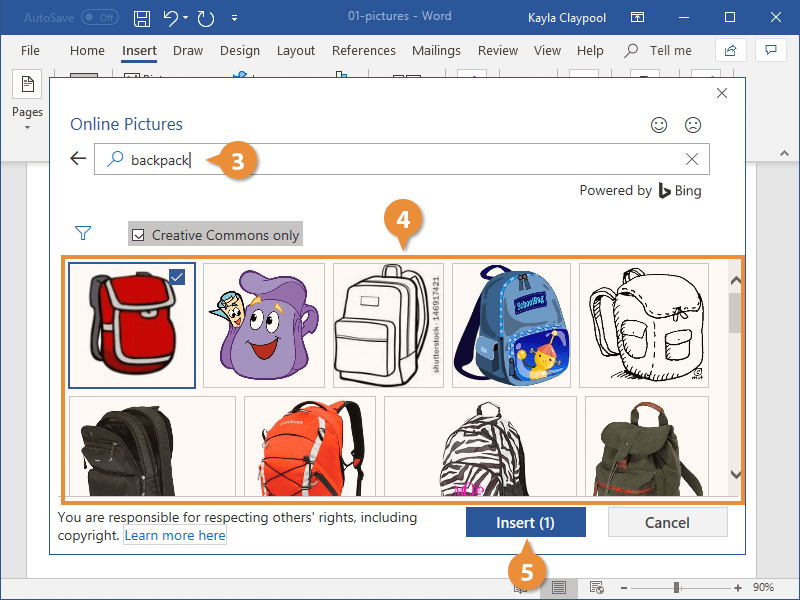
From here, you can search for pictures using Bing Image Search, or browse your OneDrive account for something to use.
You can click the Filter button below the search field to refine your search.
The image is inserted.
Crop a Picture
When you crop a picture, you trim its horizontal and vertical sides. Cropping is useful when you only want to include a portion of a picture, or when you need to adjust its proportions.
- Select the picture.
- Click the Format tab in the Picture Tools ribbon group.
- Click the Crop button.
- Click and drag the crop handles where you want to crop.
- Click the Crop button again when you’re finished setting the crop area.
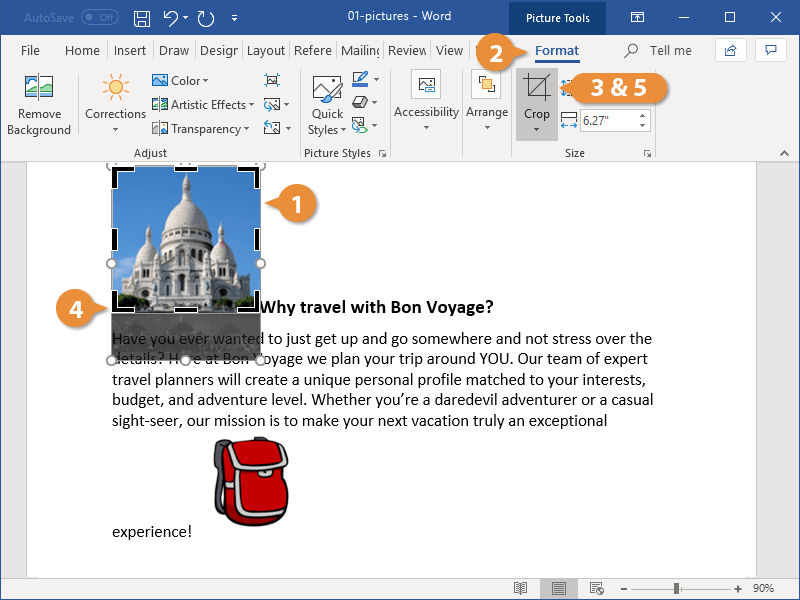
Crop handles appear on the sides and corners of the image.
To crop all four sides of a picture or graphic at once while maintaining the graphic’s proportions, press and hold down Ctrl as you drag the handles.
The image is cropped to the borders you set.
Use Picture Styles
Picture styles let you add borders and effects, such as shadows, reflections, and 3D rotation, to images. You can select a Quick Style or customize your own style.
- Click the Quick Styles button on the Format tab.
- Select a style.
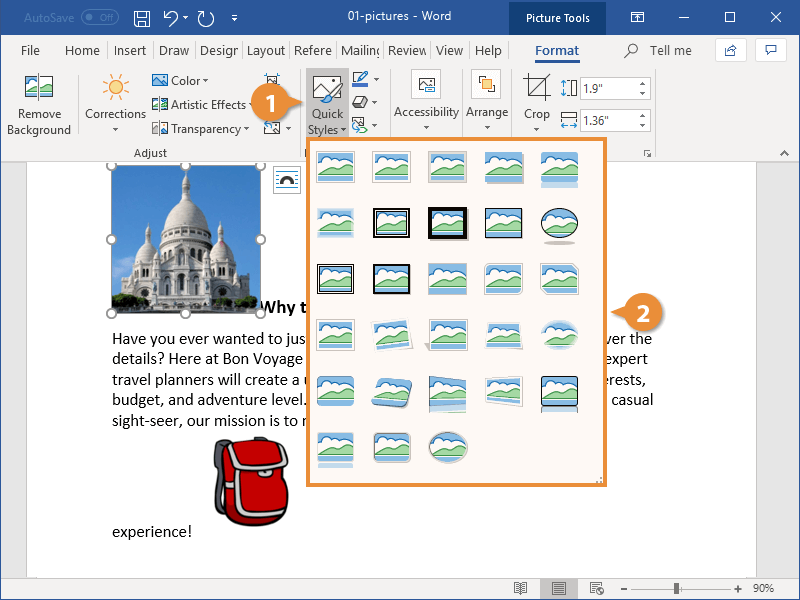
The Quick Styles gallery expands. Each thumbnail gives a rough preview of how the style will affect the image.
The style is applied, updating the picture’s border and effects.
Use Artistic Effects
You can apply a variety of artistic effects to the images in your Word document. Using these effects is an easy way to make your document stand out.
- With the picture selected, click the Artistic Effects list arrow on the Format tab in the Picture Tools ribbon group.
- Select an effect from the list.
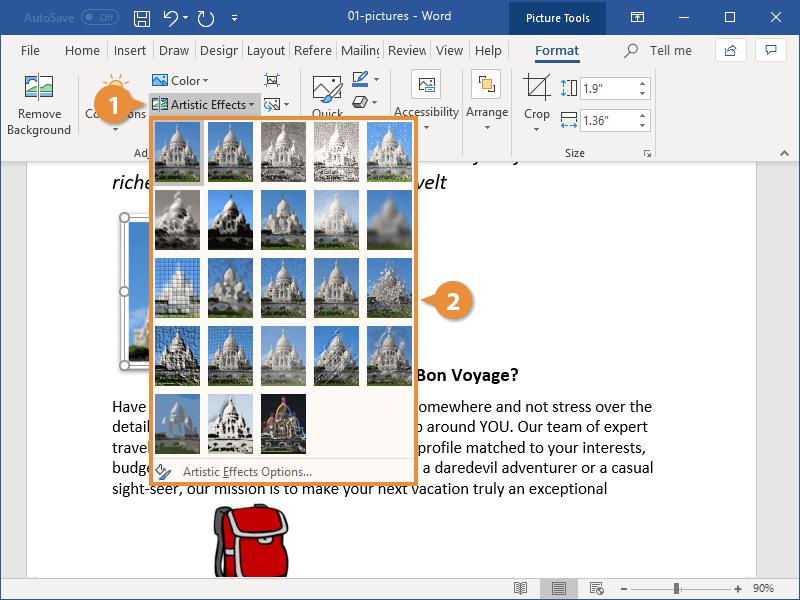
Thumbnails for the available artistic effects appear, with emulated pencil sketch styles, paint styles, and texture effects.
The artistic effect is applied.
You can use the Corrections menu the same way to adjust and enhance your picture brightness, contrast, sharpness, or softness. You can also use the Color menu to adjust saturation and tone, or to add a color filter.