
Interactive Tutorial
How to Change Margins in Word
Adjust Page Margins in Word to Control Layout, Improve Readability, and Fit Your Content Perfectly
-
Learn by Doing
-
LMS Ready
-
Earn Certificates

Try this Course with a Free Trial
A margin is the empty space between a document’s contents and the edges of the page. Word’s default margins are 1 inch on each side of the page, but you can change the margins to accommodate the needs of your document.
Choose a Margin Size
Word includes several built-in margin settings that you can choose from.
- Click the Layout tab.
- Click Margins button.
- Select a new margin setting.
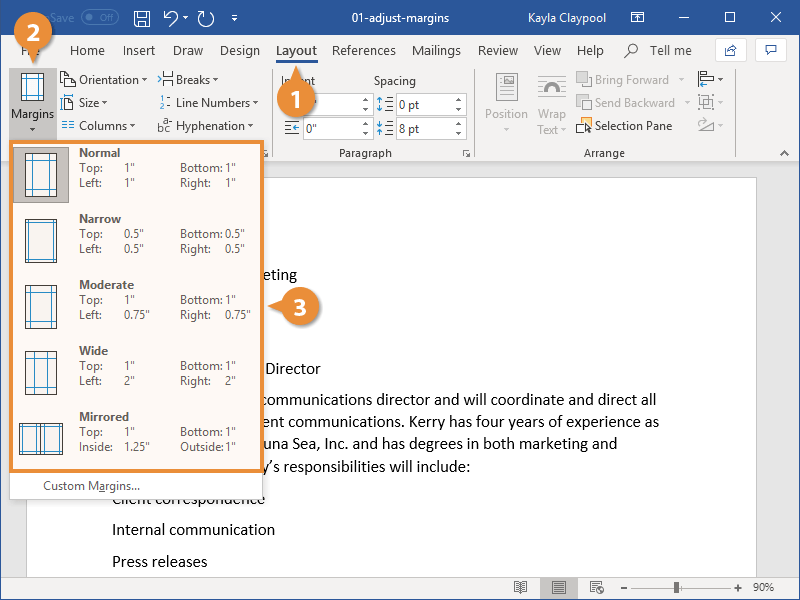
Word adjusts the size of the margins and automatically redistributes your content to fit.
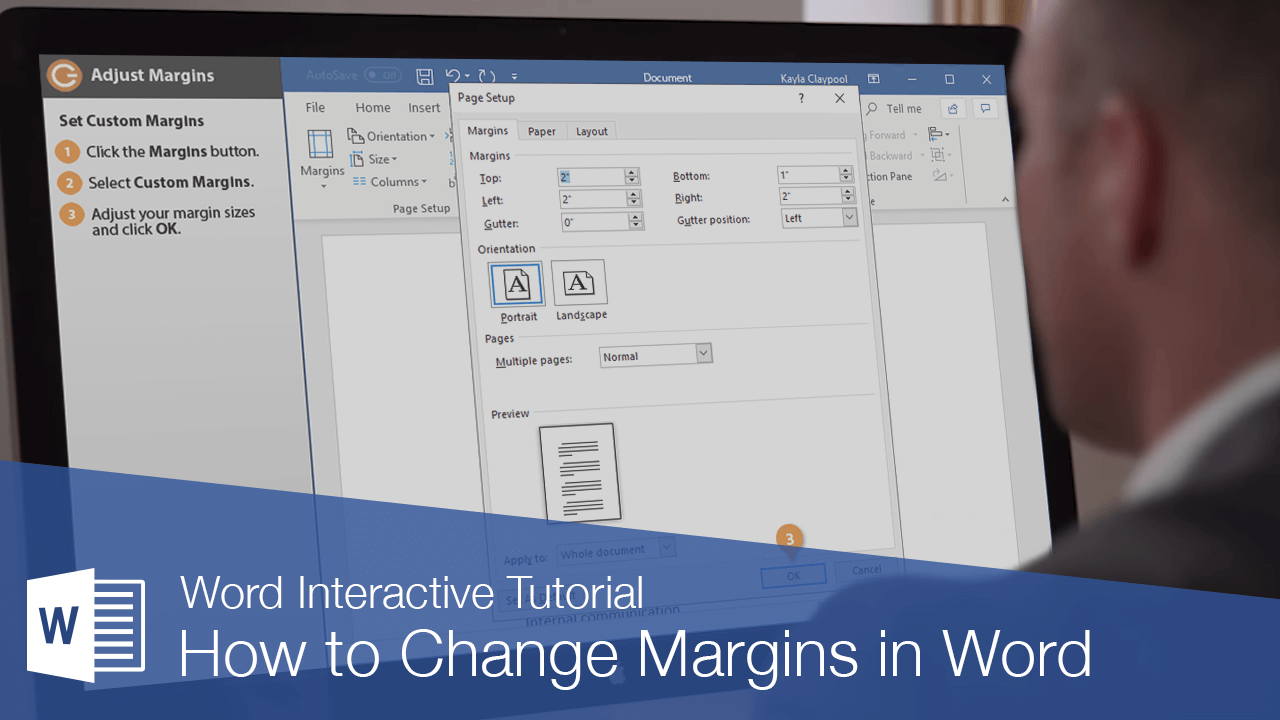
Set Custom Margins
If the common margin settings don't meet your needs, you can create custom ones.
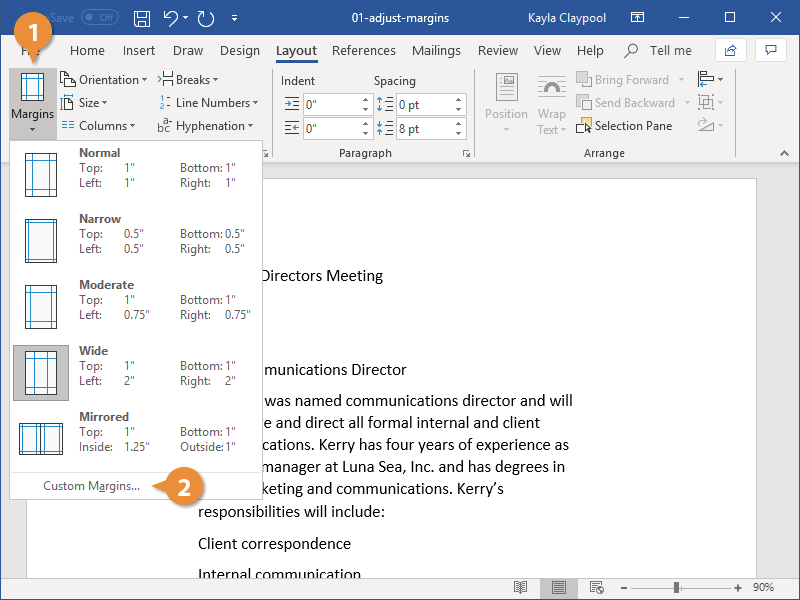
- Click Margins button on the Layout tab.
- Select Custom Margins.
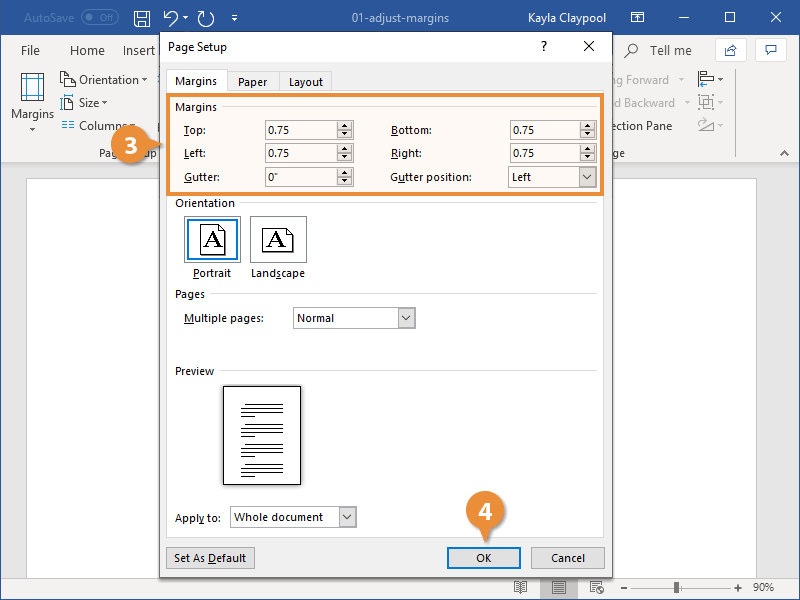
- Adjust your margin settings in the dialog box.
- Click OK.
Another way to adjust margins is to click and drag the Left Margin, Right Margin, Top Margin, or Bottom Margin line on the Ruler.
If you intend to bind a document and require extra space for the bindings, use the Gutter setting on the Margins tab in the Page Setup dialog box.