
Interactive Tutorial
How to Change Column Width in Word
Adjust Column Width and Spacing in Word for Better Layout and Readability
-
Learn by Doing
-
LMS Ready
-
Earn Certificates

Try this Course with a Free Trial
When you first create a table, all the rows and columns will start the same size. As you add information to the table, you’ll likely find that some rows and columns will need to be bigger than others. You can adjust the size of rows and columns manually, or automatically resize them.
Manually Resize
The most direct way to manually adjust the width of a column or the height of a row is by directly adjusting them with the mouse.
- Click and drag a cell border until the row or column is the size you need.
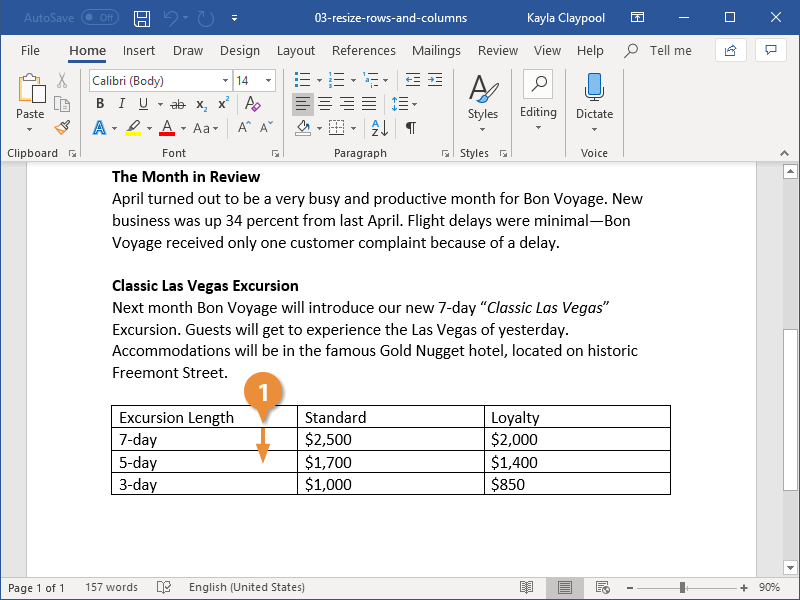
The columns or rows adjust to the new size.
Distribute Rows and Columns
If your table has columns and rows of different sizes, you can distribute them so that they’re all the same width or height.
- Click the Layout tab in the Table Tools ribbon group.
- Click the Distribute Columns button or the Distribute Rows button.
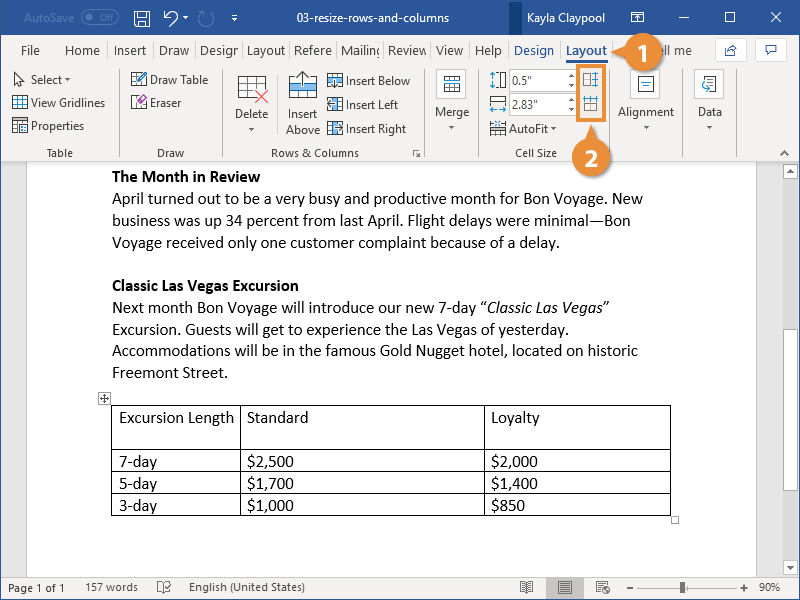
The columns or rows in the table are all set to the same width or height.
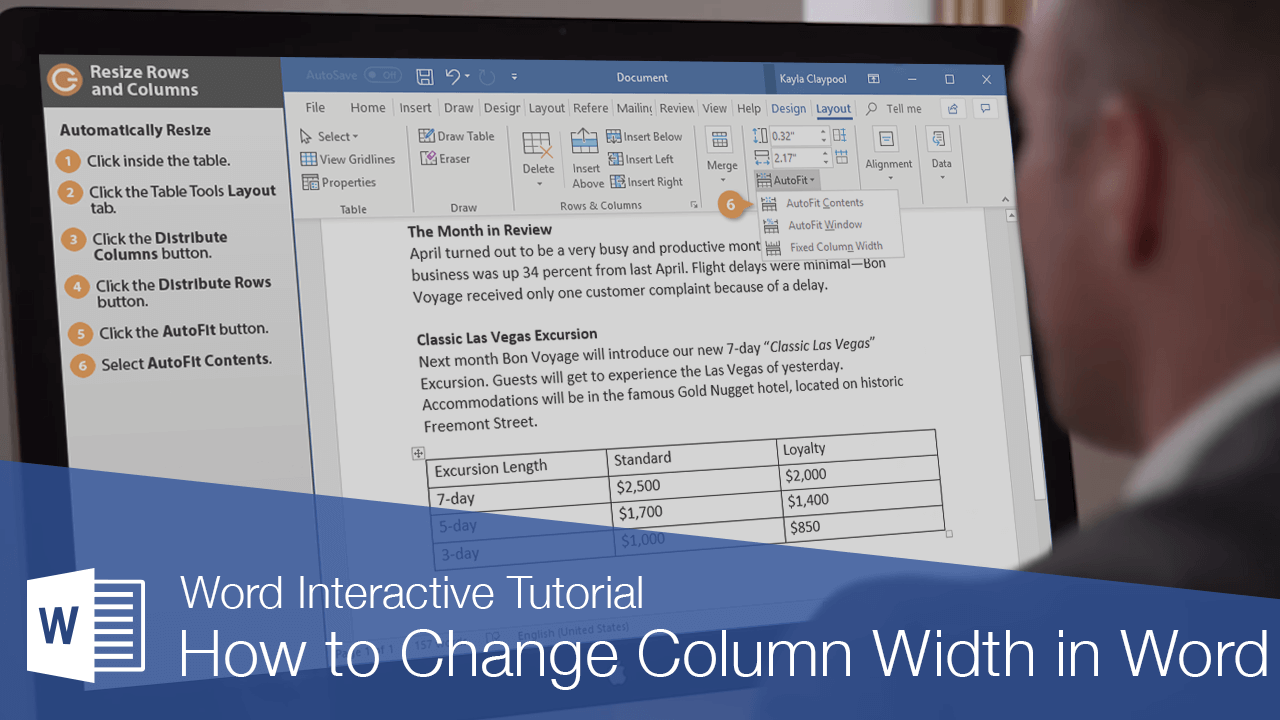
Automatically Resize
You can also have rows and columns resize automatically to fit the table’s contents.
- Click the AutoFit button.
- AutoFit Contents will automatically resize the rows and columns to fit the content in the cells. The table will automatically adjust to new content, resizing the columns and rows as you type.
- AutoFit Window will resize the table to fill the available space on the page.
- Fixed Column Width will stop the columns and rows from resizing as new content is added if you’ve previously enabled an AutoFit setting.
- Select an AutoFit option.
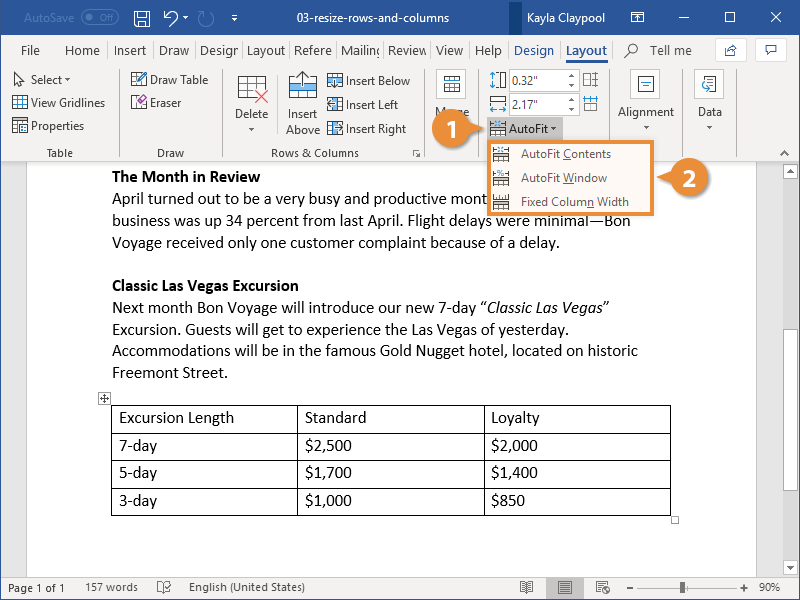
The AutoFit menu has three options:
The table’s rows and columns are resized according to the option you selected.