
Interactive Tutorial
Windows Libraries
Organize Documents, Pictures, and Files in One Place Using Windows Libraries
-
Learn by Doing
-
LMS Ready
-
Earn Certificates

Try this Course with a Free Trial
A Library is a virtual storage space that accumulates files from several locations and provides them as a single collection. For example, you can specify three folders with different collections of photos as part of your pictures library, which are grouped together as a single collection. It's easy to configure File Explorer so your libraries appear in the Navigation Pane.
Add Libraries to the Navigation Pane
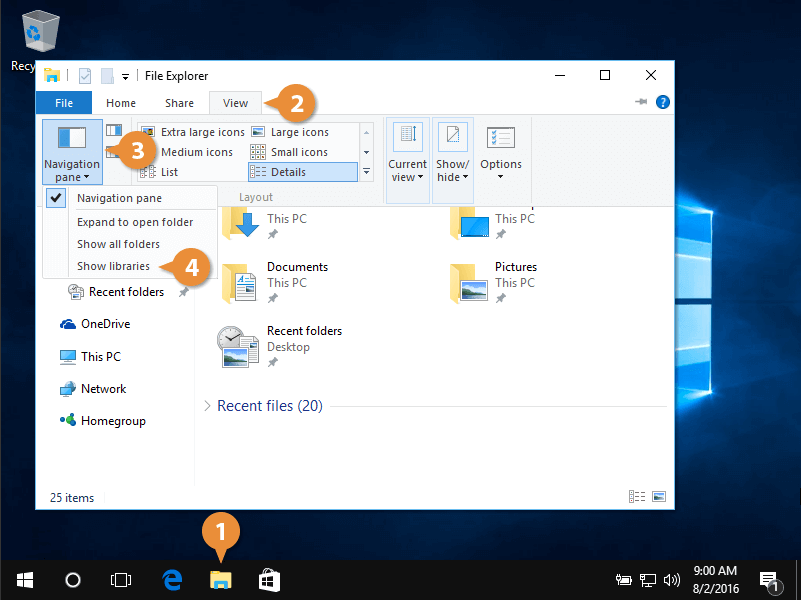
- Click the File Explorer icon.
Libraries aren't technically folders, so they won't typically appear in your local disk drive.
- Click the View tab.
- Click Navigation pane.
Navigation pane options appear.
- Select Show libraries.
Libraries appear in the Navigation pane.
- Click the expand arrow next to Libraries to view your Libraries.
- Click a shortcut to open that Library.
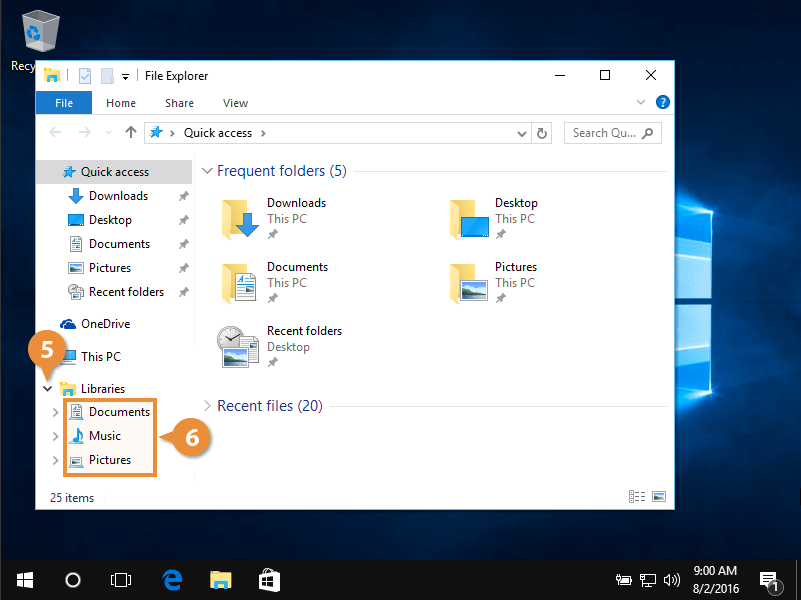
All the files in the Library appear.
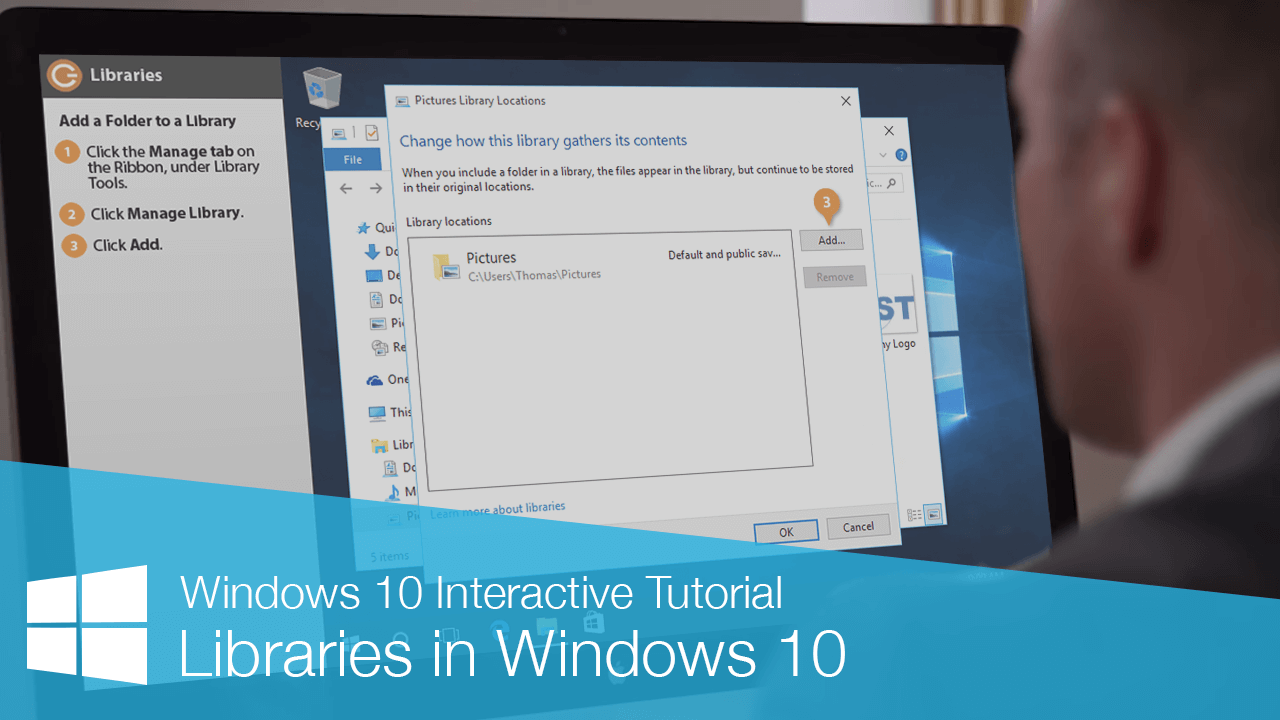
Add a Folder to a Library
Follow these steps to add a folder to a Library.
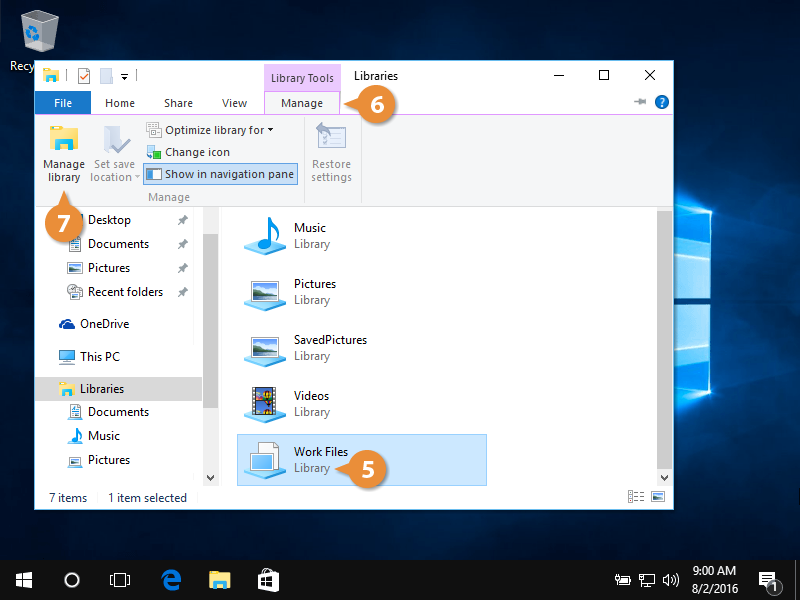
- Click the Manage tab.
- Click Manage library.
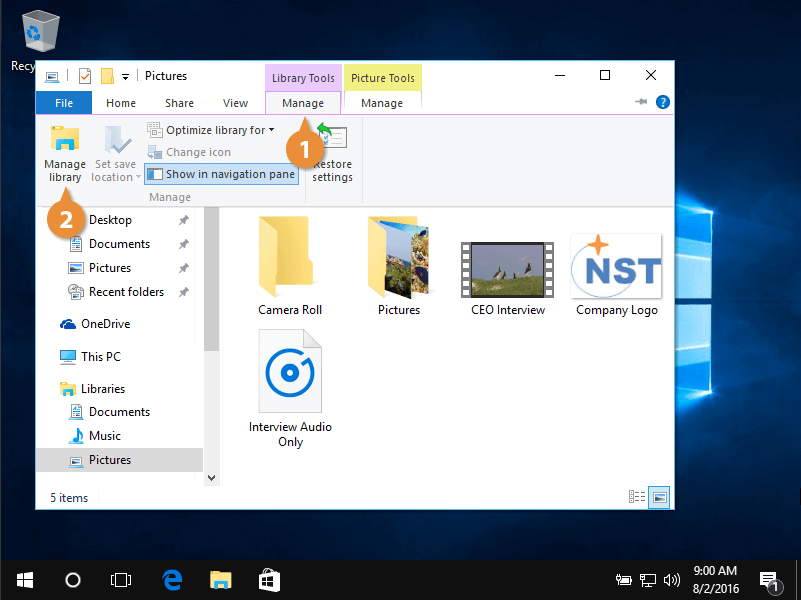
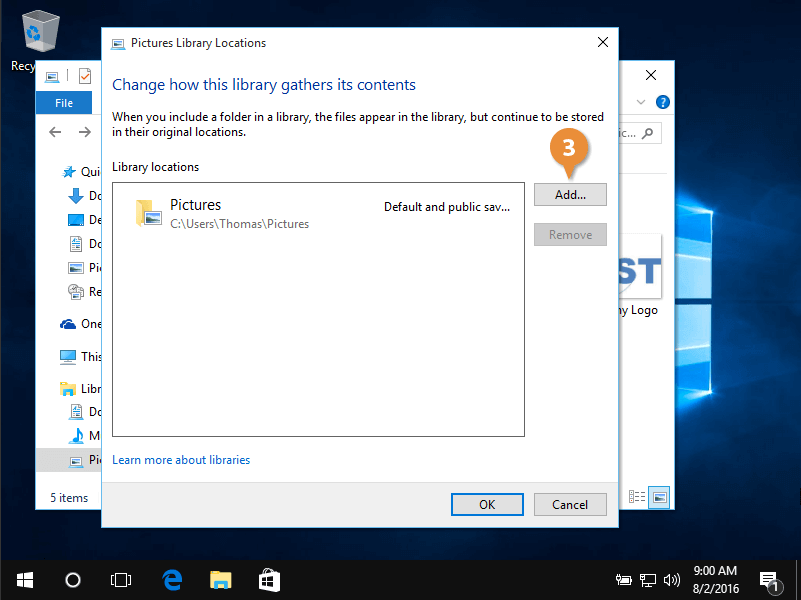
You can review the folders currently in the Library.
- Click Add.
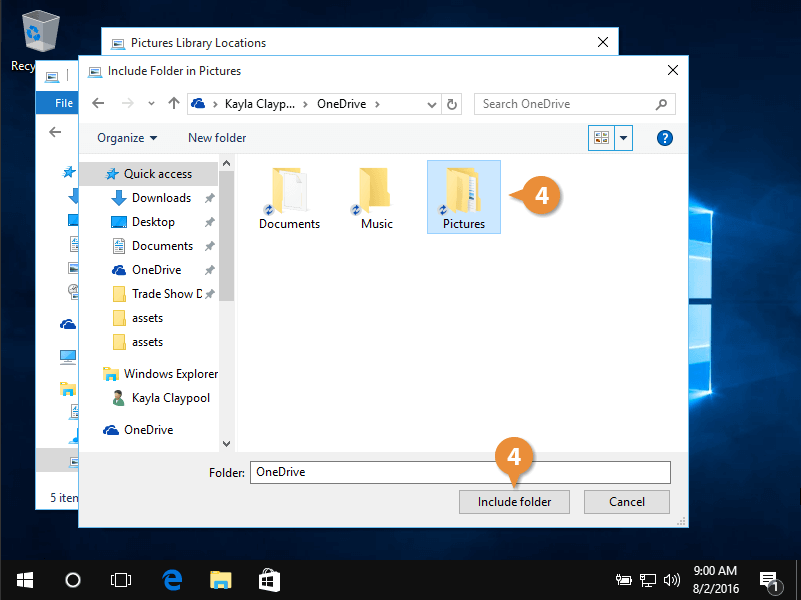
- Click to highlight a folder, and then click Include folder.
- Click OK when finished.
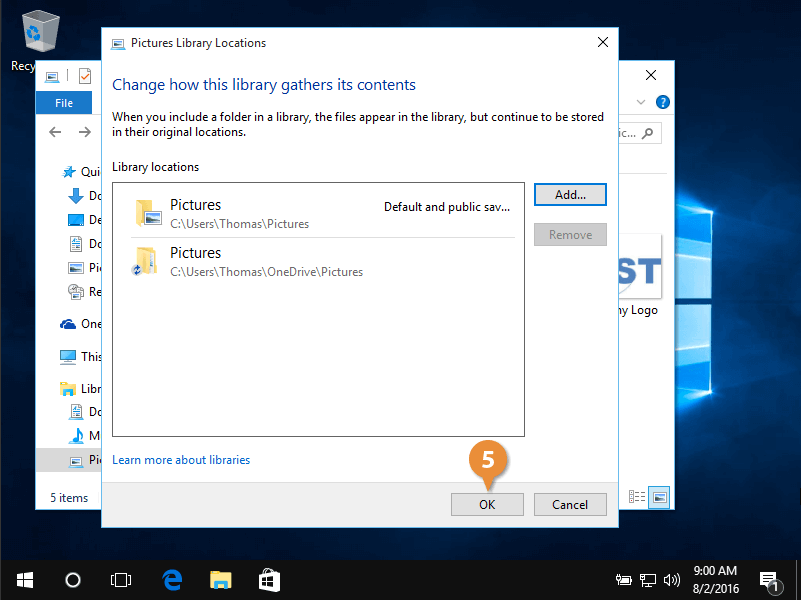
The folder appears in the Library.
Create a Library
There are many ways to quickly access files you need; however, there may be an instance where you need to create a brand-new Library.
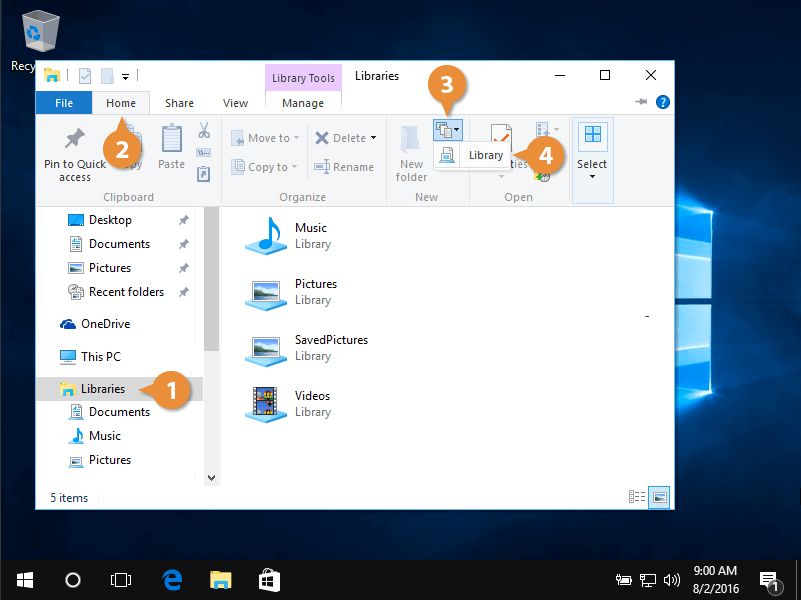
- Click to highlight Libraries.
- Click the Home tab.
- Click the New item button.
- Choose Library.
- Type a library name, and then press Enter.
The Library is created, but it's empty.
- Click the Manage tab.
- Click Manage library.
- Click Add, and then choose a folder to add to the Library.
Repeat for additional folders.
- Click OK when finished.
