
Interactive Tutorial
Microsoft Teams Shared Files
Access, Organize, and Manage Shared Files in Microsoft Teams for Better Collaboration
-
Learn by Doing
-
LMS Ready
-
Earn Certificates

Try this Course with a Free Trial
In addition to sharing messages, you can use a team channel to share files amongst its members.
View a Channel File Library
Each channel has its own file library, separate from the other channels in the team, that houses all the files that have been shared in it.
- Click a channel in the List pane.
- Click the Files tab.
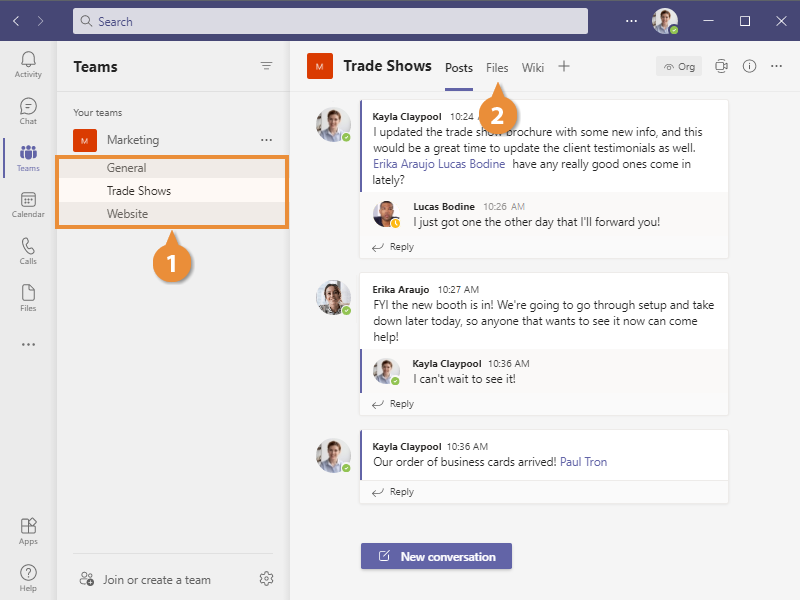
The channel’s file library appears in the Content pane.
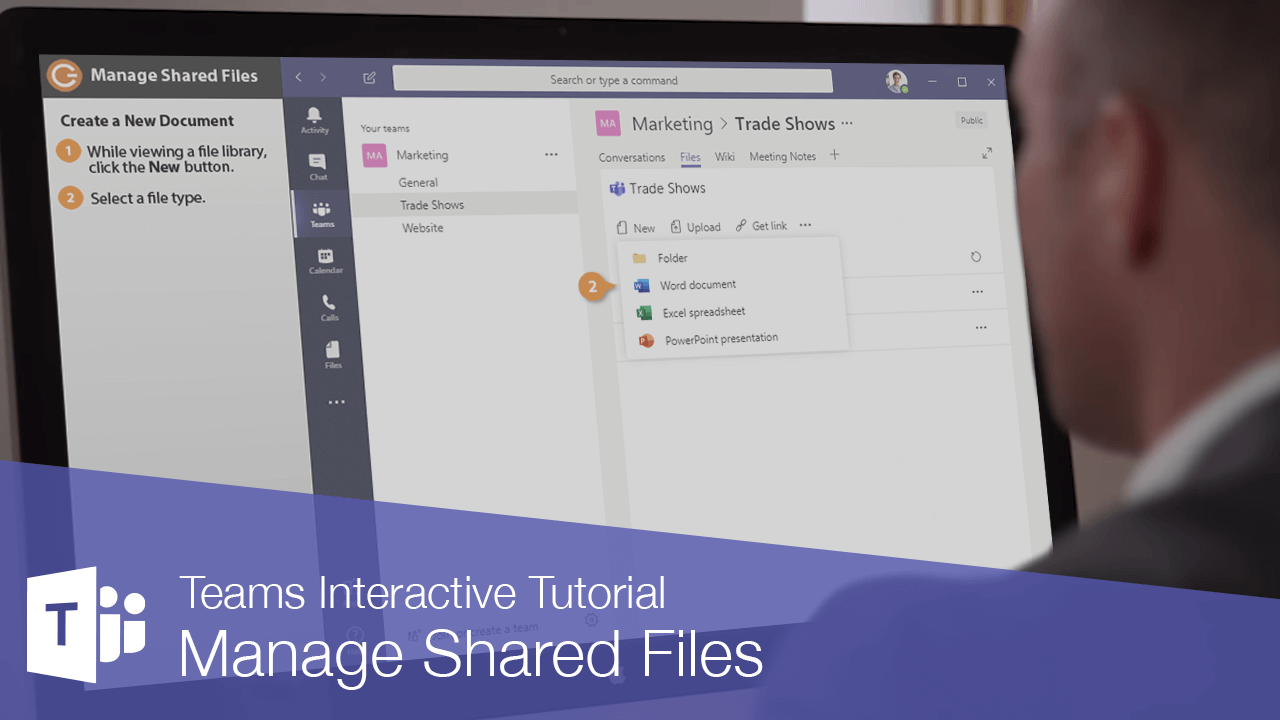
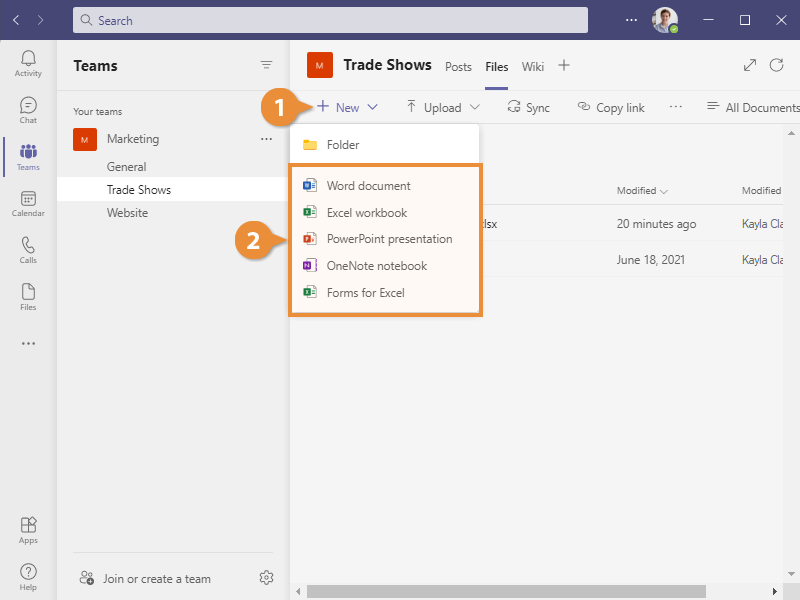
Create a New Document
A channel’s file library looks similar to a chat’s file library but has a few extra features, including the ability to create Office documents right from Teams.
- While viewing a channel’s file library, click the New button.
You can create a subfolder in a file library or create an Office document.
- Select a file type.
- Enter a file name and click Create.
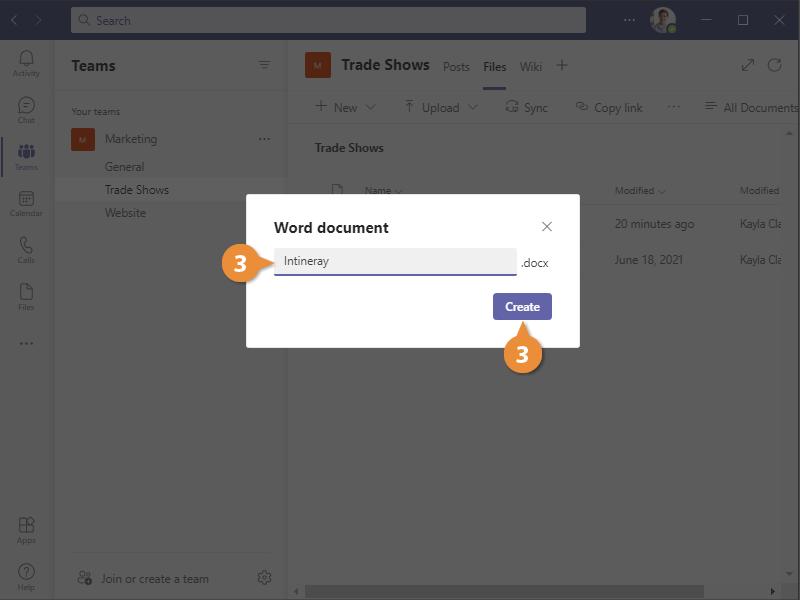
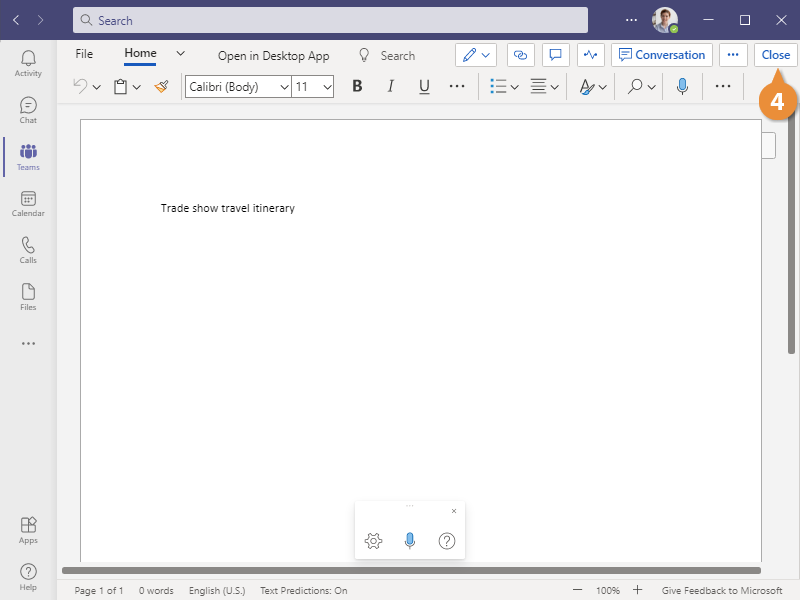
An online version of the associated Office app opens up right in the Teams window. Any changes to the document are automatically saved.
- Modify the document and click Close when finished.
The instance of the Office app closes, and you return to the file library.
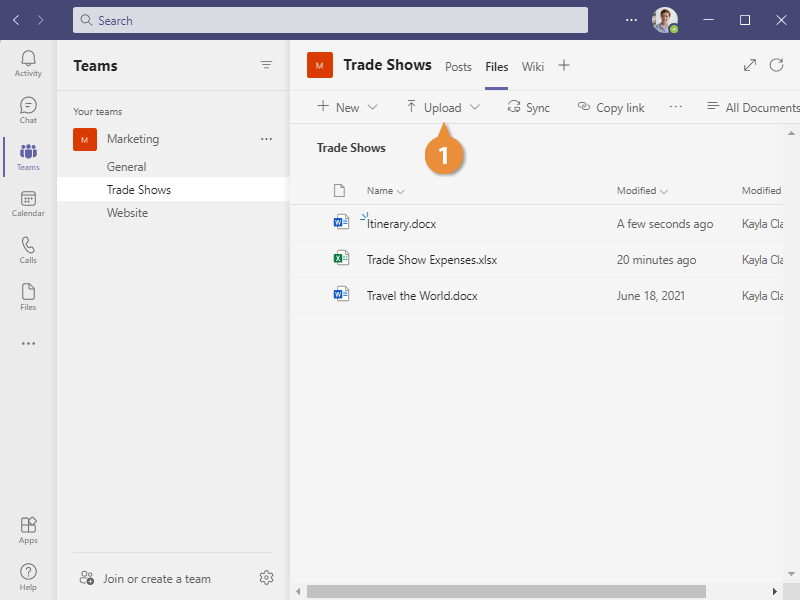
Upload a File
You can also upload a file to a file library directly from your computer.
- While viewing a file library, click the Upload button.
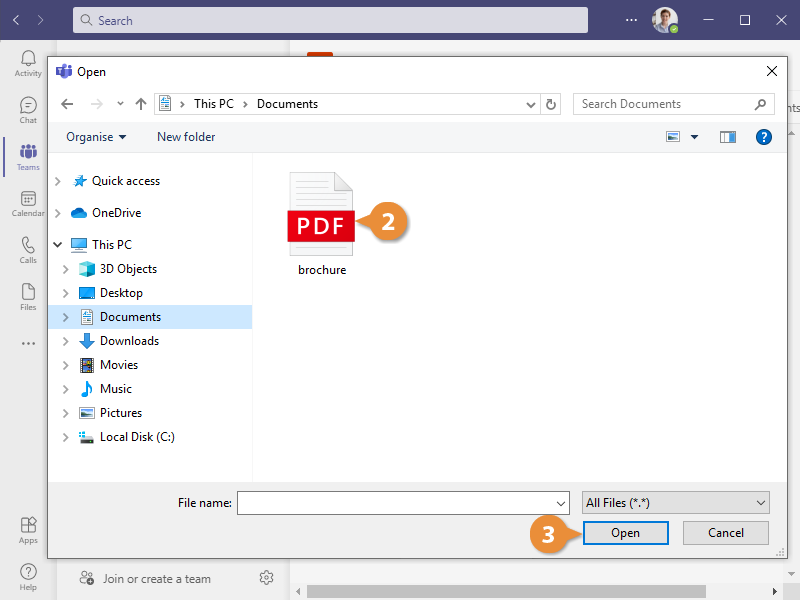
- Select a file.
While you’re limited to the Office file types when creating a new file, you can upload any type of file.
- Click Open.
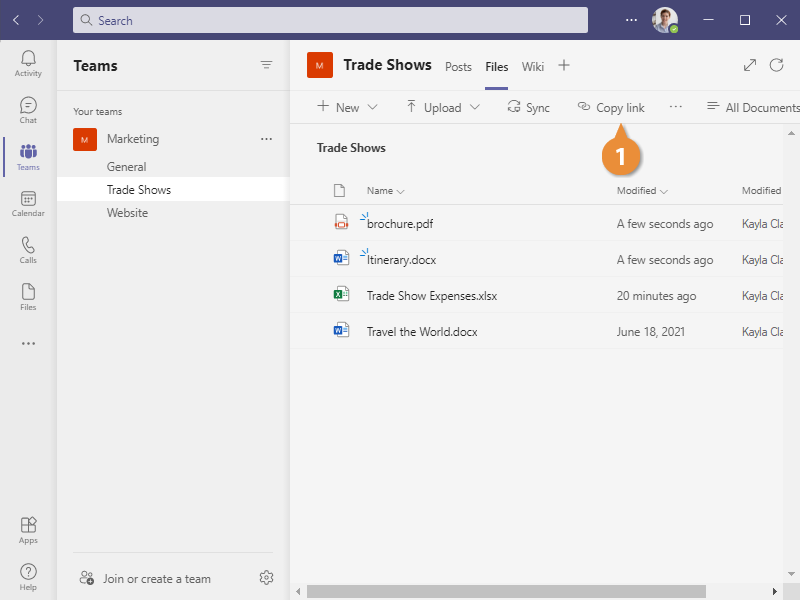
The selected file is uploaded to the file library and can be viewed by anyone in the team.
Share a Link to a Library
You can get a shareable link to a file library, which will send someone directly to the library without having to navigate to it.
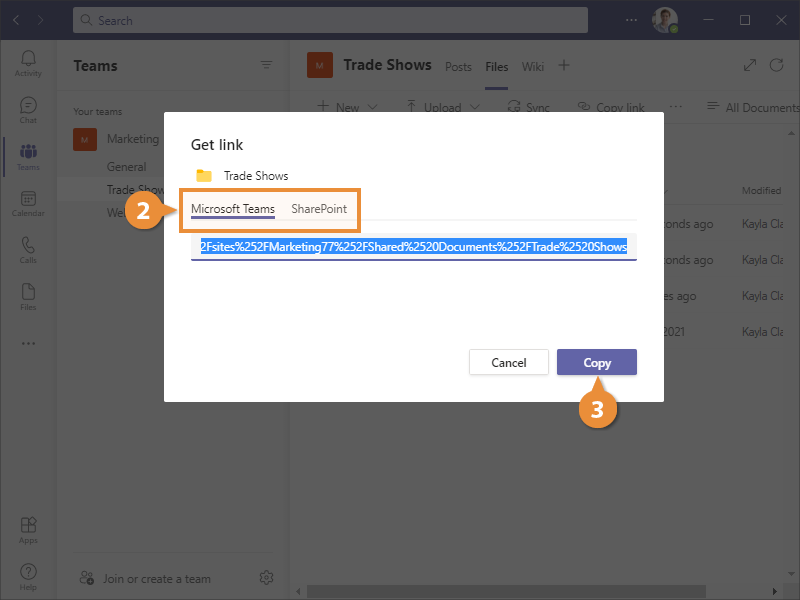
- While viewing a channel’s file library, click the Get link button.
A Get link dialog box opens, with some links you can copy and share.
- Select Teams or SharePoint.
- Teams link: This will open the library in the Teams web app when clicked.
- SharePoint link: This will open this team channel library on your organization's SharePoint site.
- Click the Copy button.
The link is copied and can be pasted into a chat or email.