
Interactive Tutorial
How to Send Emails in Salesforce
Compose and Send Emails in Salesforce to Communicate with Leads and Track Engagement Easily
-
Learn by Doing
-
LMS Ready
-
Earn Certificates

Try this Course with a Free Trial
You can use Salesforce to send and log emails to your leads and contacts.
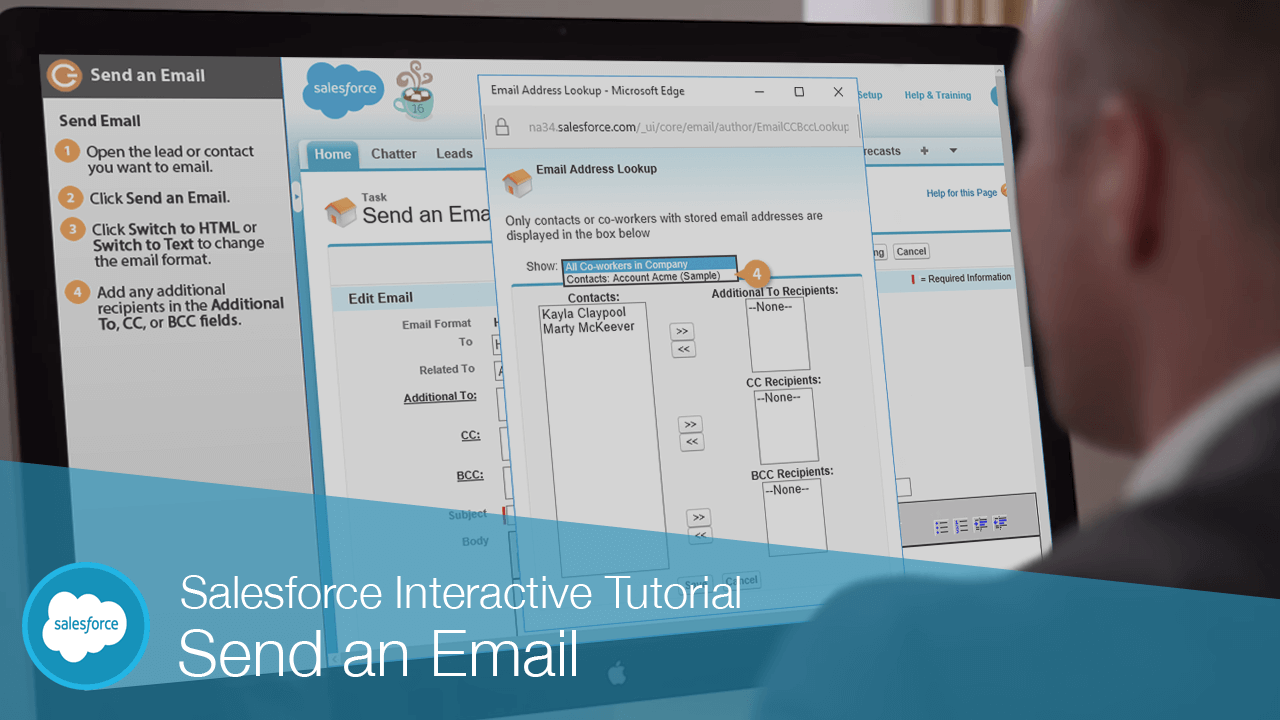
Send an Email
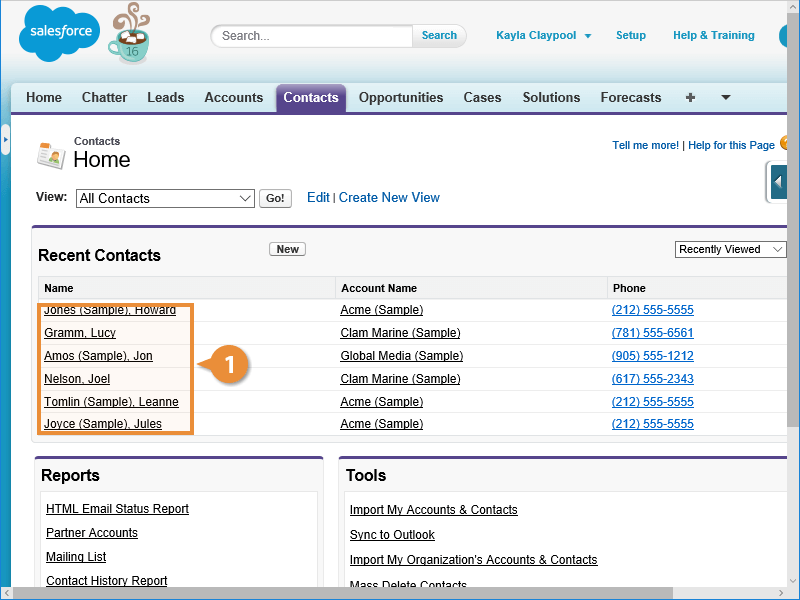
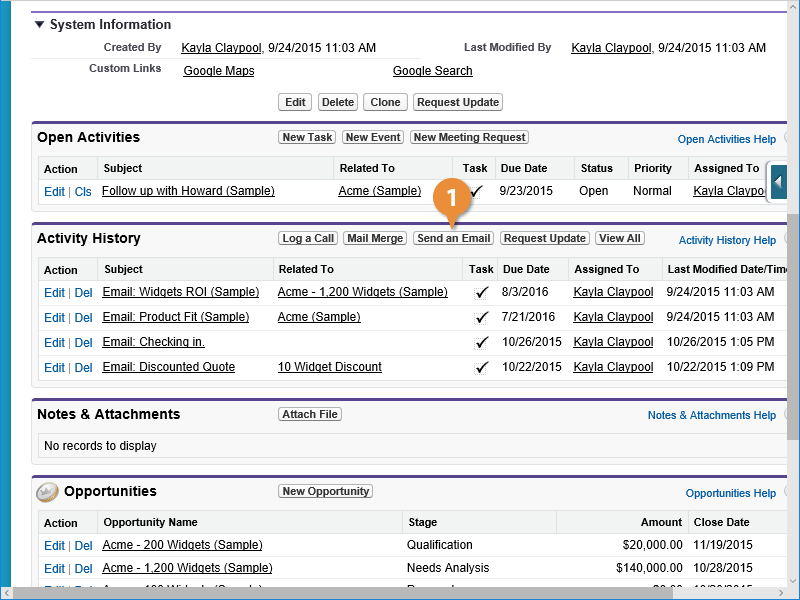
- Open the lead or contact you want to email.
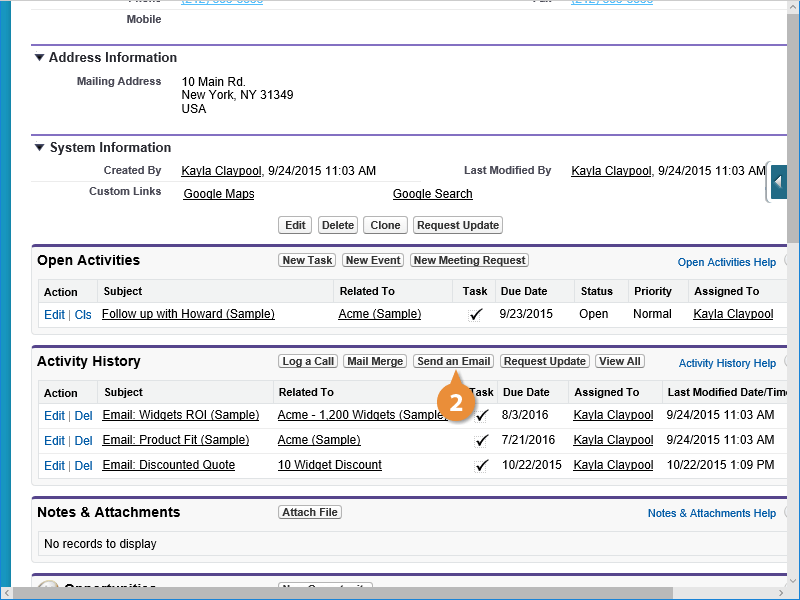
- Scroll down to the Activity History and click Send an Email.
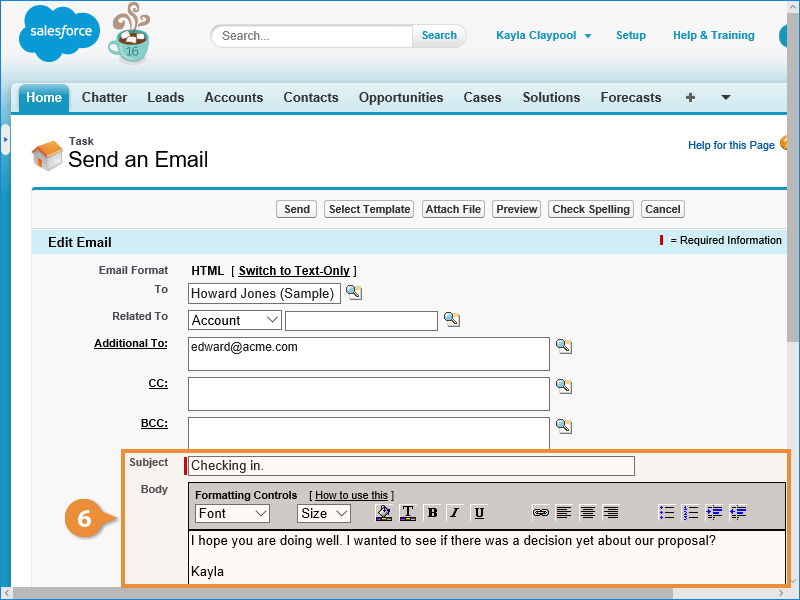
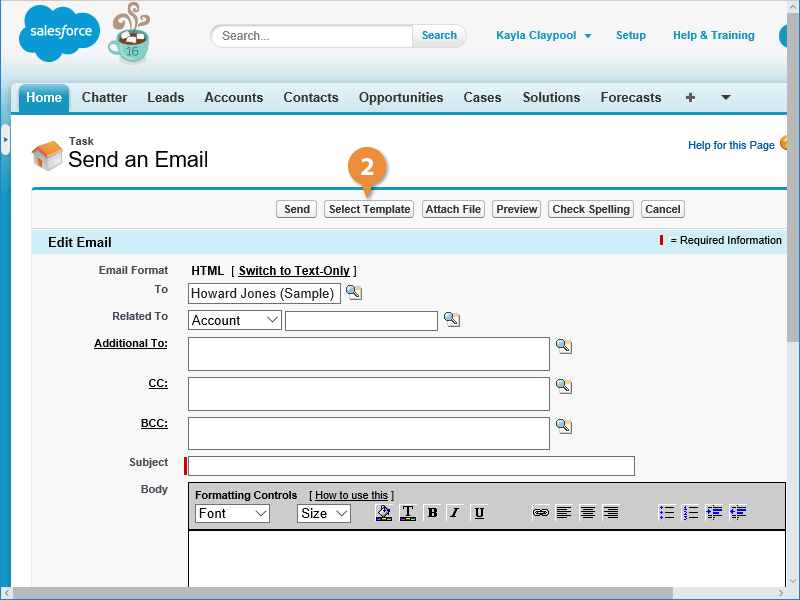
- Click HTML or Switch to Text Only to change the email format.
Clicking HTML allows you to include text formatting in your email.
- (Optional) Add any additional recipients in the Additional To, CC, or BCC fields.
You can simply enter their email or click the lookup button.
You can lookup emails from co-workers in your company, or contacts from the same account.
- Click Save.
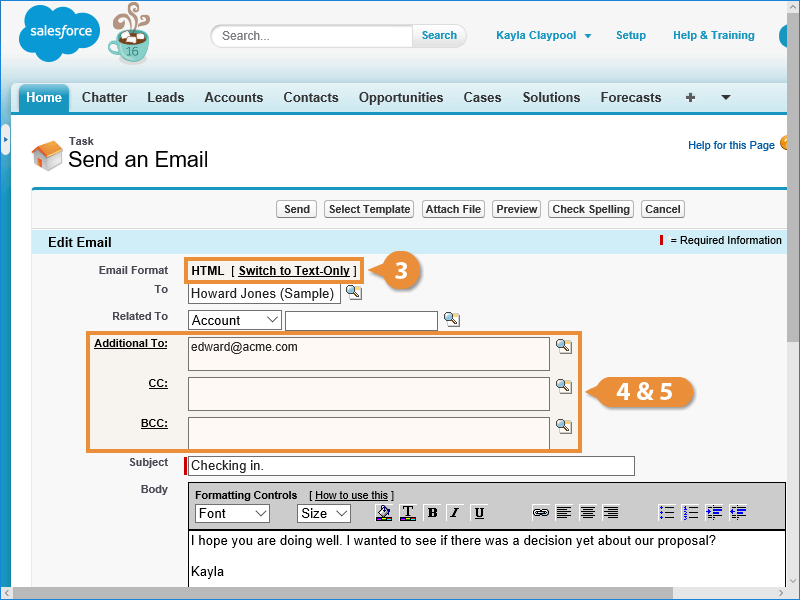
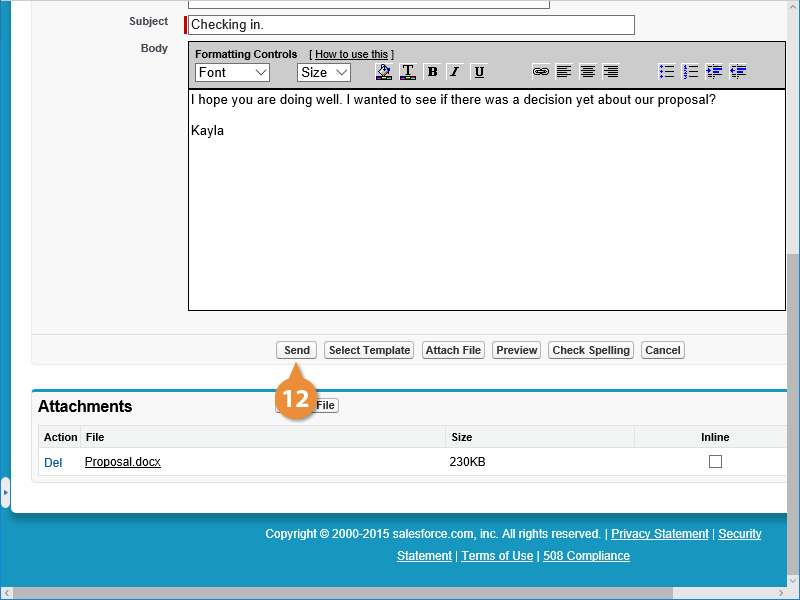
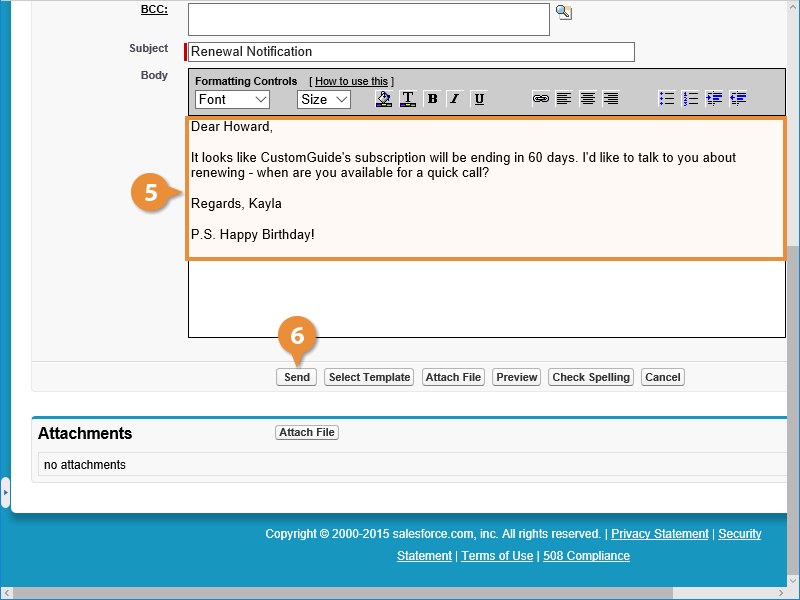
- Enter the Subject and Body for the email.
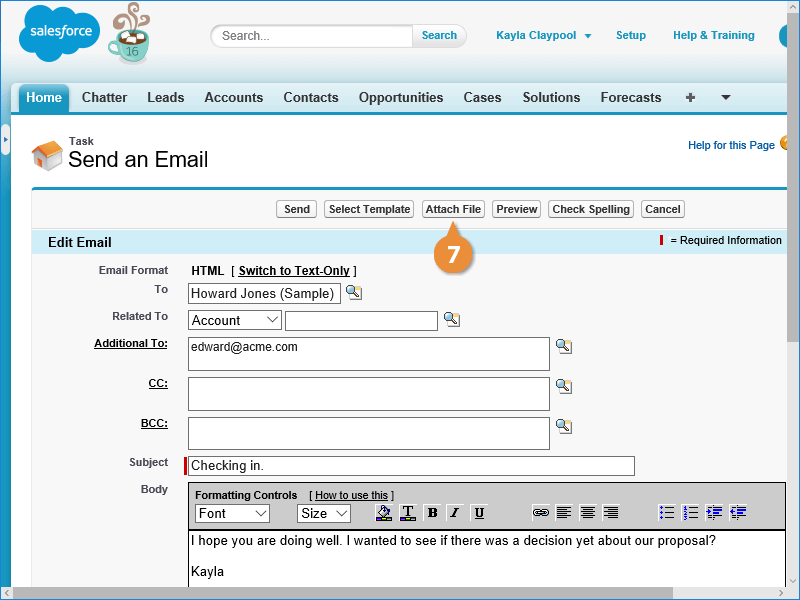
- To add an attachment, click Attach File.
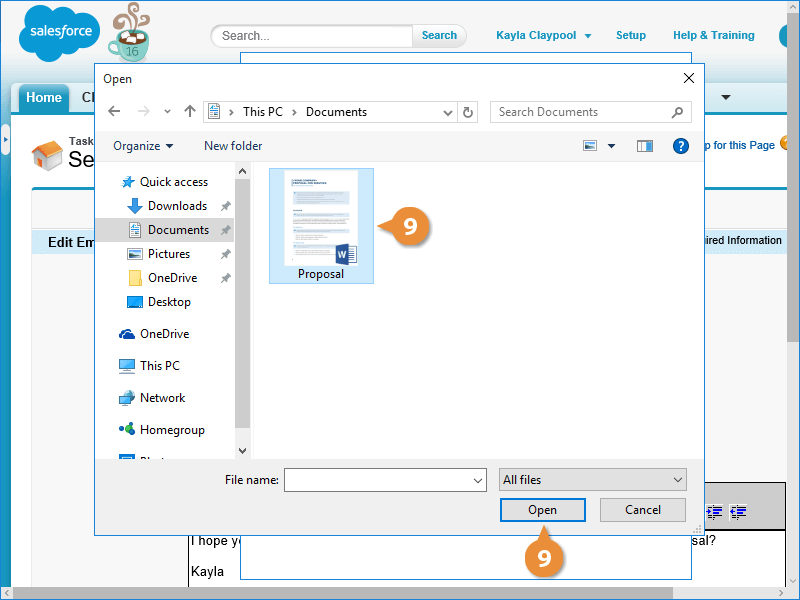
- Click Browse.

- Select the file you want to attach and click Open.
- Click Attach to Email to upload the file.
The file appears in the Attachments list.
You can add additional files by repeating the process.
- When you're finished, click Done.
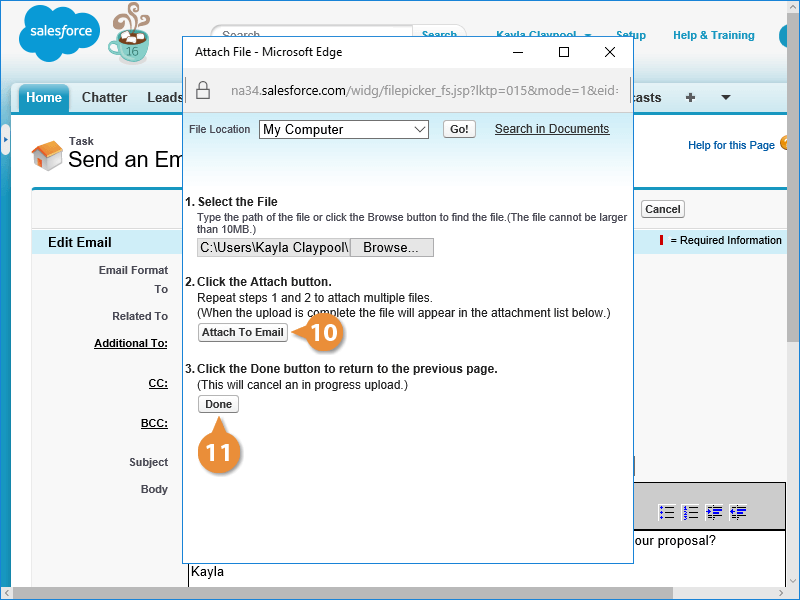
The attachment appears at the bottom of the email.
- Click Send.
Salesforce sends the email to the recipients and it appears in the Activity History.
Use an Email Template
You can also send pre-written email templates.
- Click Send an Email.
- Click Select Template.
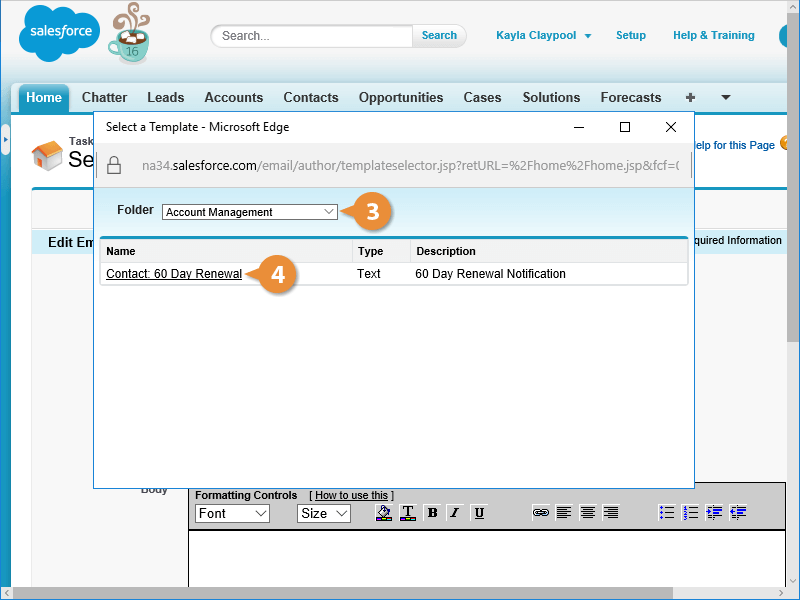
- Select the folder that contains the template.
- Select the template.
- Modify the message if desired.
- Click Send when you're ready to send the email.
A window that displays a list of available templates appears.
Salesforce sends the email and logs it in the Activity History.