
Interactive Tutorial
Salesforce Dashboard Filter
Apply Dashboard Filters in Salesforce to View Specific Data and Customize Reports Instantly
-
Learn by Doing
-
LMS Ready
-
Earn Certificates

Try this Course with a Free Trial
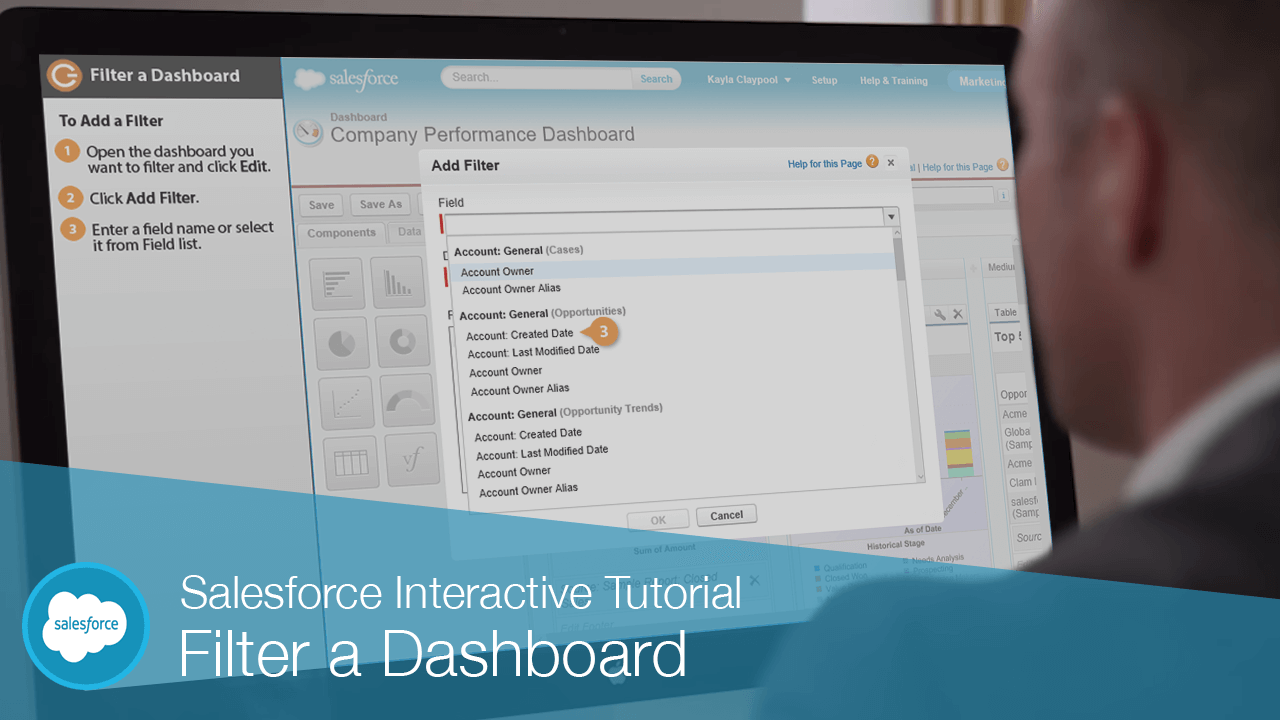
Add a Filter
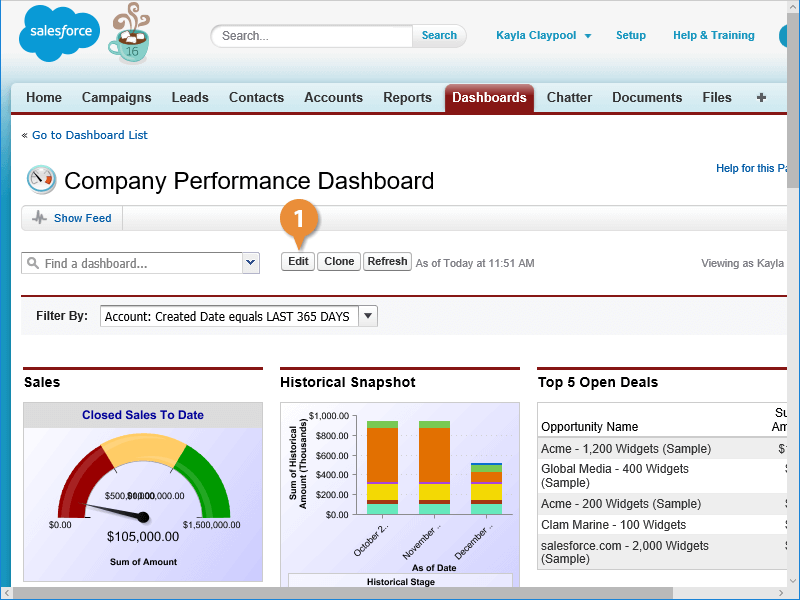
You can add a filter to a dashboard to control the data it contains. For example, if you have three sales offices you could create a single dashboard with filters for each office, instead of having to create three separate dashboards.
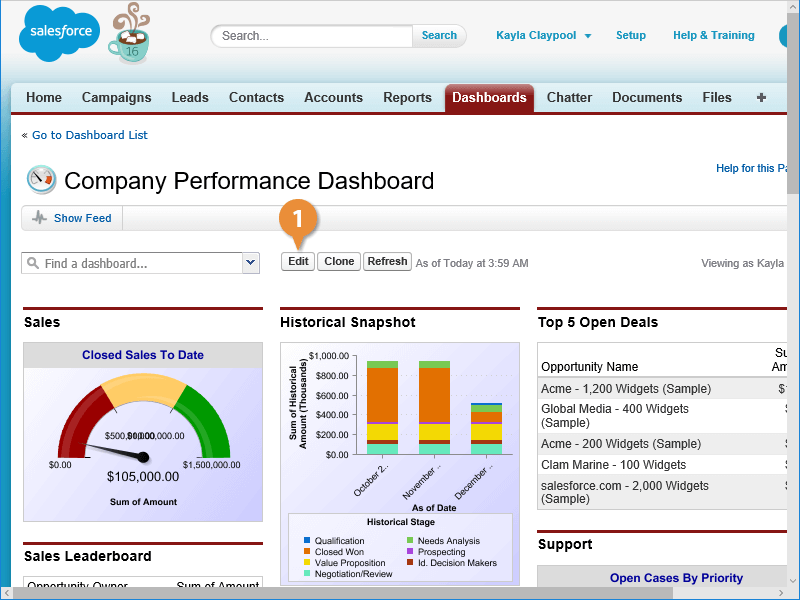
- Open the dashboard you want to filter and click Edit.
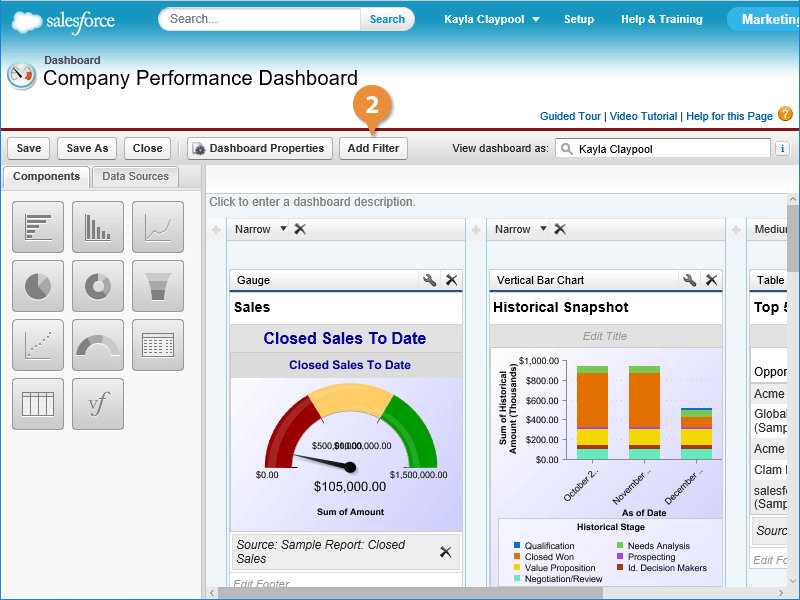
- Click Add Filter.
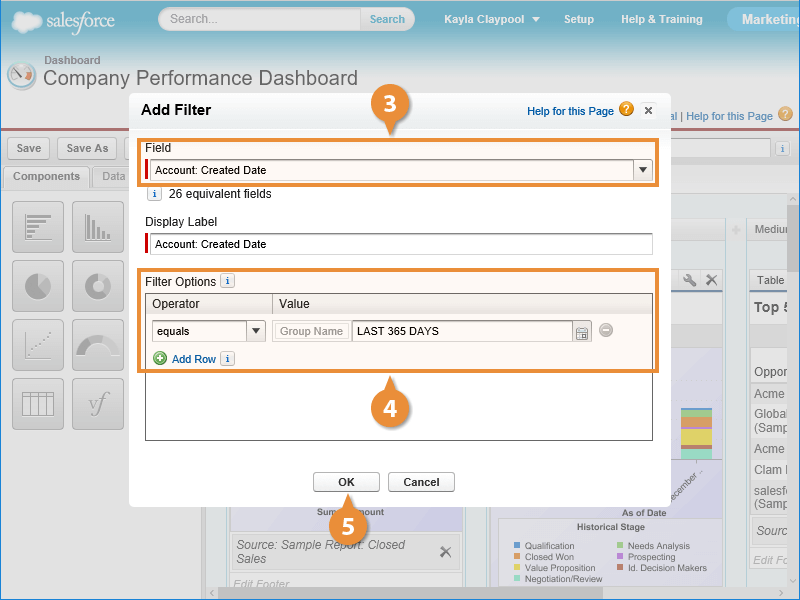
Next you need to specify the fields you want to use to filter the dashboard.
- Enter a field name or select it from the Field list.
Components in the dashboard are often based on different Salesforce objects.
- Specify the Filter Options for the selected field.
- Click OK.
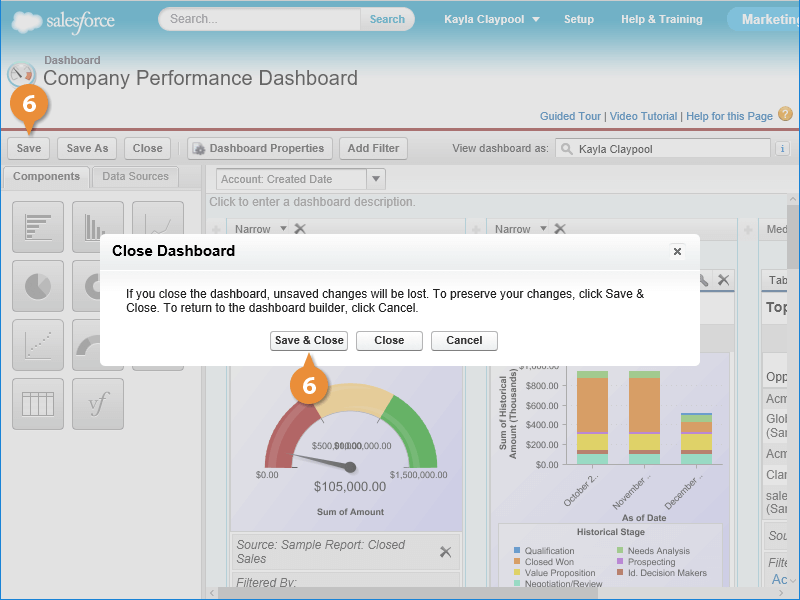
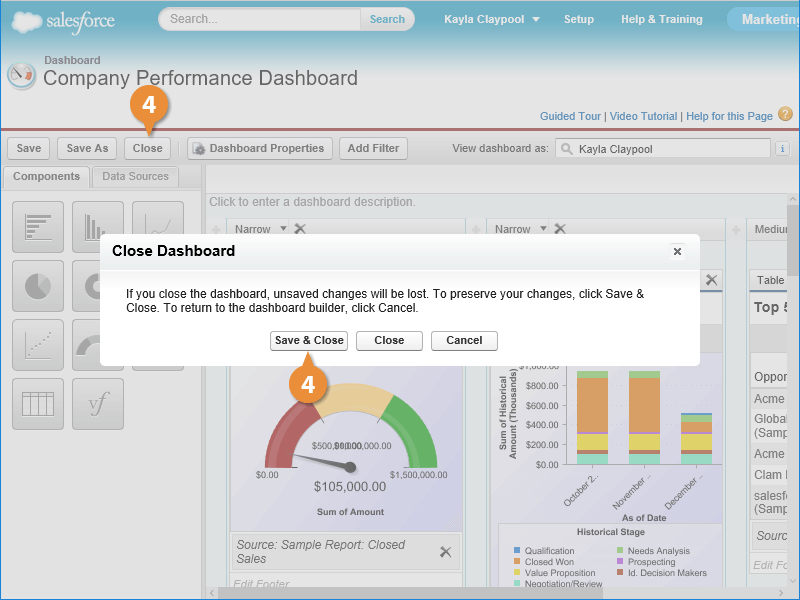
- Close and save the dashboard.
A new Filter By list appears at the top of the dashboard.
Apply a Filter
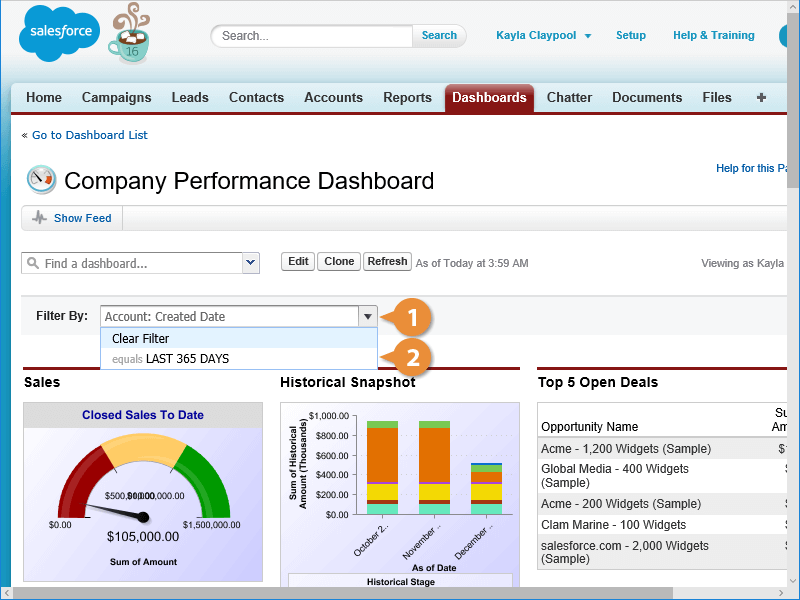
Salesforce applies the filter and only shows records that fit your specifications.
Edit or Delete a Filter
You can edit or delete a filter by editing the dashboard.
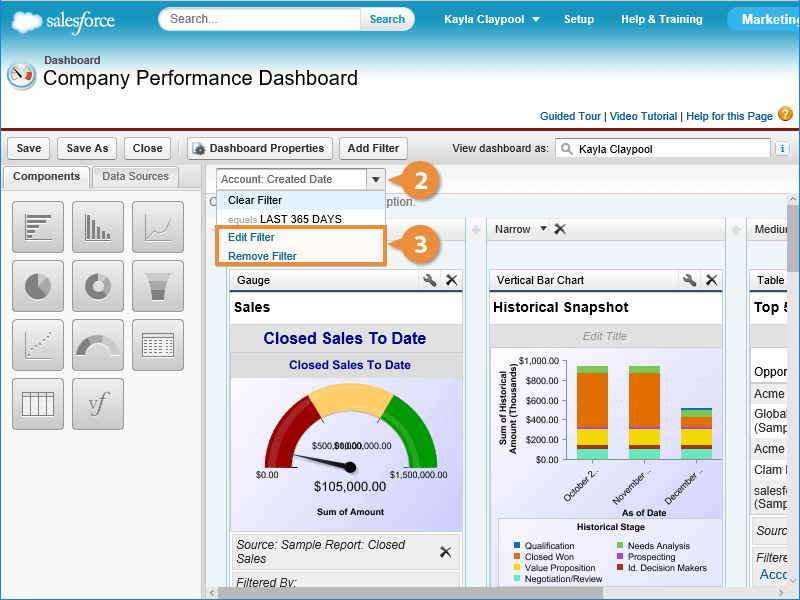
- Click Edit.
- Click the arrow next to the filter you want to edit or delete.
- Click Edit Filter or Remove Filter.
- Close and save the dashboard.
All your filters will appear at the top of the dashboard.