Spell Check in PowerPoint
How to Spell Check in PowerPoint

PowerPoint Training Features:
-
Interactive bite-sized lessons
-
Get Certified
-
Accurate skill assessments
-
Customizable, LMS-ready content

Part of editing your presentation is making sure that everything is spelled and assembled correctly. PowerPoint is a great help in this regard, because it can identify errors in your presentations. By default, PowerPoint checks for spelling errors as you type, underlining misspelled words in red.
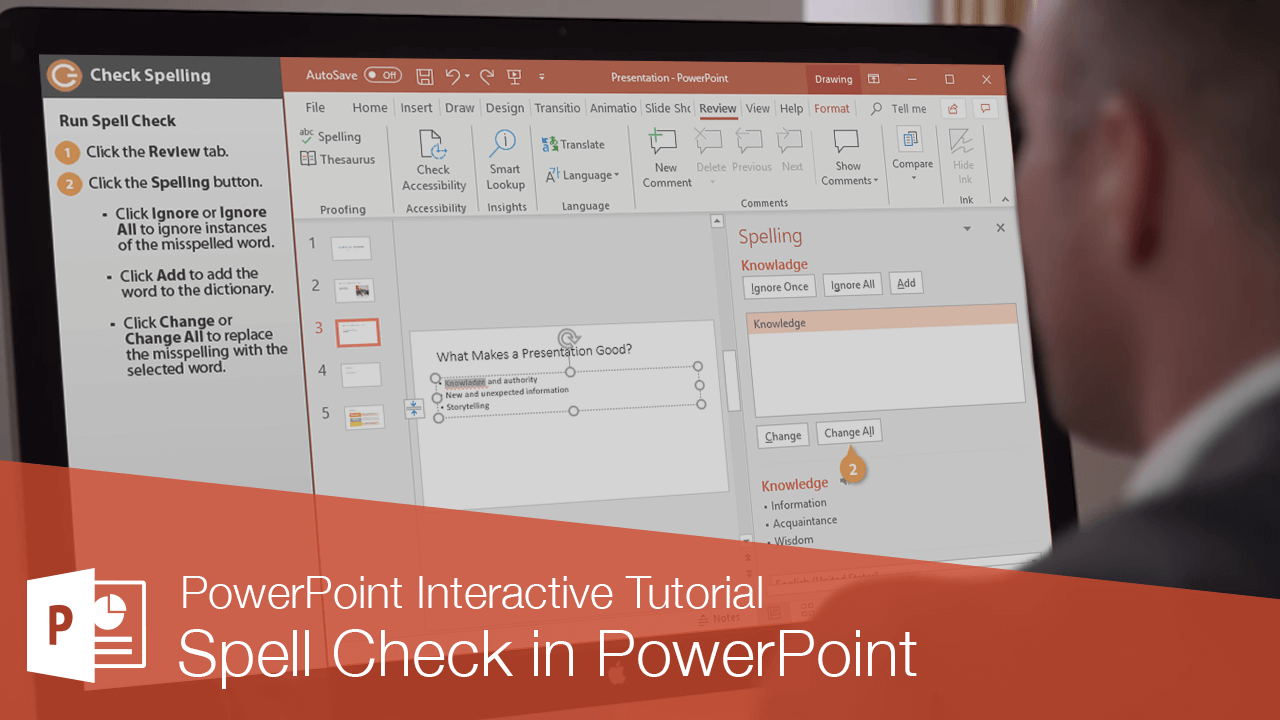
Run Spell Check
- Click the Review tab on the ribbon.
- Click the Spelling button.
Press F7.
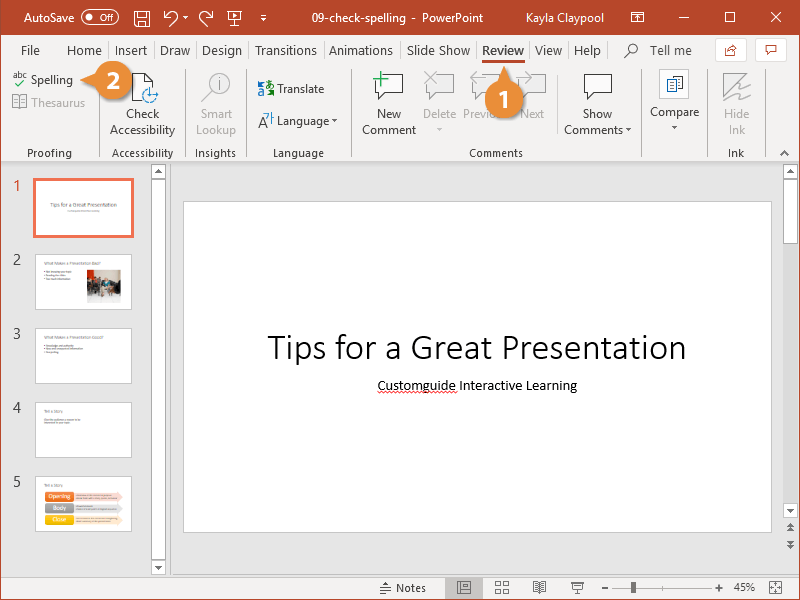
The Spelling pane appears at the right.
The presentation is checked for spelling, and the first potential spelling error appears highlighted.
- Select a Spelling option.
- Click Ignore or Ignore All to ignore instances of the misspelled word.
- Click Add to add the word to the dictionary if you know it is correct and you don't want it flagged as an error in the future.
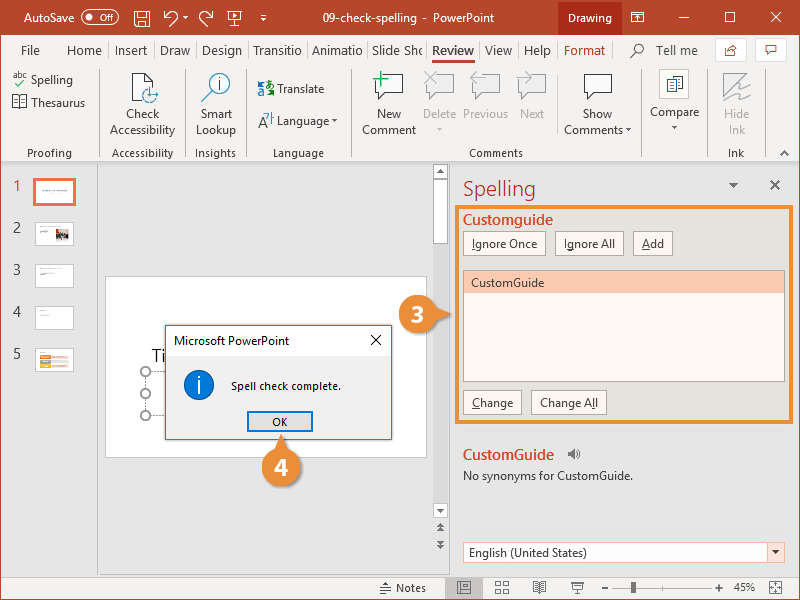
- With the replacement word selected, click Change or Change All to replace the misspelling with the correct word.
- Click Close to stop spell check before it is complete.
You can also right-click an underlined error and select a correction.
- Click OK to complete the spell check.
Turn on Grammar Check
In PowerPoint, your grammar is not automatically checked like it is in Word. You may find it helpful to turn grammar check on. Keep in mind that the grammar check only finds contextual errors, like the use of there/their/they’re, so you’ll still need to proofread for mistakes.
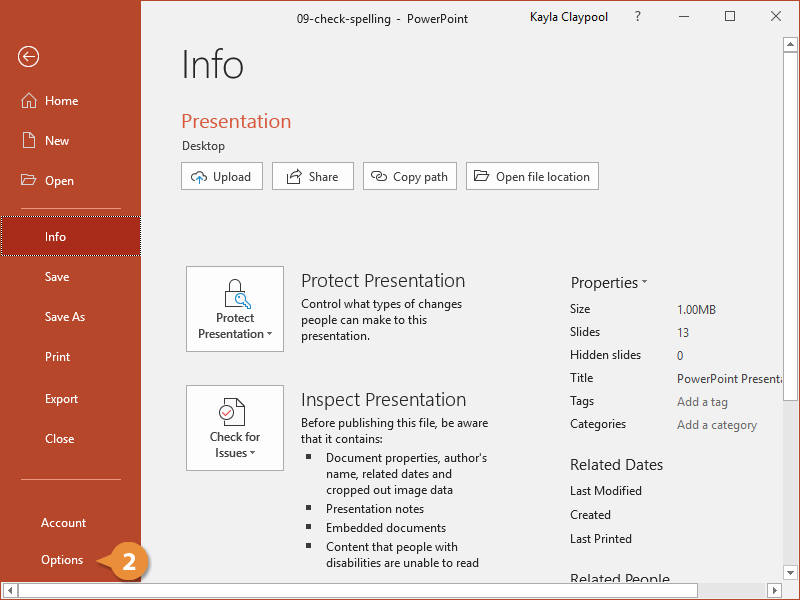
- Click the File tab.
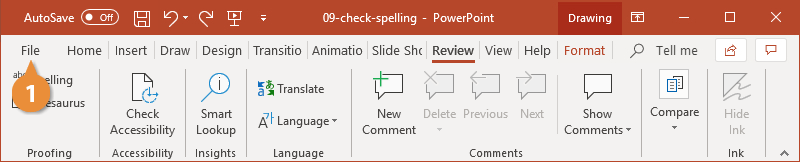
- Click Options.
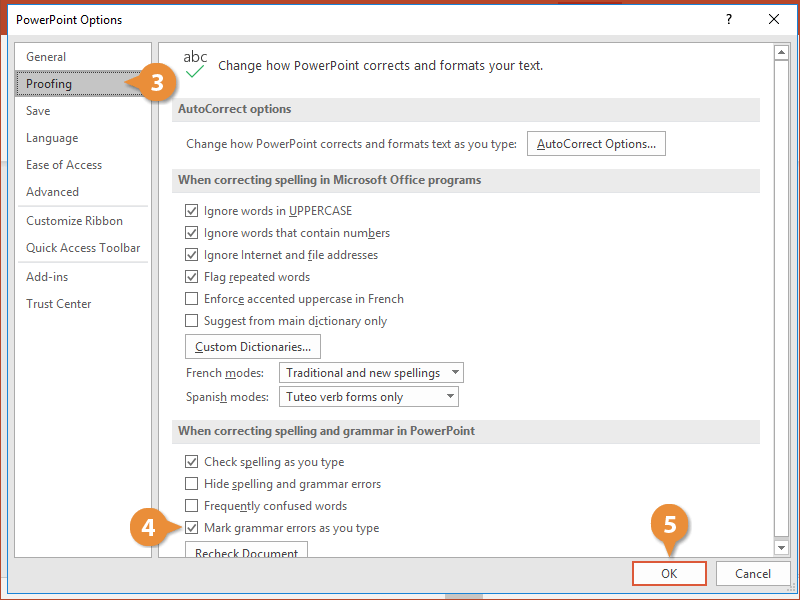
- Click Proofing at the left.
- Ensure the Mark grammar errors as you type box is checked.
- Click OK.
Now grammatical errors will be treated like spelling errors. This means that they will be marked with a red wavy line and will be found when you check your spelling.

FREE Quick Reference
Click to DownloadFree to distribute with our compliments; we hope you will consider our paid training.
- LinkedIn-ready certificate
- Skill assessments
- Bite-sized, interactive lessons
- Saved progress