PowerPoint SmartArt
How to Add SmartArt in PowerPoint

PowerPoint Training Features:
-
Interactive bite-sized lessons
-
Get Certified
-
Accurate skill assessments
-
Customizable, LMS-ready content

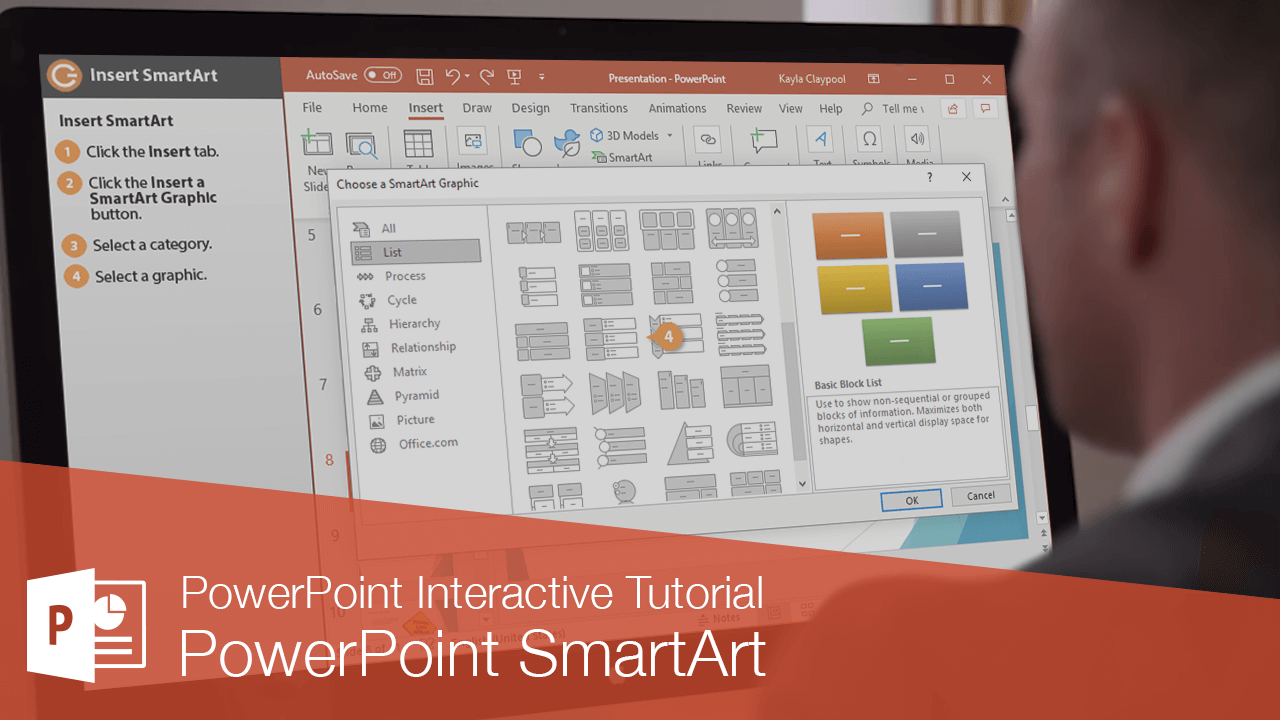
Insert SmartArt
The SmartArt feature lets you create and customize designer-quality diagrams. You can even convert bulleted lists into a diagram using the SmartArt diagram tools.
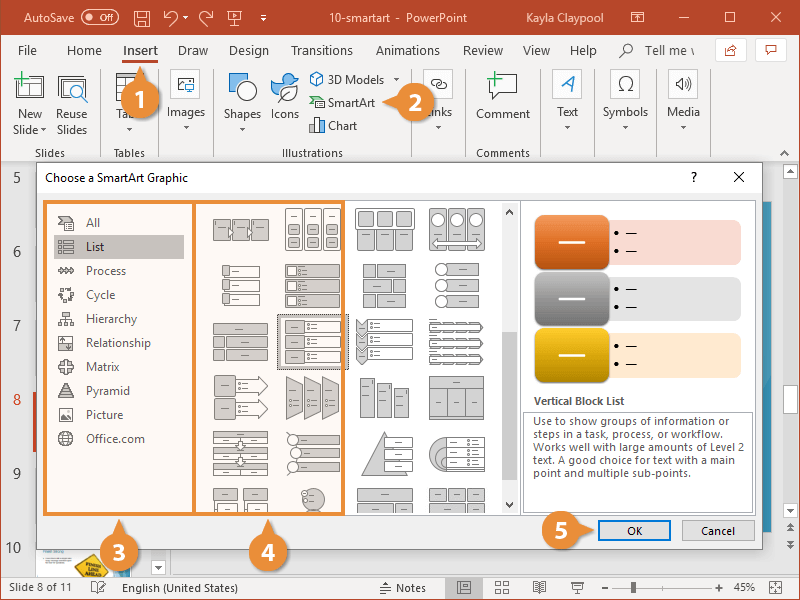
- Click the Insert tab.
- Click the SmartArt button on the ribbon.
You can also click the SmartArt icon in a content placeholder.
- Select a category.
- Select a graphic.
A preview and a description appear on the right.
- Click OK.
The SmartArt graphic is inserted into the presentation.
| SmartArt Graphic Types | |
|---|---|
| List | Show non-sequential information. |
| Process | Show steps in a process or timeline. |
| Cycle | Show a continual process. |
| Hierarchy | Create an organization chart or decision tree. |
| Relationship | Illustrate connections. |
| Matrix | Show how parts relate to a whole. |
| Pyramid | Show proportional relationships with the largest component on the top or bottom. |
| Picture | Create a SmartArt graphic that incorporates pictures. |
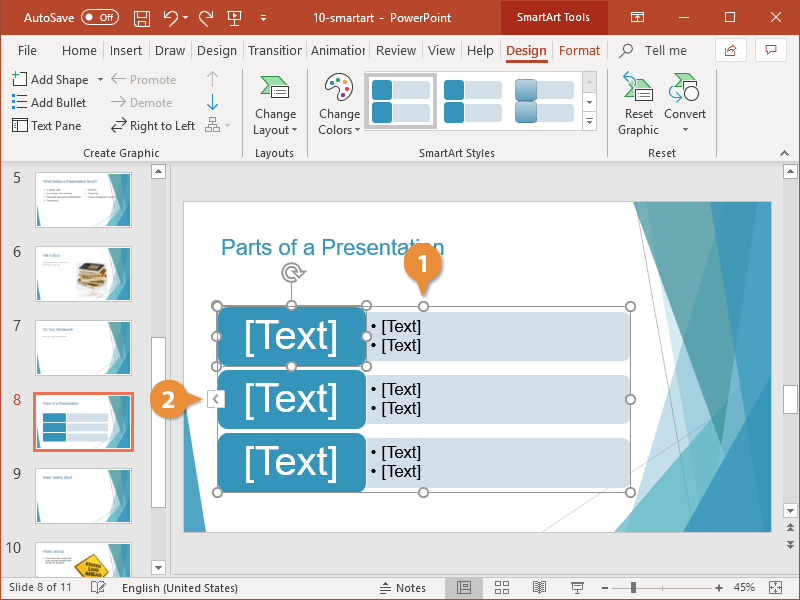
Populate SmartArt Graphics
There are two ways to add text to a SmartArt graphic: using the Text pane or the graphic itself.
- Select the SmartArt Diagram.
- Click the arrow at the left edge of the SmartArt graphic.
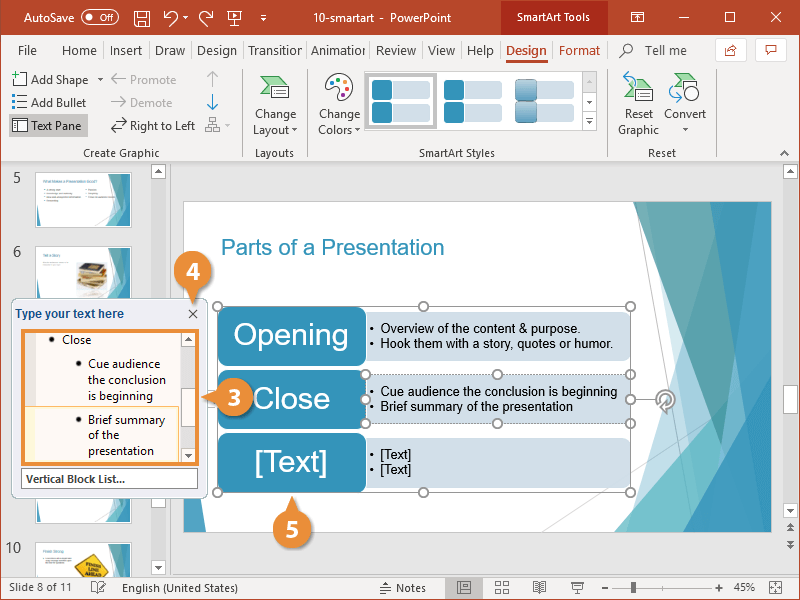
- Type text for each bullet in the Text pane.
- Click the Text pane’s Close button or click outside the SmartArt diagram.
- Select any unused shapes in the graphic.
- Press the Backspace or Delete key to remove them from the graphic.
Convert a List to a SmartArt Graphic
- Select the slide with the list you want to convert to SmartArt.
- Select the list text box.
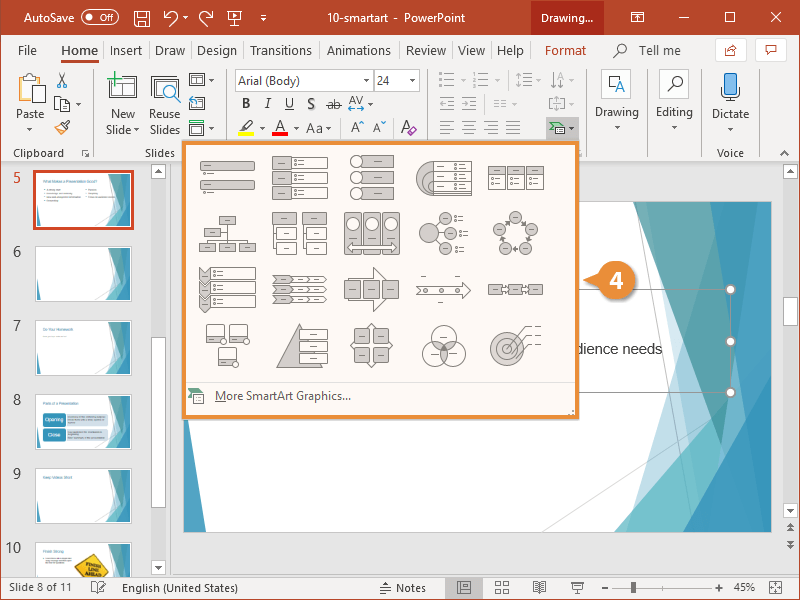
- Click the Convert to SmartArt Graphic button on the Home tab.
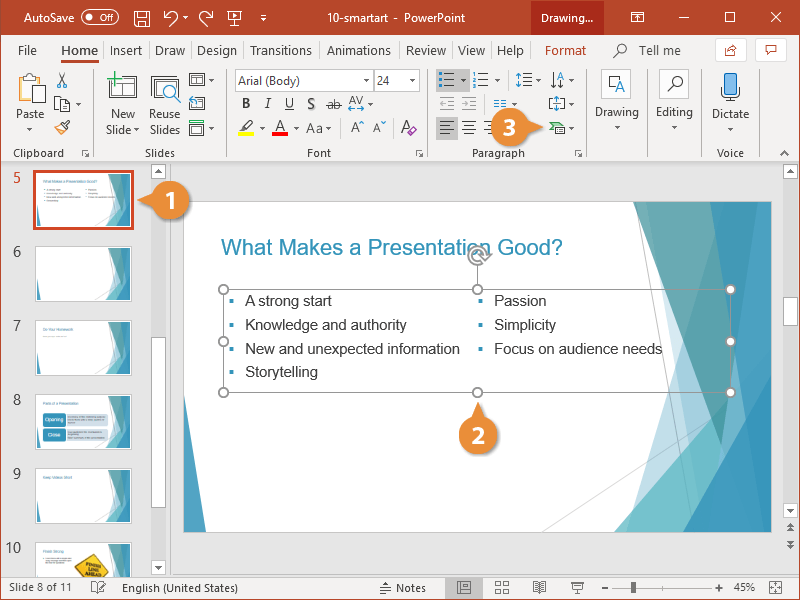
- Select a SmartArt style.
- Resize and position the graphic as needed.

FREE Quick Reference
Click to DownloadFree to distribute with our compliments; we hope you will consider our paid training.
- LinkedIn-ready certificate
- Skill assessments
- Bite-sized, interactive lessons
- Saved progress