
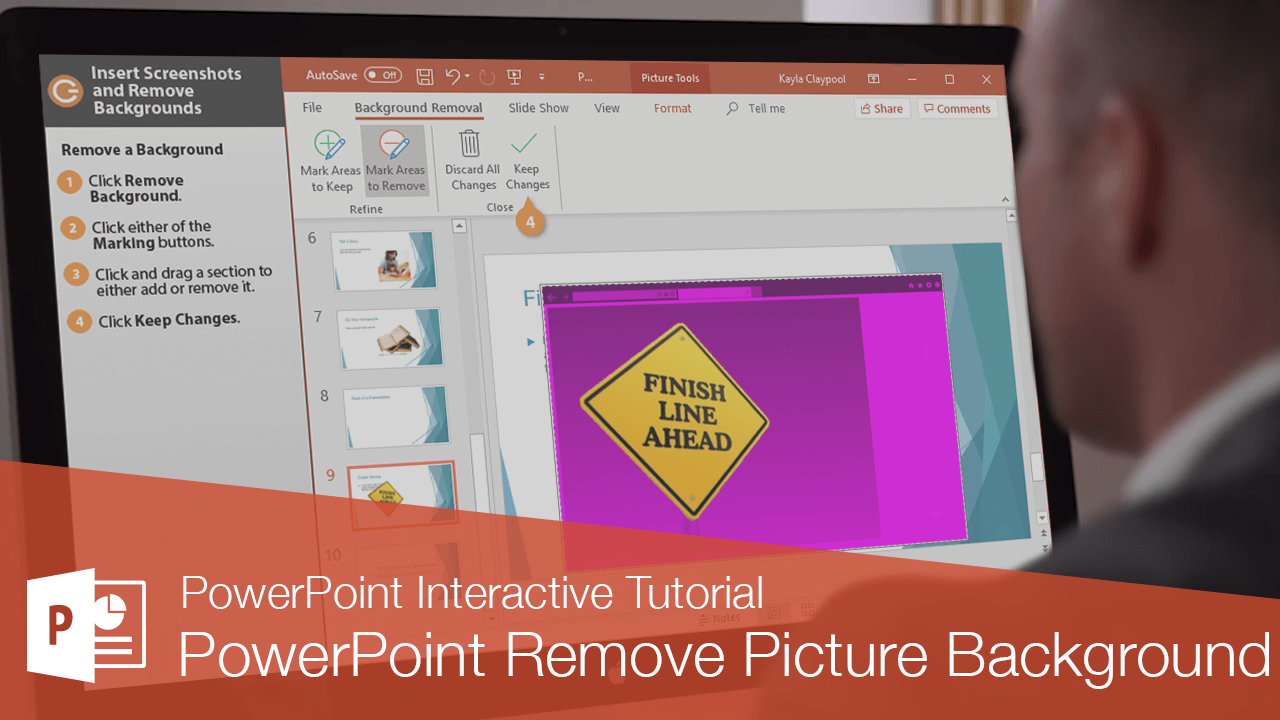
Interactive Tutorial
How to Remove Background From Picture in Powerpoint
Easily Remove or Edit Image Backgrounds in PowerPoint to Create Clean, Professional Slides
-
Learn by Doing
-
LMS Ready
-
Earn Certificates

Try this Course with a Free Trial
Insert a Screenshot
A screenshot is a snapshot of an area on your screen that you can use as an image in your presentation.
- Click the Insert tab.
- Expand the Images group if necessary.
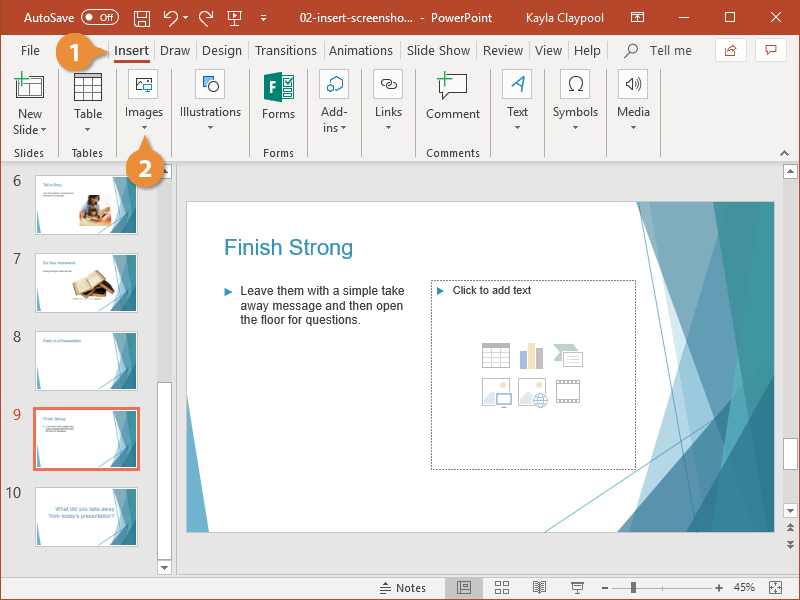
- Click the Screenshot button.
- Select a screenshot method:
- Available Windows: Inserts an image of an open application window. This option will not work if the window is minimized.
- Screen Clipping: Lets you capture a selected area of your computer screen.
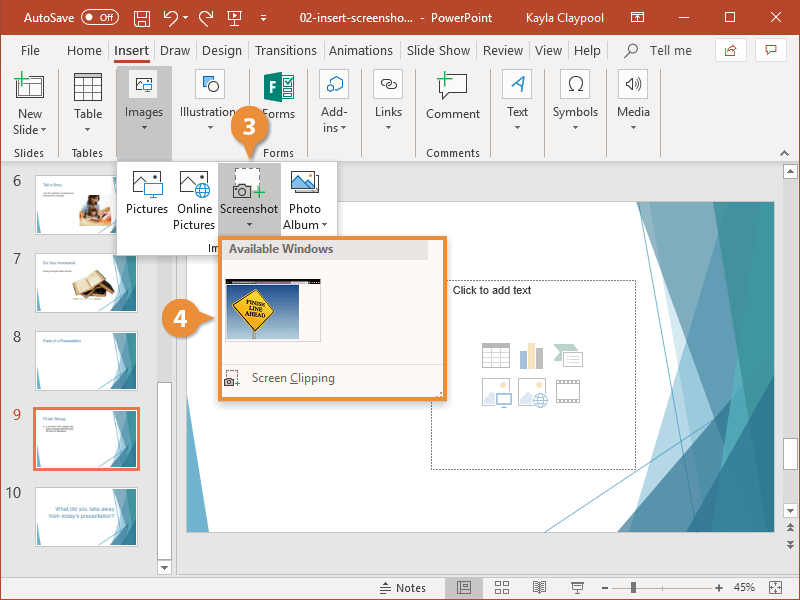
To cancel a screen clipping, press Esc when the screen clipping mode is active.
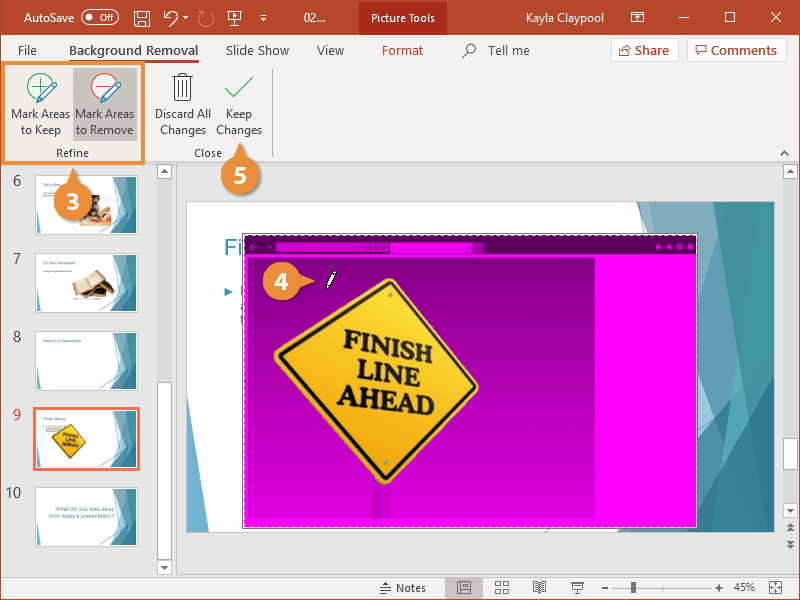
Remove a Background
You can remove the background of any screenshot, picture, or graphic in your presentation.
- Select the picture with a background you want to remove.
- Click Remove Background on the Format tab.
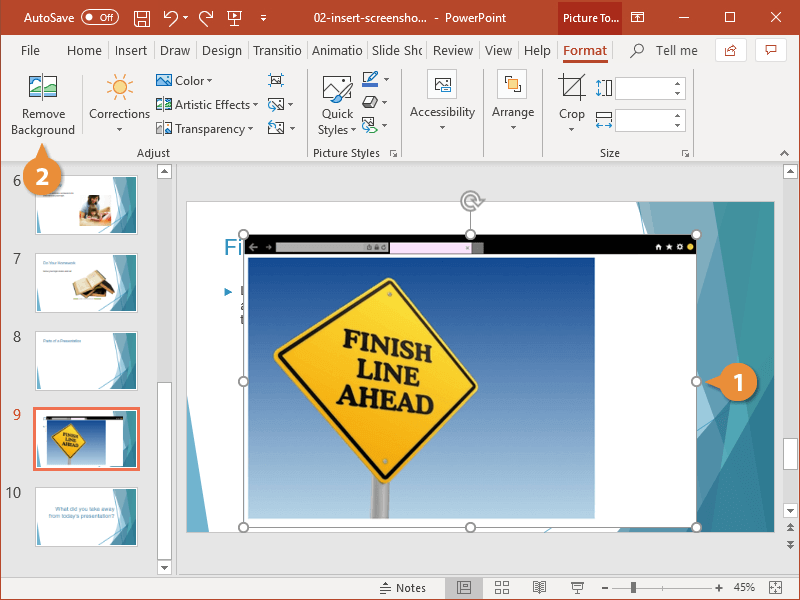
A new tab appears on the ribbon, and the picture is highlighted with a bright magenta color. Any magenta areas will be removed.
Click and drag the box around what you want to keep.
- Click a Mark Areas button in the Refine group:
- Mark Areas to Keep: Draw lines over the areas of a picture you want to keep.
- Mark Areas to Remove: Draw lines over the areas of a picture you want to remove.
- Click and drag over a section of the picture to either add or remove it.
- Click Keep Changes.
To restore the background, select the image, click the Remove Background button, and click Discard All Changes.