
Interactive Tutorial
Handout Master in Powerpoint
Customize the Handout Master in PowerPoint to Format Printed Slides and Add Headers or Footers
-
Learn by Doing
-
LMS Ready
-
Earn Certificates

Try this Course with a Free Trial
Distributing handouts of slides is a great way to make sure your audience can read the material and refer to it later. The handout master allows you to customize how your presentation will look as a printed handout.
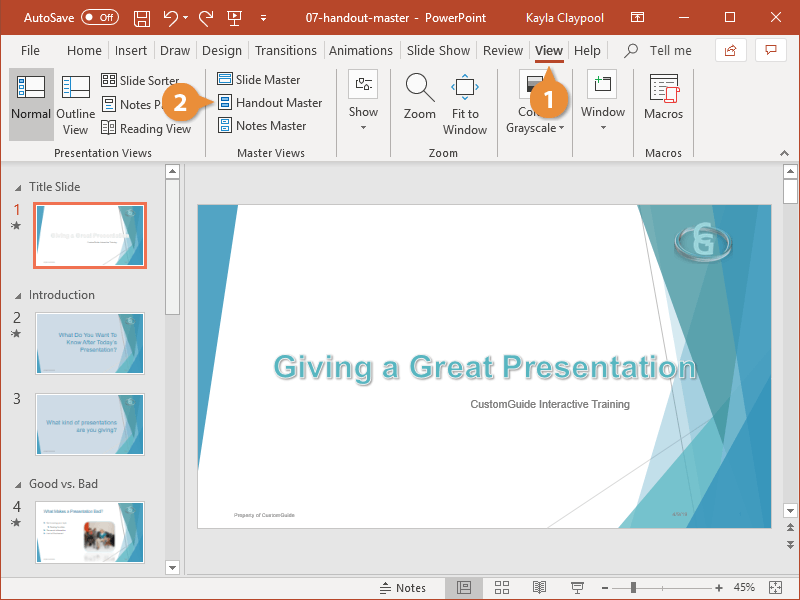
Open the Handout Master View
In Handout Master view you can choose design and layout options, format the background and text placeholders, modify headers and footers, and specify page setup options.
- Click the View tab.
- Click the Handout Master button.
Like working with slide masters, any changes you make here will be reflected on every page of the handouts.
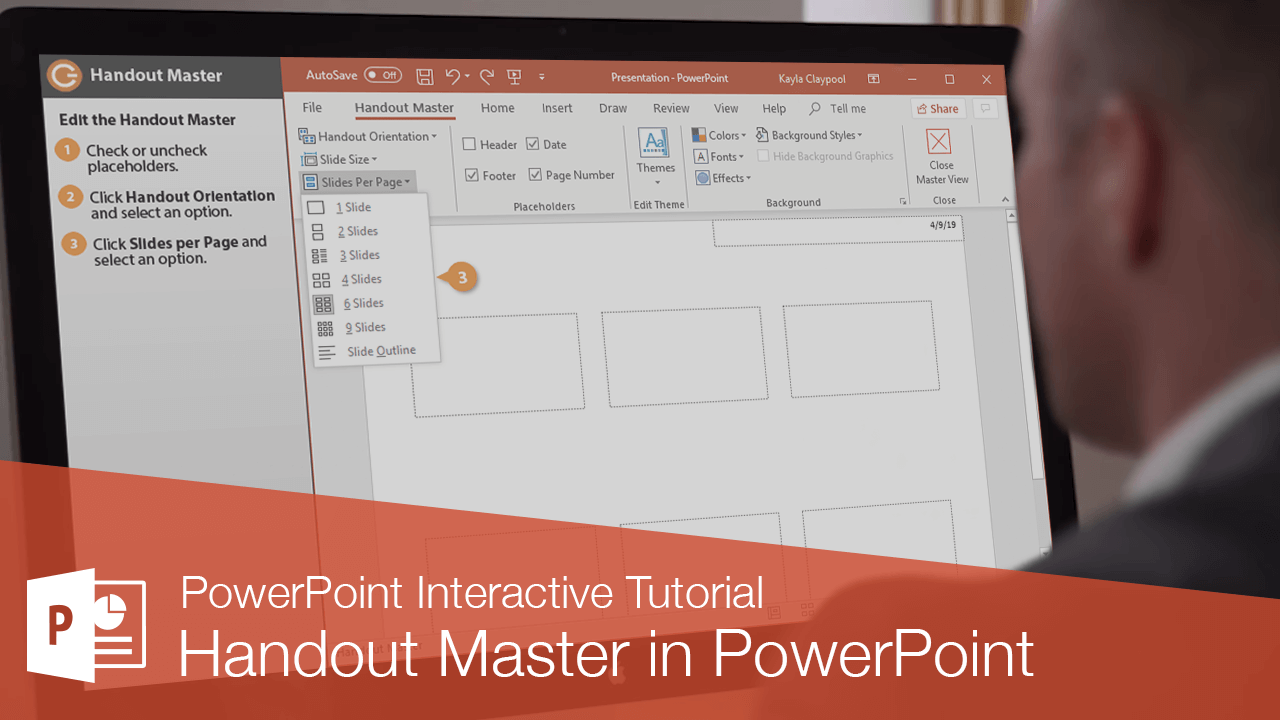
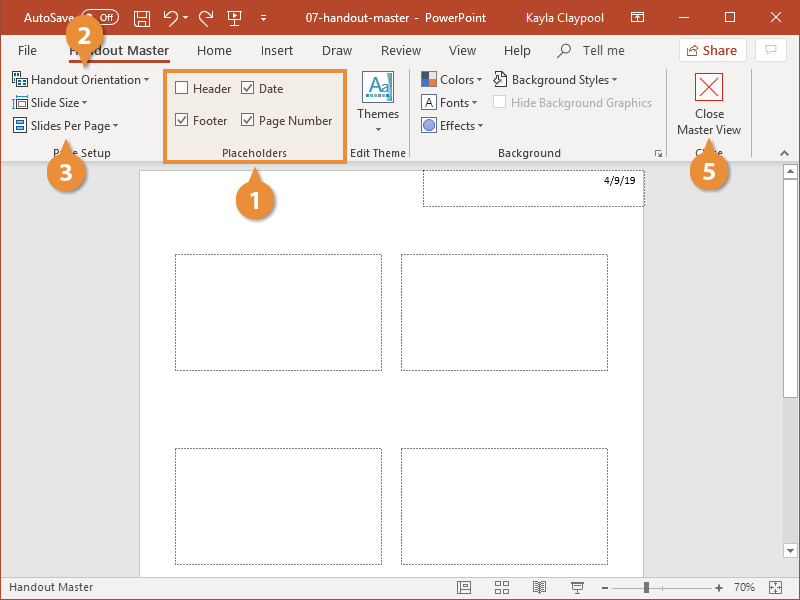
Edit the Handout Master
- While in Handout Master view, select the handout placeholders you want to use.
- Click Handout Orientation and select an option.
- Click Slides per Page and select an option.
- Make any additional changes to the Handout Master.
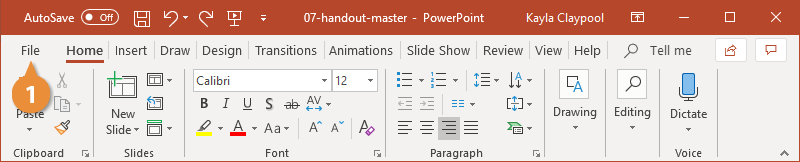
Use the tools on the Home and Insert tabs to change the size of the slide, add images, or format the text.
- Click the Close Master View button when you’re done.
Print Handouts
Once you have your handouts the way you want them, you can go ahead and print them.
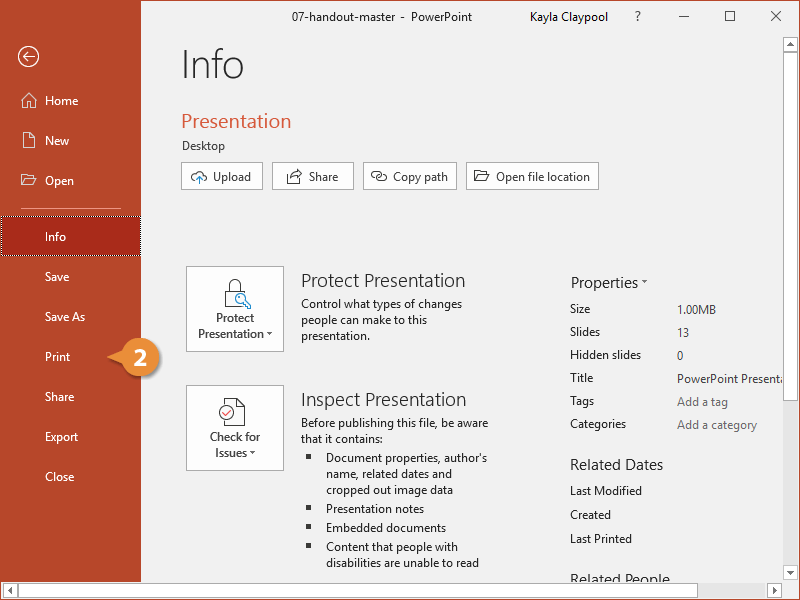
- Click the File tab.
- Click Print.
- Click Full Page Slides.
- Select a handout layout.
The preview updates to show you how your handouts will look.
- Click Print.
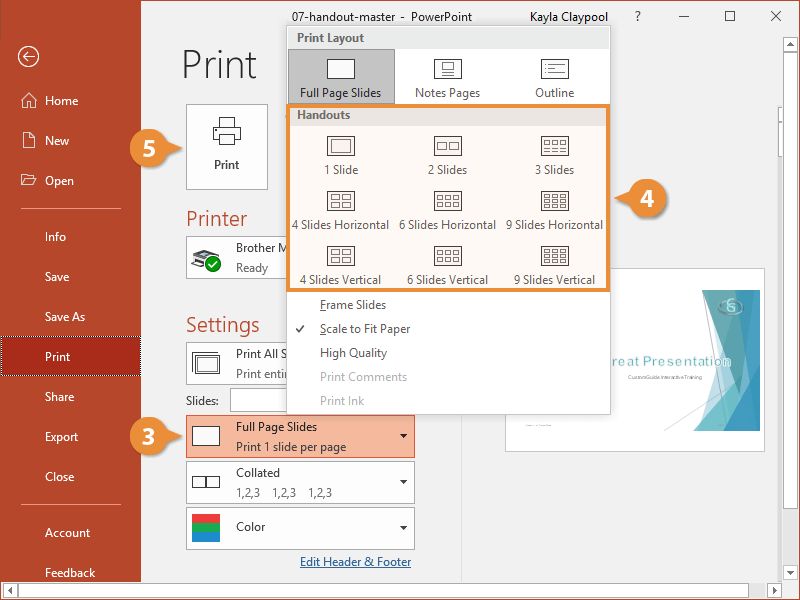
The handouts are sent to the printer.