PowerPoint Picture Format Painter
How to Use the Picture Format Painter in PowerPoint

PowerPoint Training Features:
-
Interactive bite-sized lessons
-
Get Certified
-
Accurate skill assessments
-
Customizable, LMS-ready content

Changing the visual style of a picture or graphic can enhance how it appears on the slide.
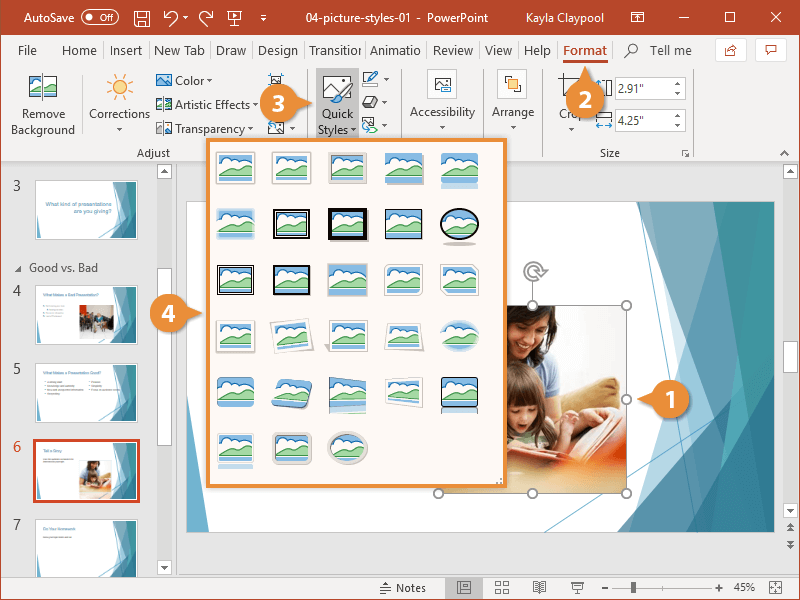
Choose a Style
- Select the picture.
- Click the Format tab on the ribbon.
- Click the Quick Styles button in the Picture Style group.
- Select a style.
Modify a Style
After a style has been applied, modify different elements of the preset style for a more customized look.
- Select the picture.
- Click the Format tab on the ribbon.
- Use the tools in the Picture Styles group to edit the picture style.
- Picture Border: Adjust the border color and thickness.
- Picture Effects: Add or remove complicated effects like glow and bevel.
- Picture Layout: Add text and reshape the picture to create SmartArt.

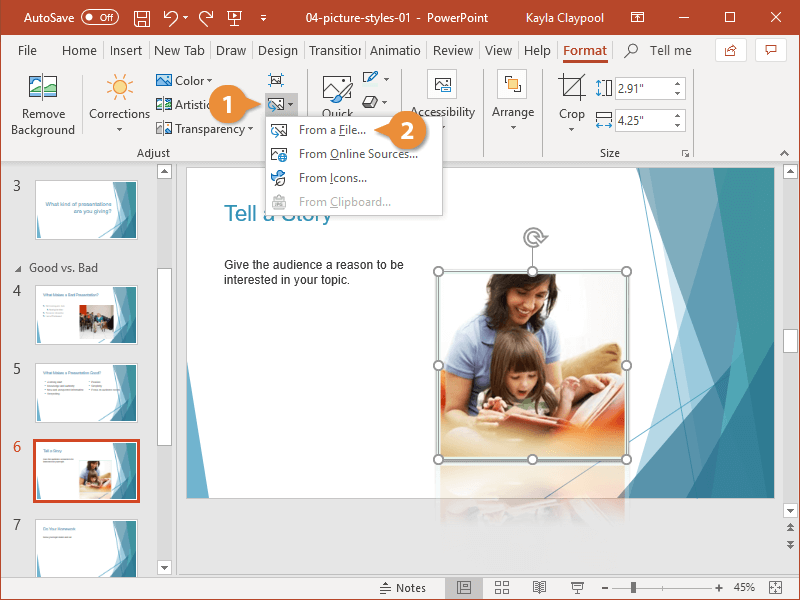
Change the Picture
You can swap one picture for another while keeping any of the picture style options that are already applied.
- With the picture selected, click the Change Picture button in the Adjust group on the Format tab.
- Select the type of picture you want to insert.
- Navigate to and select a new picture.
- Click Open or Insert.
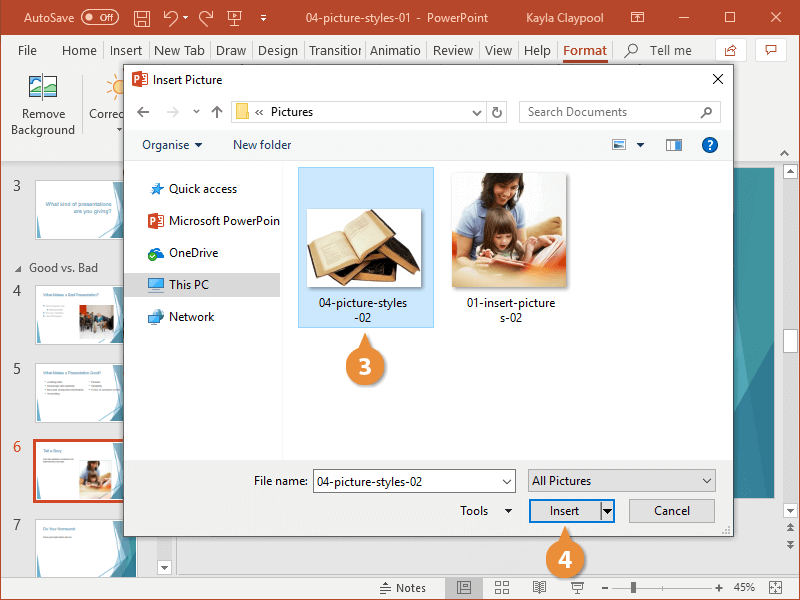
The picture is swapped out, but the style remains the same.
Use the Format Painter
Once you have one picture styled the way you like, you can use the Format Painter to apply the same style to another picture.
- With the formatted picture selected, click the Home tab.
- Click the Format Painter button.
Single-click the Format Painter button to apply the copied formatting once. Double-click the Format Painter button to apply a copied format multiple times.
The cursor now has a paintbrush symbol next to it, indicating the Format Painter is turned on.
- Click another picture.
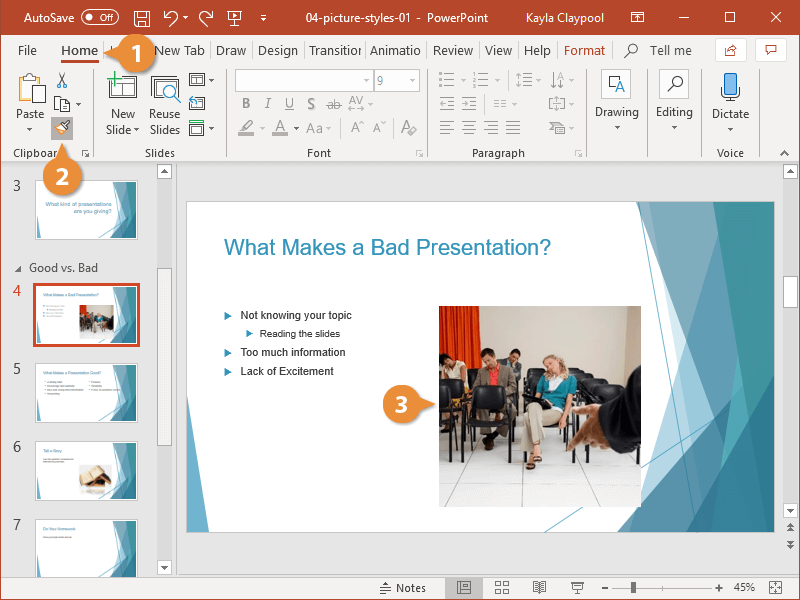
The same style and formatting is applied to the selected picture.

FREE Quick Reference
Click to DownloadFree to distribute with our compliments; we hope you will consider our paid training.
- LinkedIn-ready certificate
- Skill assessments
- Bite-sized, interactive lessons
- Saved progress