
Interactive Tutorial
Password Protect Powerpoint
Secure Your PowerPoint Presentation by Adding a Password to Restrict Access and Editing
-
Learn by Doing
-
LMS Ready
-
Earn Certificates

Try this Course with a Free Trial
After you've put a lot of work into your presentation, it’s a good idea to inspect it for issues and add protection.
Inspect a Presentation
- Click the File tab.
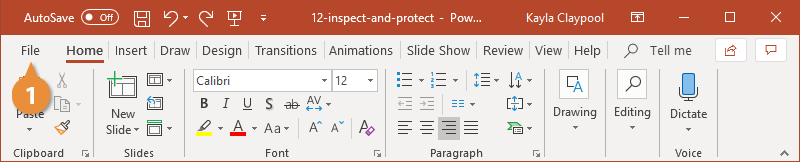
- Click the Check for Issues button on the Info tab.
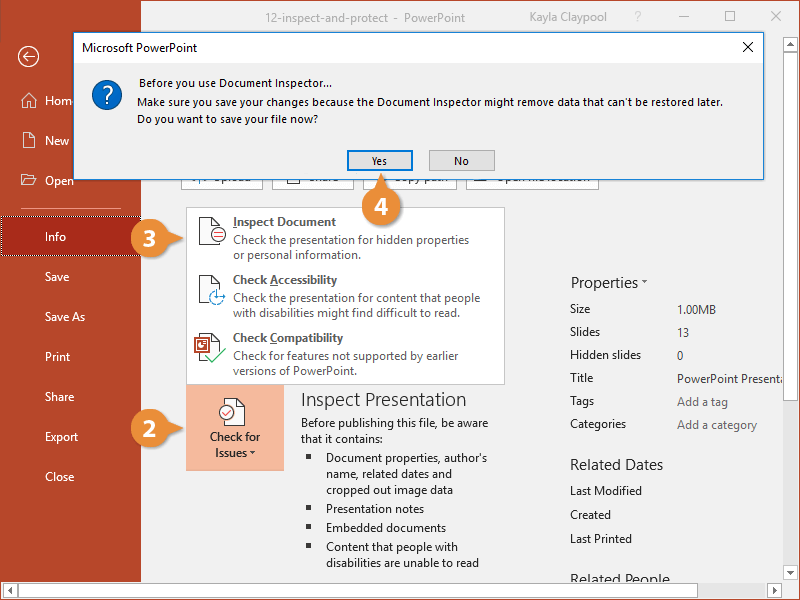
Inspecting it checks for any hidden properties or personal information you may not want others to see.
- Click Inspect Document.
PowerPoint asks if you want to save the file first.
- Click Yes.
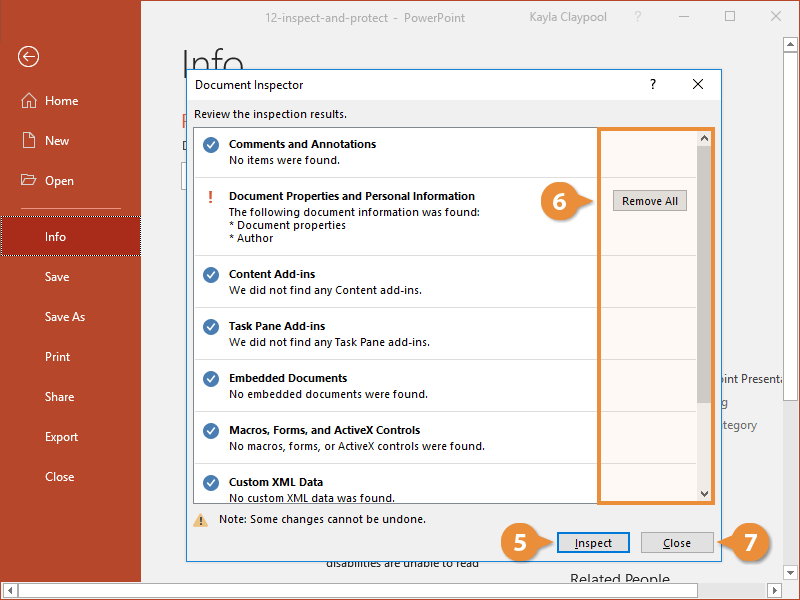
The Document Inspector dialog box lists everything that can be inspected. If there's something you don't want to inspect, deselect it here.
- Click Inspect.
- Click Remove All next to the items you want to remove.
- Click Close.
Mark Presentation as Final
After everything has been inspected and the excess data has been removed, you can protect the presentation. Adding protection marks the presentation as final, letting other users know that further edits aren't needed.
- Click the File tab.
- Click the Protect Presentation button on the Info tab.
- Click Mark as Final.
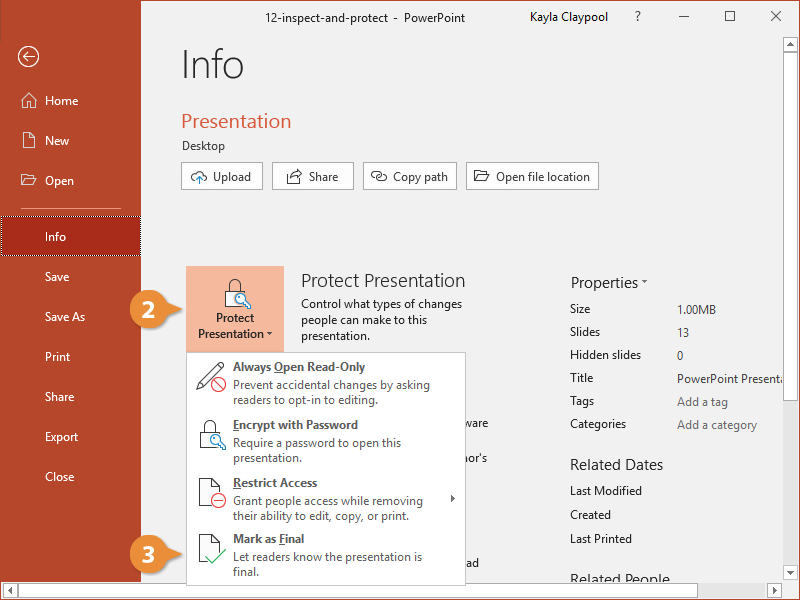
- Click OK.
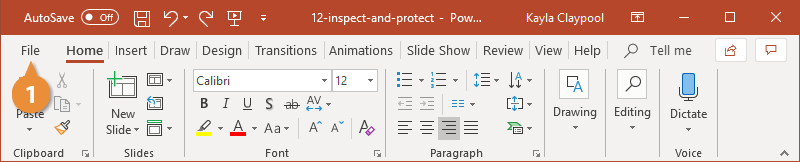
When a presentation is marked as final, the ribbon is hidden from view. Typing, editing, and proofing are disabled to discourage editing. However, clicking the Edit Anyway button removes the restrictions and allows editing once again.
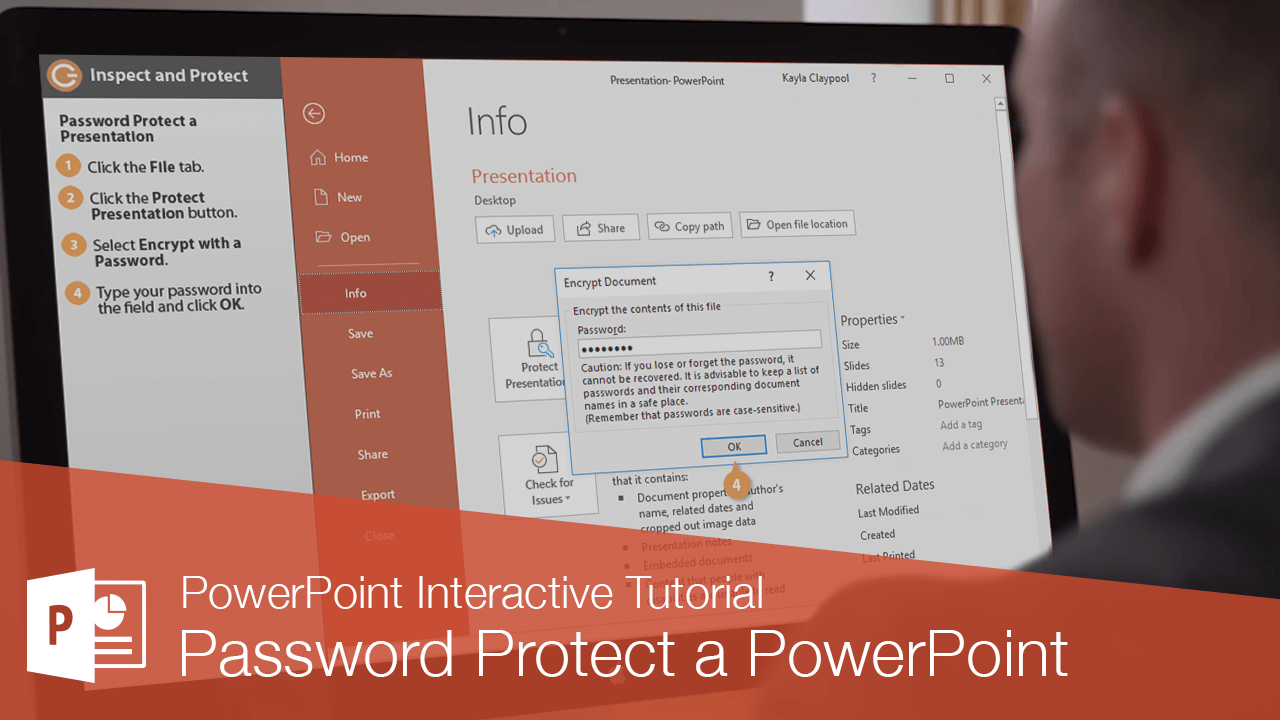
Password Protect a Presentation
If you need more control, you can password protect the presentation to restrict who can edit it.
- Click the File tab.

- Click the Protect Presentation button on the Info tab.
- Select Encrypt with Password.

- Type your password in the field and click OK.

- Reenter the password in the field and click OK.
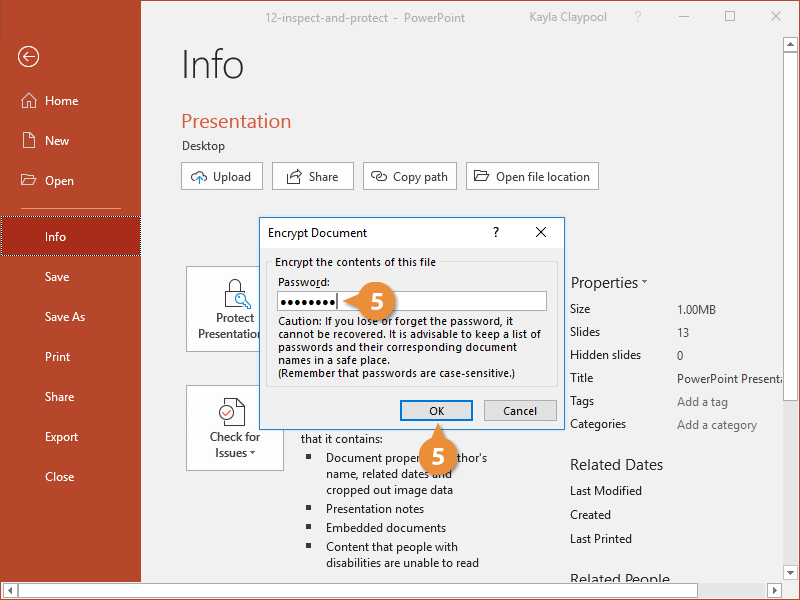
Anyone who wants to edit this presentation will now need to enter the password. You will also need the password to make any modifications to the file, so be sure to not forget it.