Interactive Tutorial
Edit Video in Powerpoint
Trim, Crop, and Format Videos in PowerPoint to Enhance Your Presentation’s Visual Impact
-
Learn by Doing
-
LMS Ready
-
Earn Certificates

Try this Course with a Free Trial
After inserting a video file, there are various options you can modify, including the video appearance, size, playback, and start and end points.
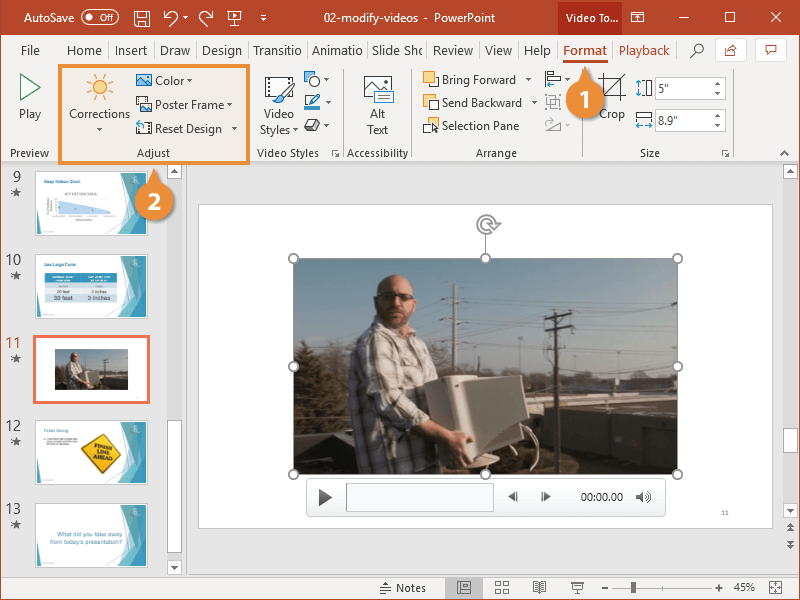
Video Appearance Options
The Adjust group of the Format tab contains all the options you’ll need to modify the video’s appearance.
- Click the Video Tools Format tab.
- Select an adjustment option.
- Corrections: Modify the brightness or contrast of the video.
- Color: Apply a style effect, such as a color or grayscale.
- Poster Frame: Set the video’s preview image.
- Reset Design: Discard all formatting changes applied to the video.
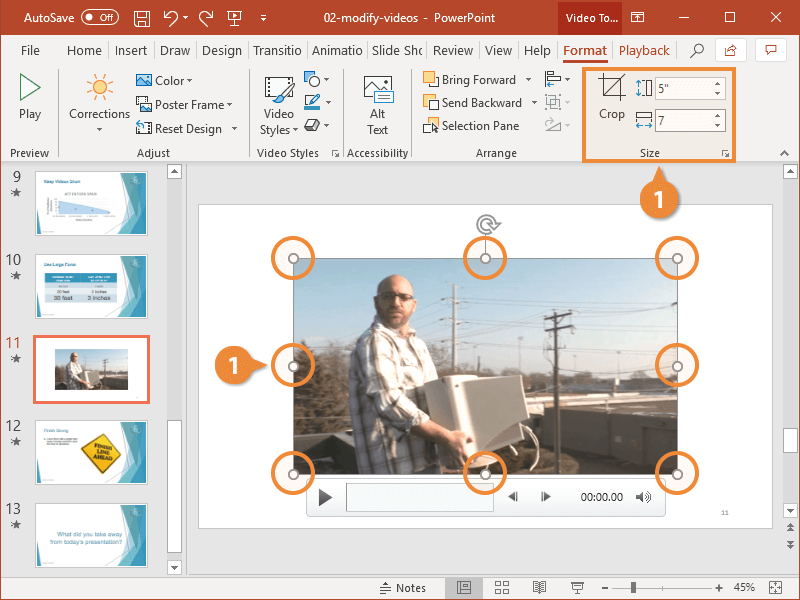
Video Size
If the video isn't quite the right size, you can change that too, just like you would a picture.
- Drag the size handles or adjust the value in the size field.
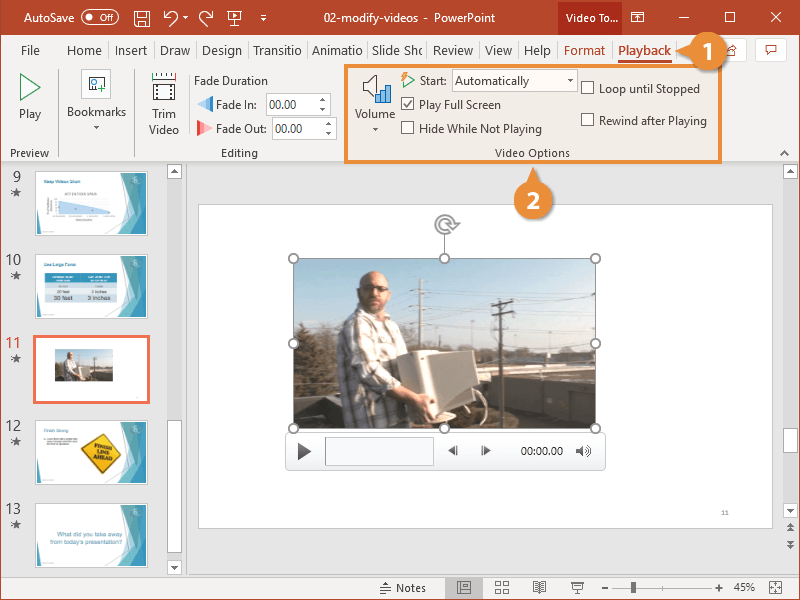
Video Playback Options
- Click the Playback tab.
- Adjust the settings in the Video Options group.
- Volume: Adjusts the volume for the video clip’s audio.
- Start: Determines when the video clip will play. The default setting is “On Click”, but you can adjust the setting so the video starts automatically.
- Play Full Screen: Expands the video to play full screen while the presentation is running.
- Hide While Not Playing: Hides the video frame when it is not playing.
- Loop until Stopped: Repeats the video until it is manually paused or the presentation moves on to the next slide.
- Rewind after Playing: Returns the video clip to the starting position after playback ends.
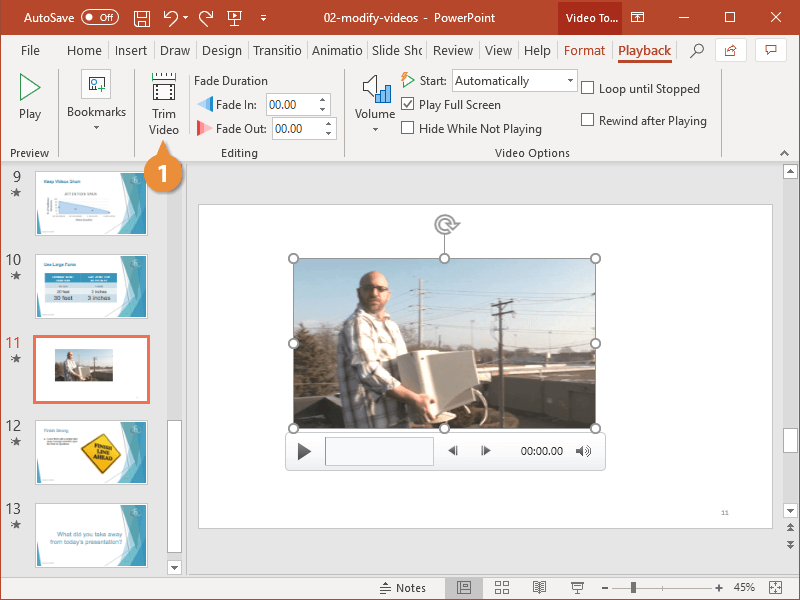
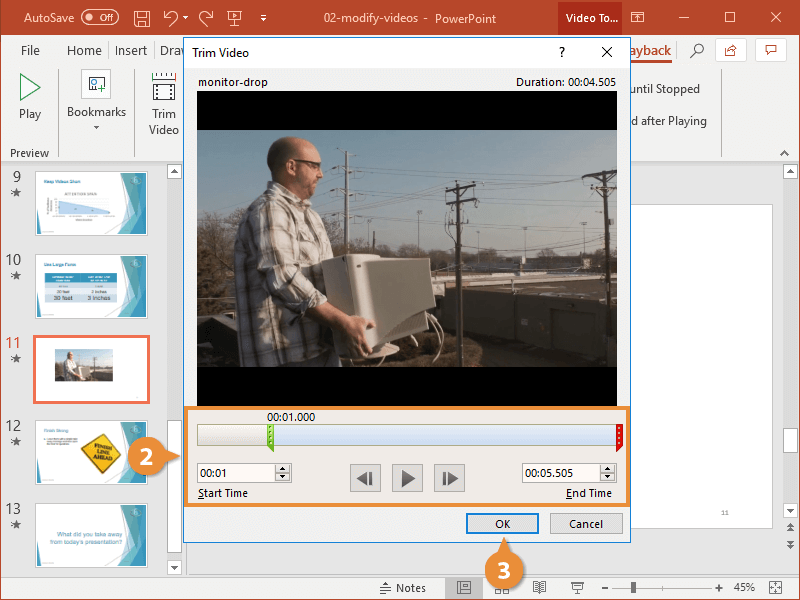
Set Video Start and End Point
The Trim Video option allows you to cut off portions of the beginning or end of a video to make it shorter.
- Click the Trim Video button.
- Adjust the start and end points.
You can either type specific values into the Start Time and End Time fields or click and drag the start and end handles in the timeline below the video.
- Click OK.