How to Merge Shapes in PowerPoint
How to Merge Shapes in PowerPoint

PowerPoint Training Features:
-
Interactive bite-sized lessons
-
Get Certified
-
Accurate skill assessments
-
Customizable, LMS-ready content

You don’t have to settle for the basic shapes PowerPoint offers. You can easily modify shapes to create a unique shape that’s all your own.
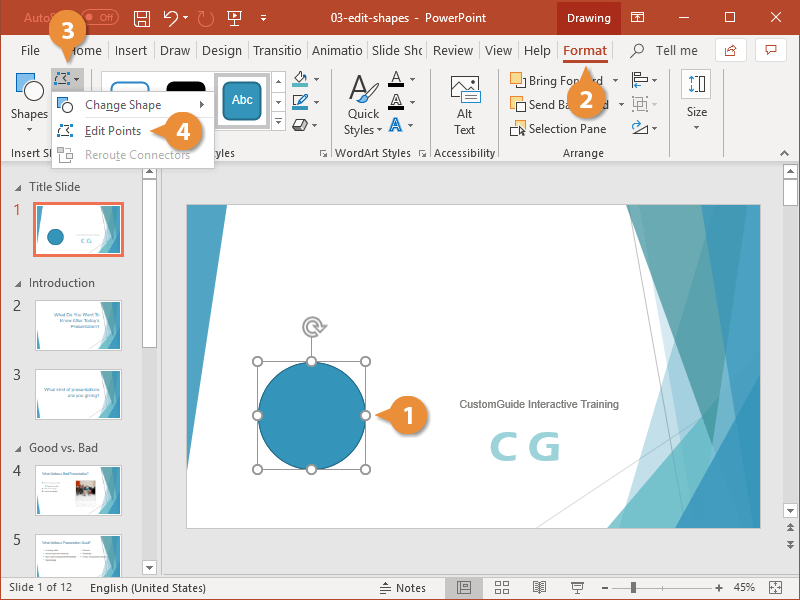
Edit Points
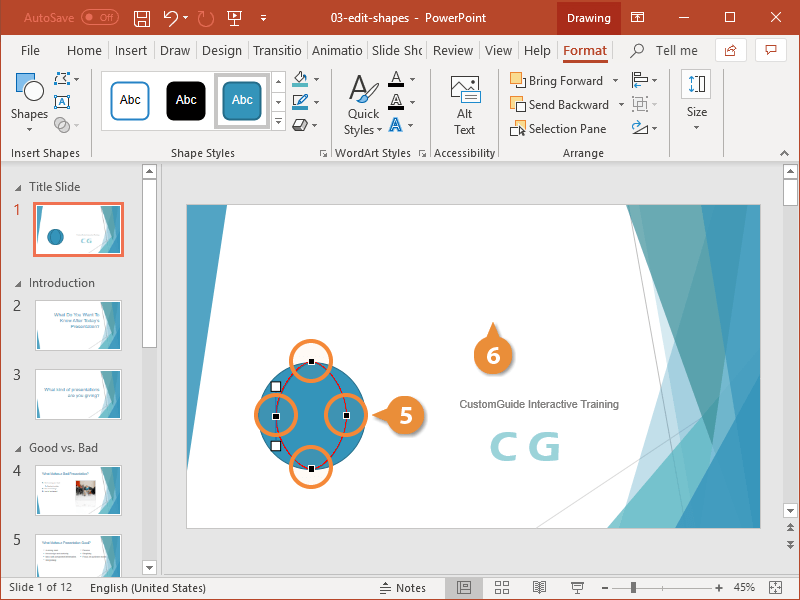
Every shape is formed by a series of points. These points can be manipulated to change the shape’s form.
- Select a shape.
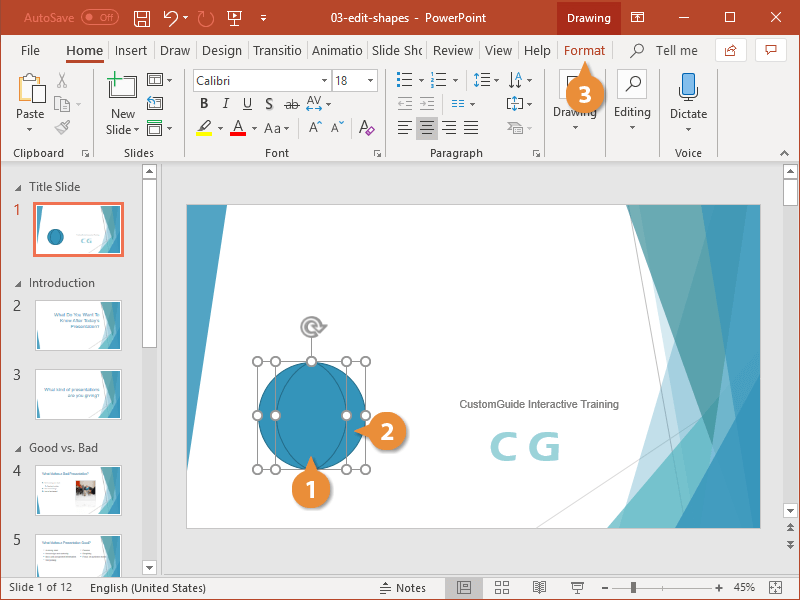
- Click the Format tab.
- Click Edit Shape.
- Select Edit Points.
Now you can see the points that make up the shape's boundary. Each of these points are editable.
- Click and drag the shape’s points.
- When you’re done, click outside the shape to apply the changes.
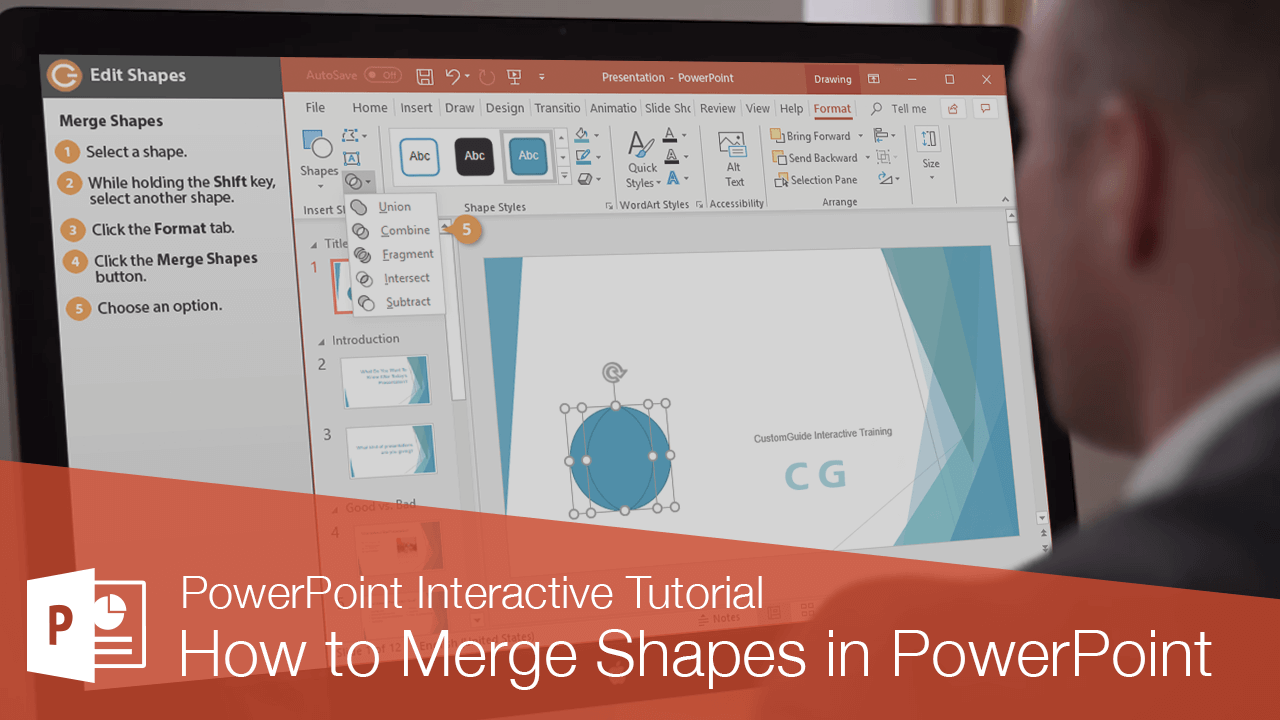
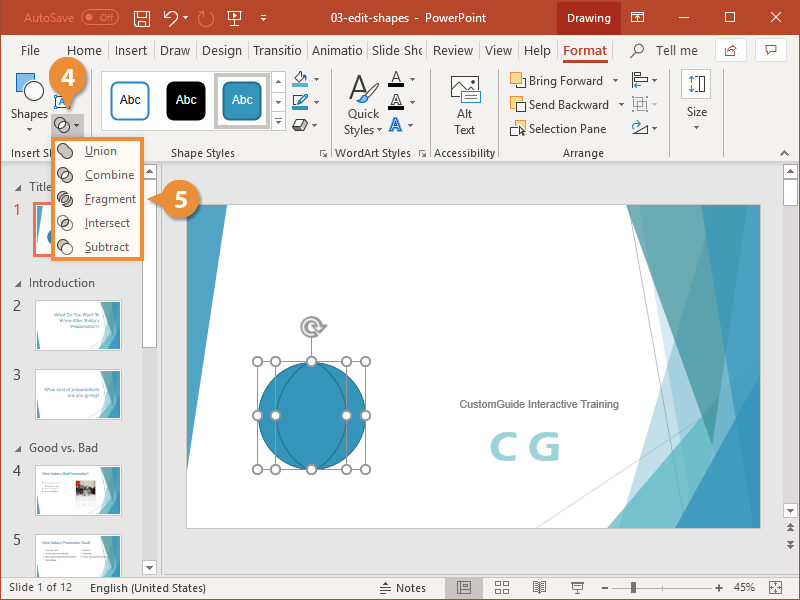
Merge Shapes
You can use the Merge Shapes feature to create new, custom shapes from one or more existing shapes.
- Select a shape.
The merged shape will take on the color of the first shape selected, so if you want to keep a particular color, be sure to select that shape first.
- While holding the Shift key, select another shape.
- Click the Format tab.
- Click Merge Shapes.
- Choose a merge option:
- Union: Merges multiple shapes into one.
- Combine: Makes one shape with the overlapping parts erased.
- Fragment: Makes both shapes one color and outlines the part where they overlap.
- Intersect: Erases both shapes except for the parts that overlap.
- Subtract: Creates a cutout of one shape inside the other.

FREE Quick Reference
Click to DownloadFree to distribute with our compliments; we hope you will consider our paid training.
- LinkedIn-ready certificate
- Skill assessments
- Bite-sized, interactive lessons
- Saved progress