How to Crop a Picture in PowerPoint
How to Crop a Picture in PowerPoint

PowerPoint Training Features:
-
Interactive bite-sized lessons
-
Get Certified
-
Accurate skill assessments
-
Customizable, LMS-ready content

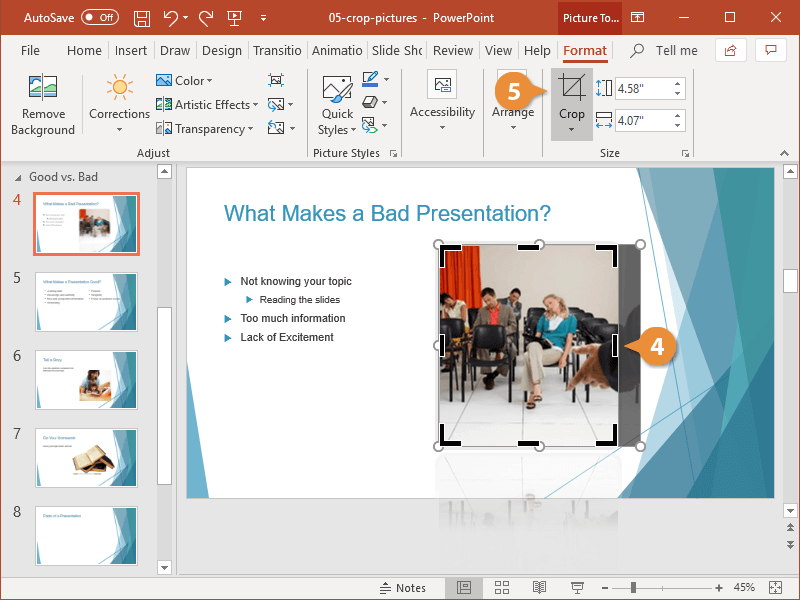
When you crop a picture or graphic, you trim its horizontal and vertical sides. Cropping is useful when you only want to include a portion of a picture or graphic.
Crop
- Select the picture.
- Click the Format tab on the ribbon.
- Click the Crop button.

Crop handles appear around the border of the picture.
- Click and drag the crop handles inward.
To crop all four sides of a picture or graphic at once while maintaining the graphic’s proportions, press and hold down Ctrl as you drag the mouse.
- Click the Crop button again to complete the crop.
Aspect Ratio
Sometimes you may want to crop to an aspect ratio to keep a picture's dimensions consistent.
- With the picture selected, click the Crop button list arrow on the Format tab.
- Select Aspect Ratio.
- Select an aspect ratio option.
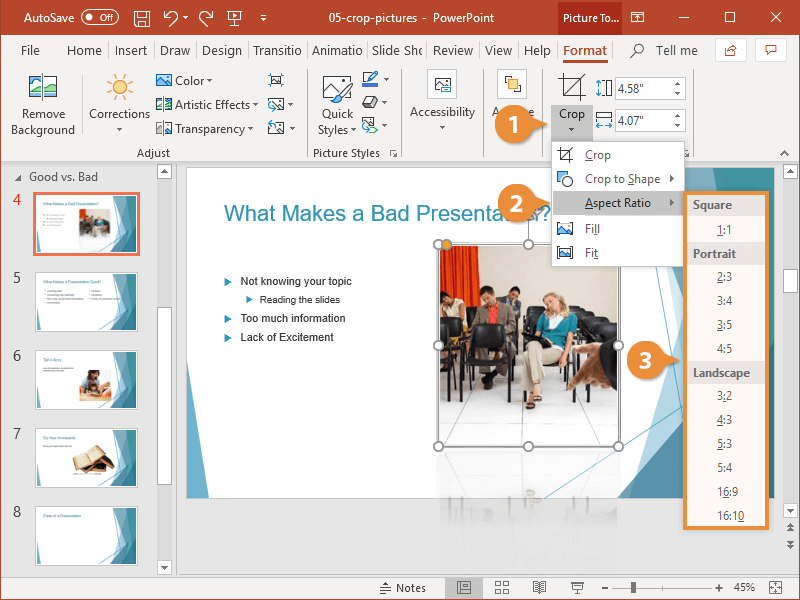
- Click the Crop button again.
The aspect ratio is applied.
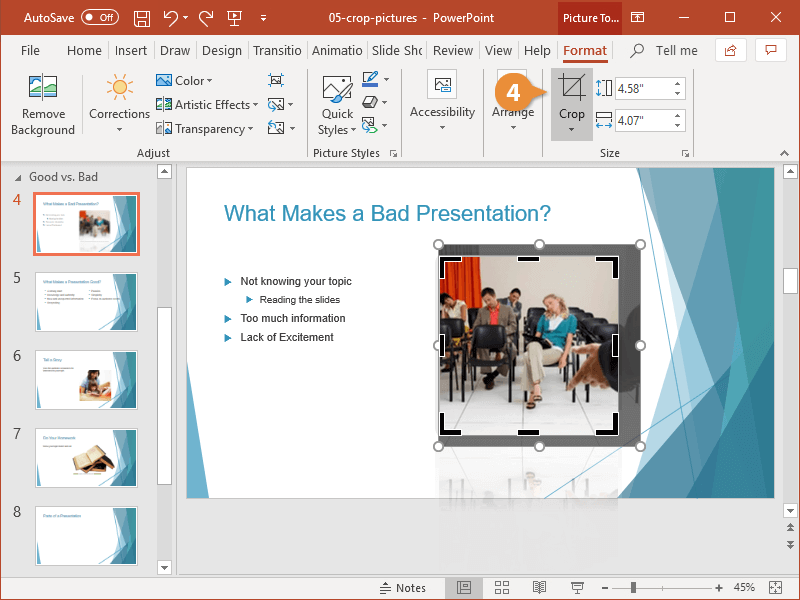
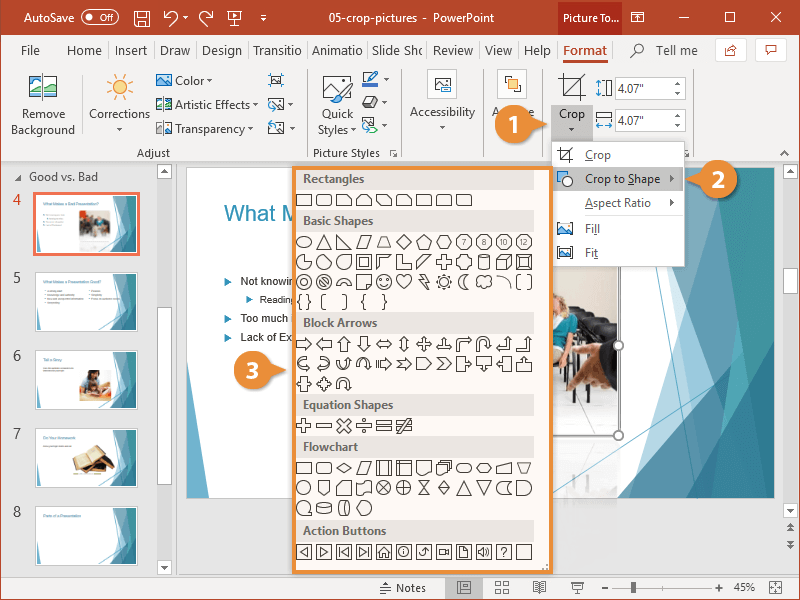
Crop as a Shape
You can also crop a picture into any shape, as if you were to cut it out with scissors.
- With the picture selected, click the Crop button list arrow on the Format tab.
- Select Crop to Shape.
- Select a shape.

FREE Quick Reference
Click to DownloadFree to distribute with our compliments; we hope you will consider our paid training.
- LinkedIn-ready certificate
- Skill assessments
- Bite-sized, interactive lessons
- Saved progress