Interactive Tutorial
Outlook Pictures
Insert, resize, and format pictures in Outlook emails to create professional and engaging messages
-
Learn by Doing
-
LMS Ready
-
Earn Certificates

Try this Course with a Free Trial
Insert a Picture
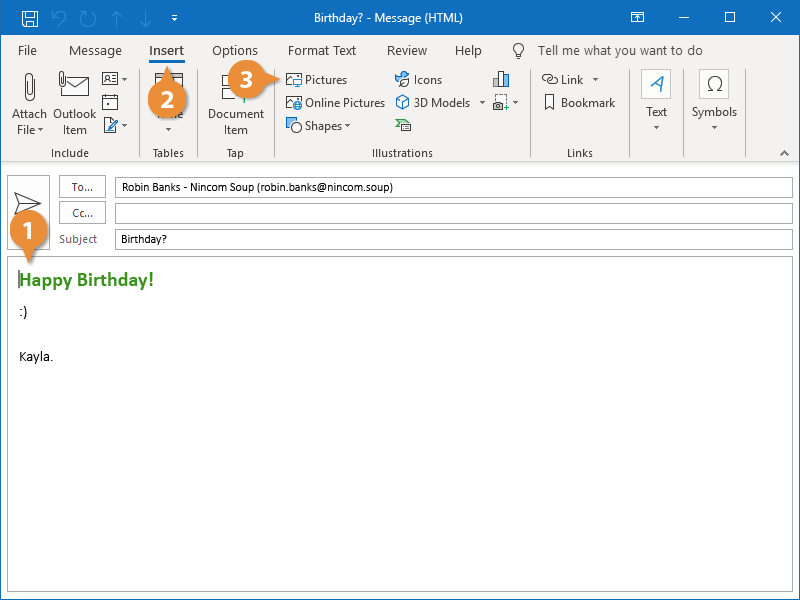
Instead of sending an image as an attachment, you can also insert pictures directly into your emails, so they can be viewed immediately as part of the message.
- Click where you want to place the picture in the body of a new message.
- Click the Insert tab on the ribbon.
- Click the Pictures button.
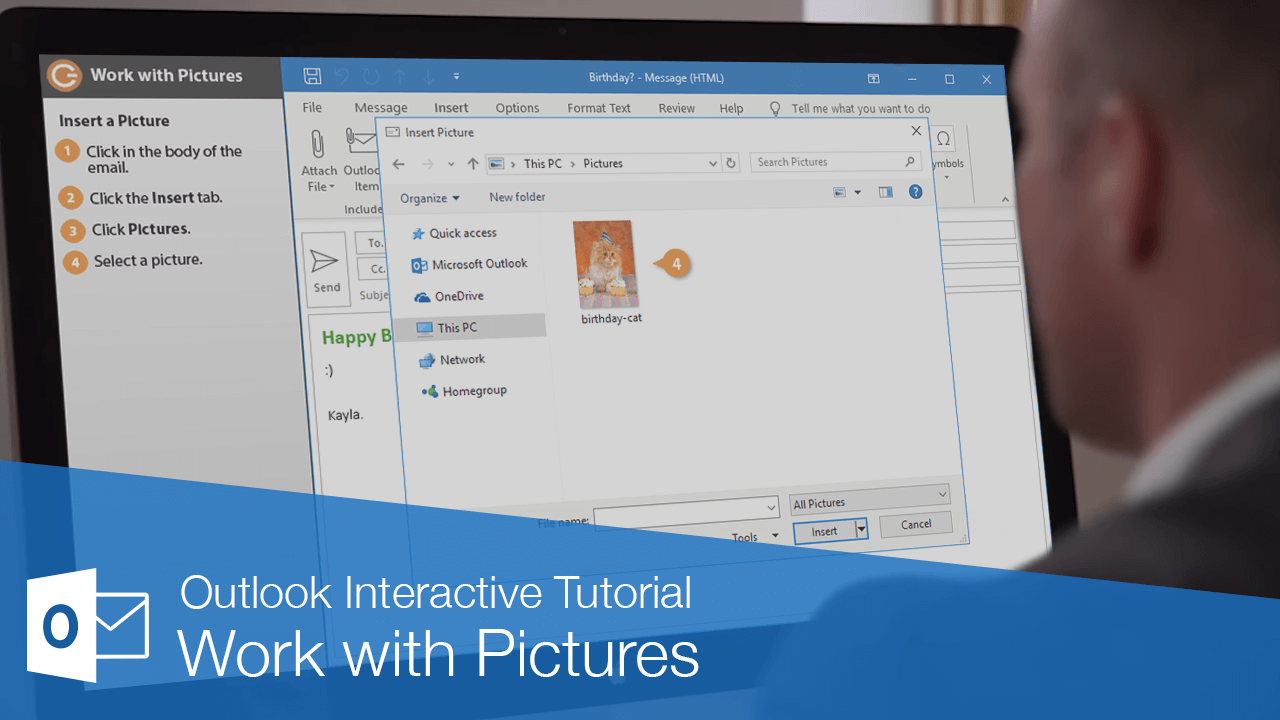
- Navigate to and select a picture.
- Click the Insert button.

The picture is inserted into the body of the email.
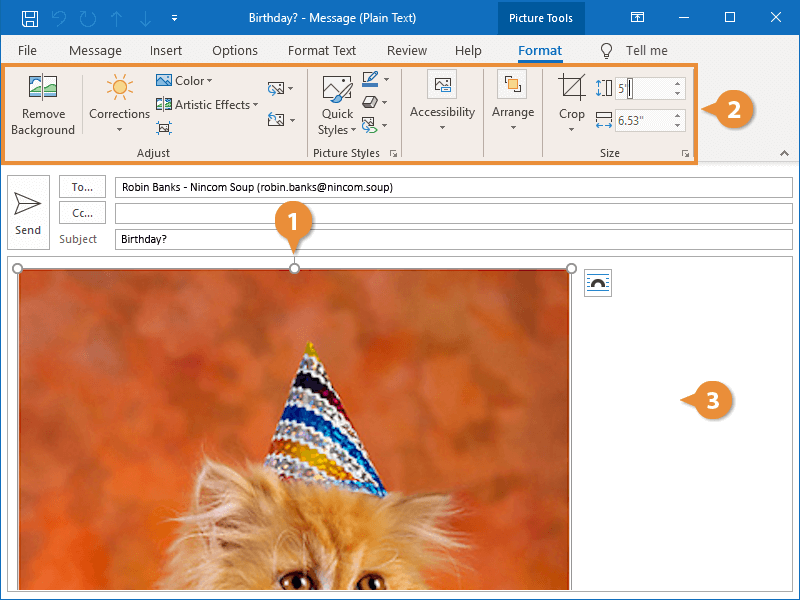
Format a Picture
Any time you add or select an image, the Picture Tools Format tab will appear. This tab contains all of the tools you can use to change the picture's appearance and formatting.
- Select the picture.
The Picture Tools Format tab appears.
- Use the tools on the Format tab to format the picture.
- Click outside the picture when you’re done.