
Interactive Tutorial
Multiple Calendars in Outlook
View, Manage, and Overlay Multiple Calendars in Outlook to Organize Your Schedule Efficiently
-
Learn by Doing
-
LMS Ready
-
Earn Certificates

Try this Course with a Free Trial
Many people prefer to keep multiple calendars with specific purposes, such as one for work and one for personal appointments.
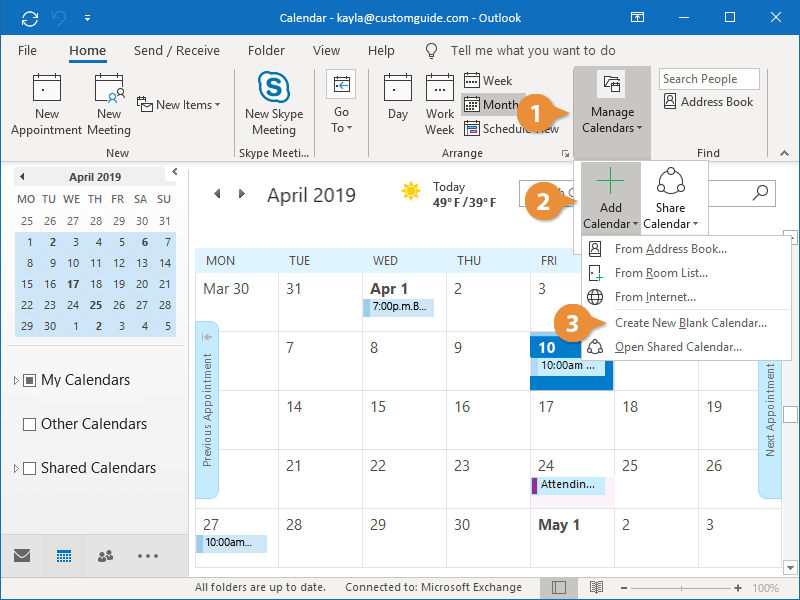
Add New Calendars
- Expand the Manage Calendars group, if necessary.
- Click the Add Calendar button.
- Select Create New Blank Calendar.
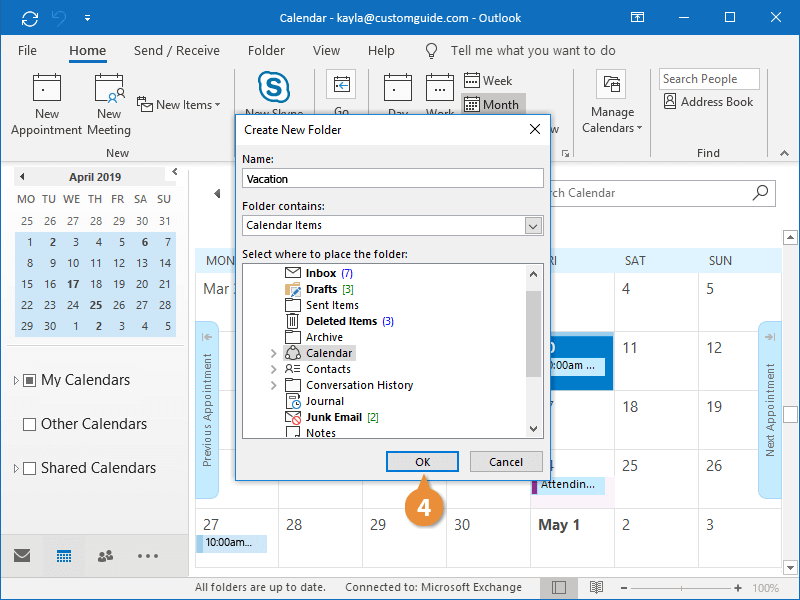
The Create New Folder dialog box appears, since Outlook treats calendars as folders. Make sure to leave Calendar selected as the location for the new folder.
- Enter a name for the new calendar and click OK.
A new blank calendar appears in the Folder Pane.
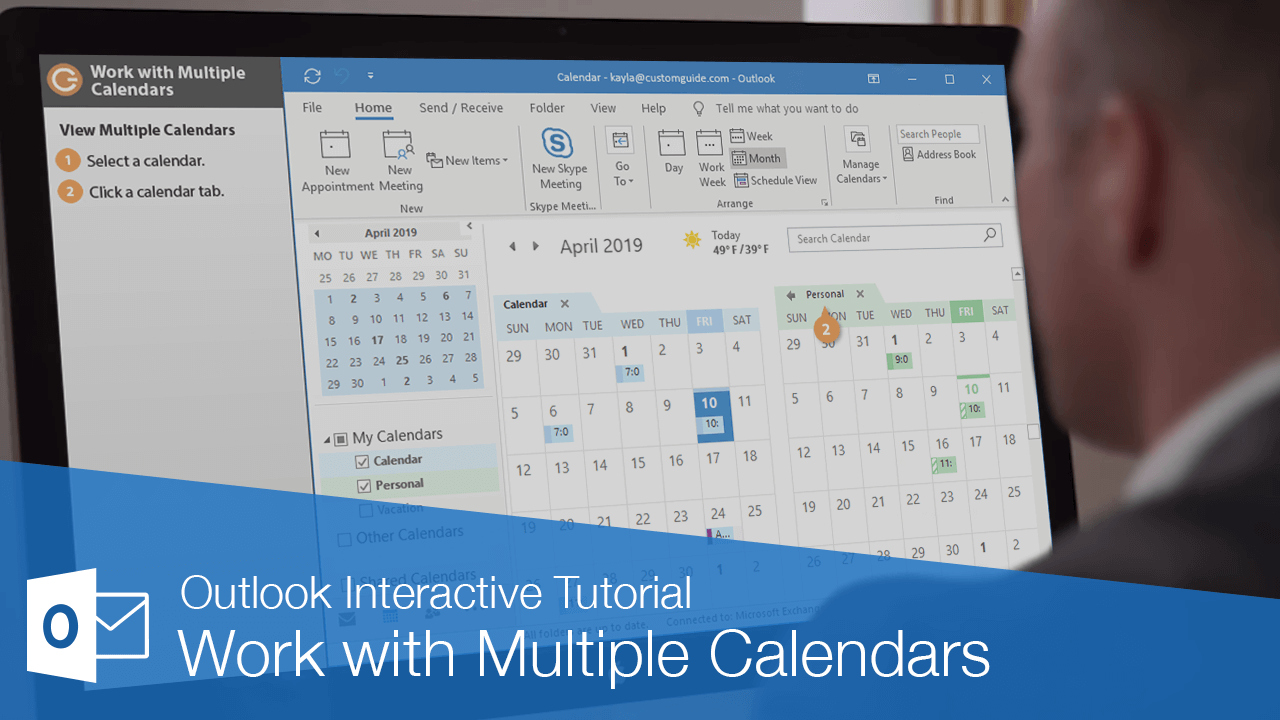
View Multiple Calendars
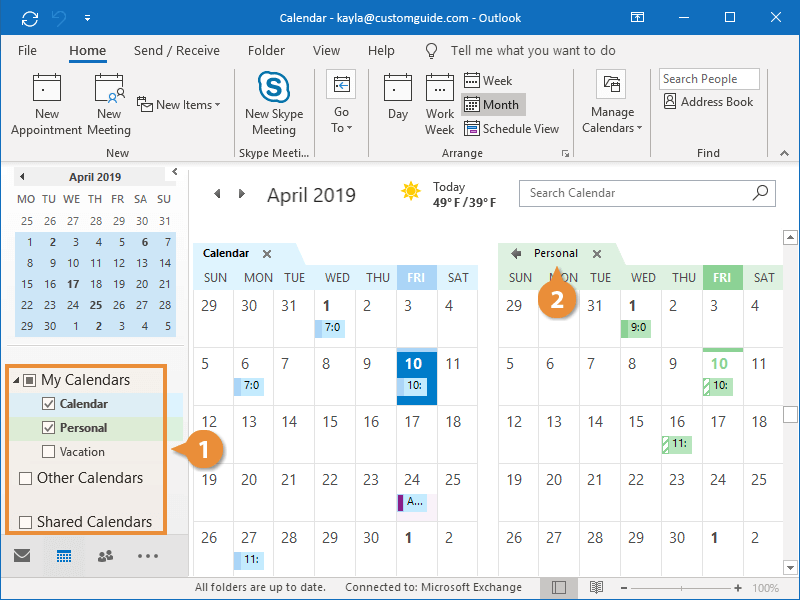
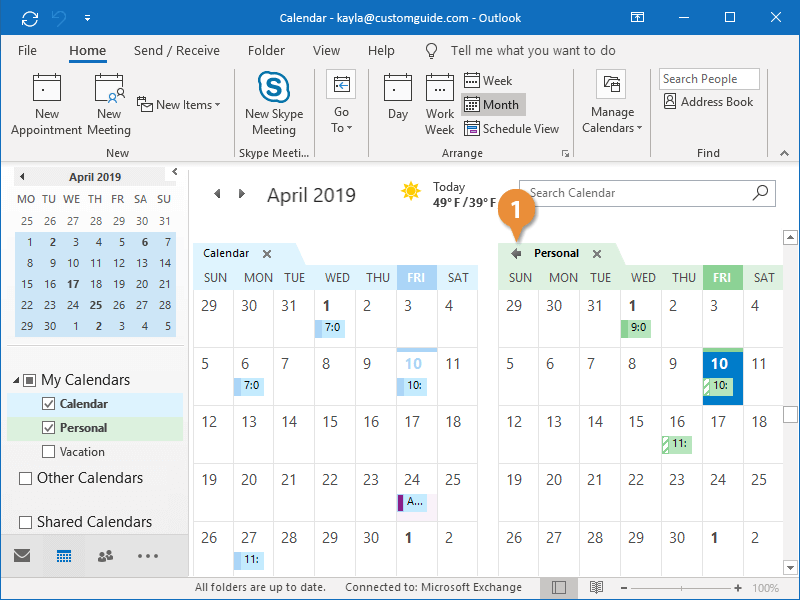
Once you have multiple calendars, you can choose to toggle calendars on or off in any combination and they’ll appear side-by-side.
- Check a calendar’s check box.
The selected calendar is toggled on or off.
- Click a calendar tab.
That calendar is now active, and new appointments will be created on the selected calendar.
Overlay Calendars
Viewing calendars side-by-side is nice, but occasionally it is hard to keep track of what events fall on the same day. Luckily, you can choose to overlay calendars to see multiple calendars at once, all in one place.
- With multiple calendars open, click the Overlay arrow on a calendar tab.
The second calendar is now stacked on top of the first, and events from both will appear together.
To separate stacked calendars, just click the Overlay arrow again.
Delete a Calendar
If you no longer need one of these extra calendars, you can always delete them.
- Right-click the calendar tab you want to delete.
- Select Delete Calendar.
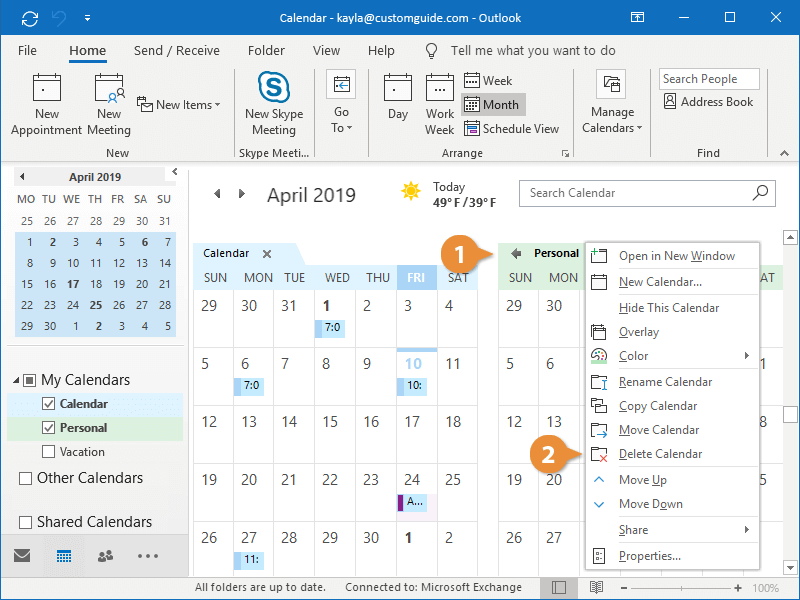
The calendar, and all of its events, is deleted.