
Interactive Tutorial
Outlook Categories
Organize Emails, Events, and Tasks in Outlook Using Color-Coded Categories
-
Learn by Doing
-
LMS Ready
-
Earn Certificates

Try this Course with a Free Trial
Categories let you organize your Outlook items into specific groups, making it easier to find what you’re looking for with just a glance. You can choose from the default categories, or you can create your own.
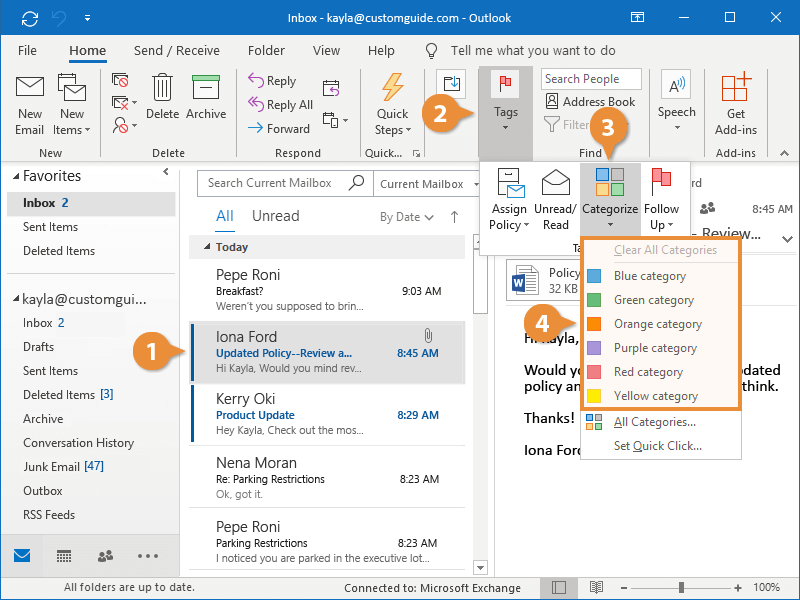
Categorize an Item
- Select an item.
Categories work across all areas of Outlook. This means that you can give emails, meetings, contacts, and tasks the same category designation to keep track of different responsibilities.
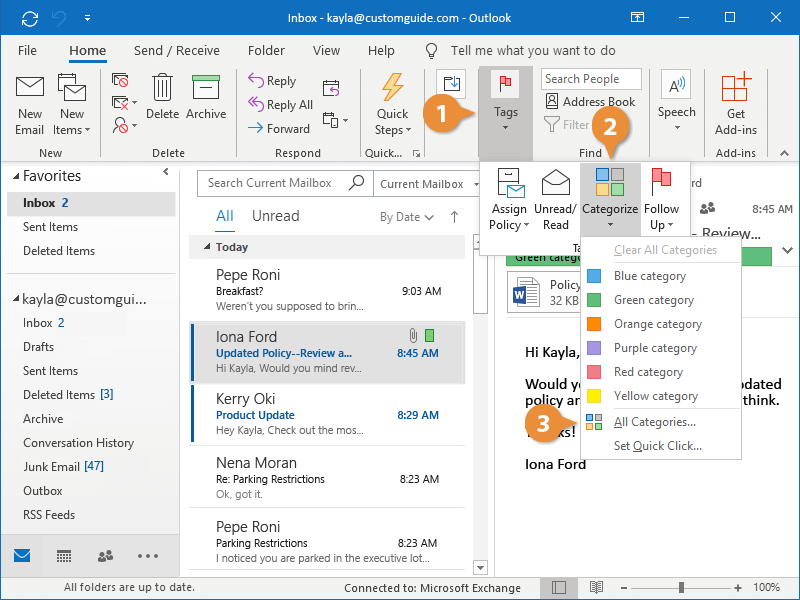
- Expand the Tags group, if necessary.
- Click the Categorize button.
A list of categories appears. Outlook includes some color-coded categories by default, but you can create your own.
- Select a category.
The category is assigned to the selected item.
You can assign multiple categories to an item.
You can also right-click the item, select Categorize and then select a category.
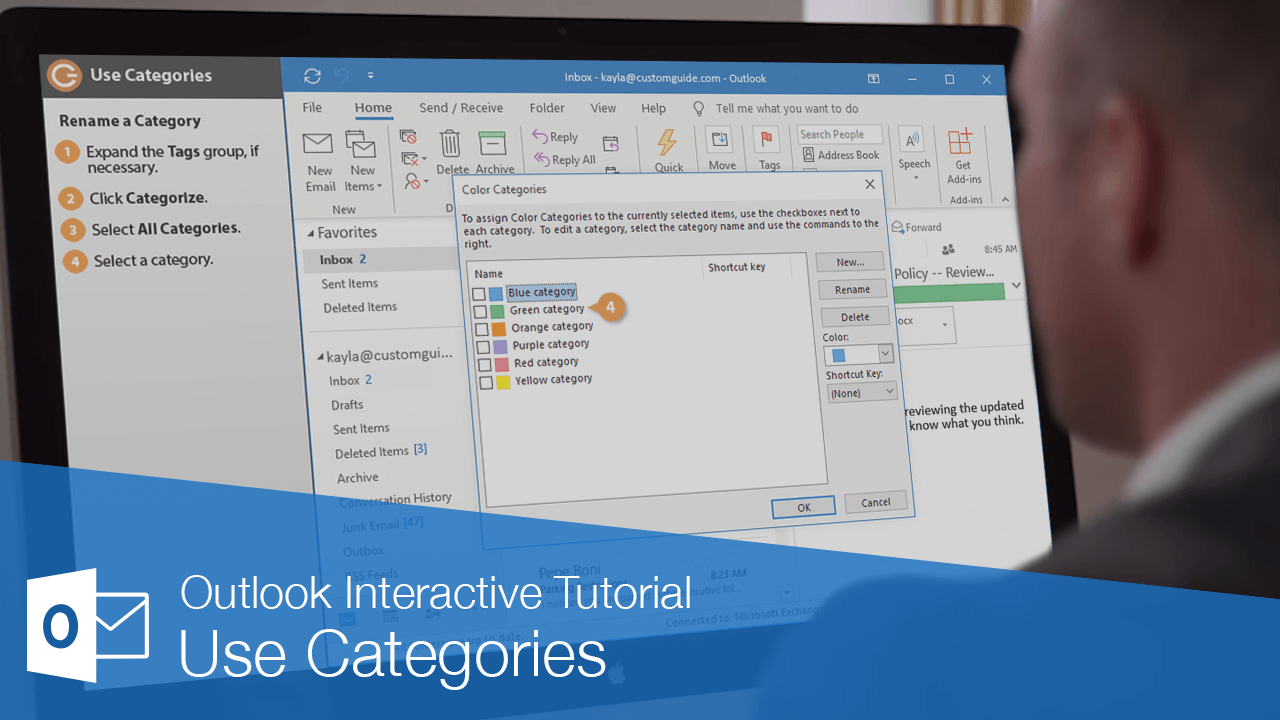
Rename a Category
The default color categories are simply named after the color they use. If you find yourself using them frequently, you can change the name to something more meaningful.
- Expand the Tags group, if necessary.
- Click the Categorize button.
- Select All Categories.

The Color Categories dialog box appears, listing all the categories that have been set up.
- Select a category.
- Click Rename.
- Enter a new name.
- Click OK.
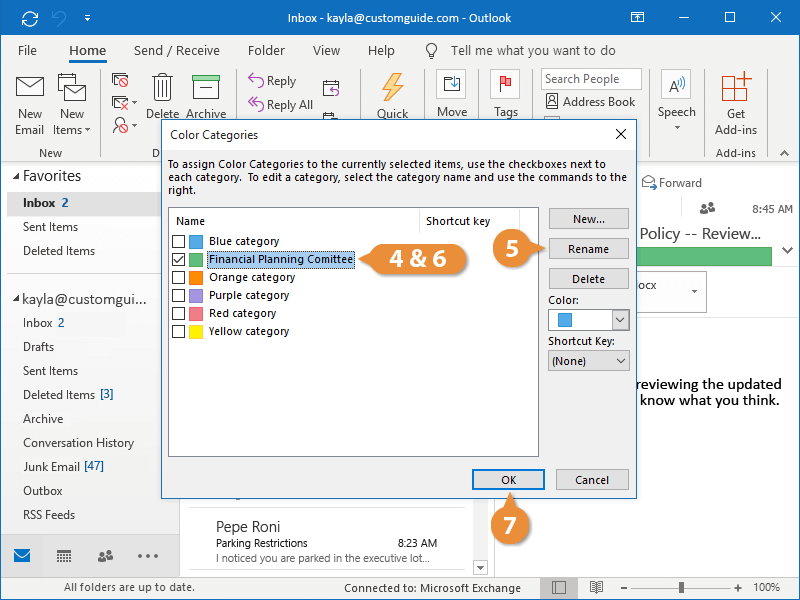
The category is updated with a new name.
You can also change a category’s color by selecting it, clicking the Color list arrow, and selecting a new color.
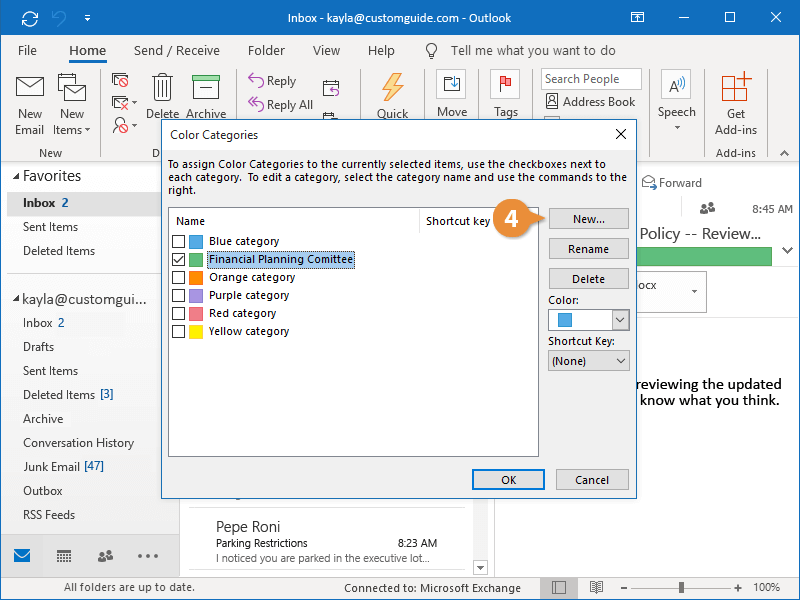
Create a New Category
You can also create new, custom categories.
- Expand the Tags group, if necessary.
- Click the Categorize button.
- Select All Categories.
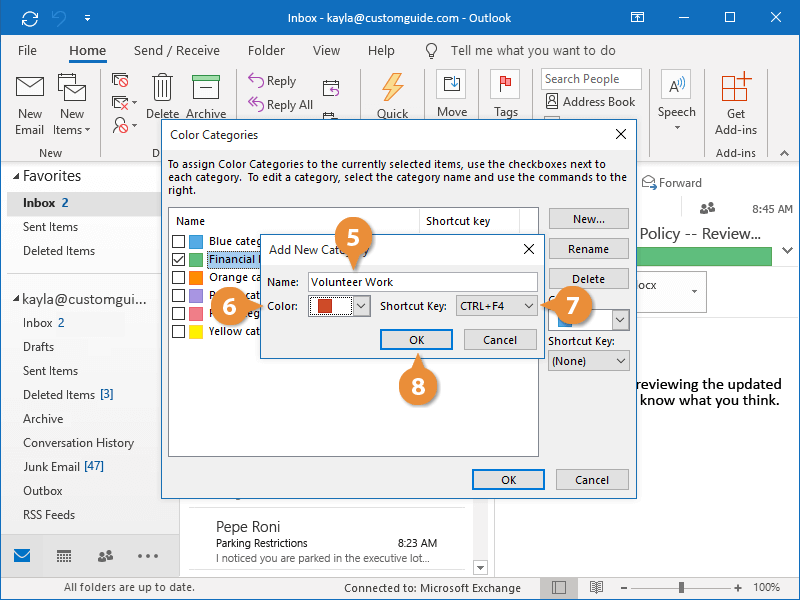
- Click New.
The Add New Category dialog box appears, where you can fill out the category’s details.
- Enter a name.
- Select a color.
- (Optional) Select a shortcut key to automatically apply the category.
- Click OK.
The category is added to the list.
Delete a Category
You can delete a category if you no longer need it.
- Expand the Tags group, if necessary.
- Click the Categorize button.
- Select All Categories.
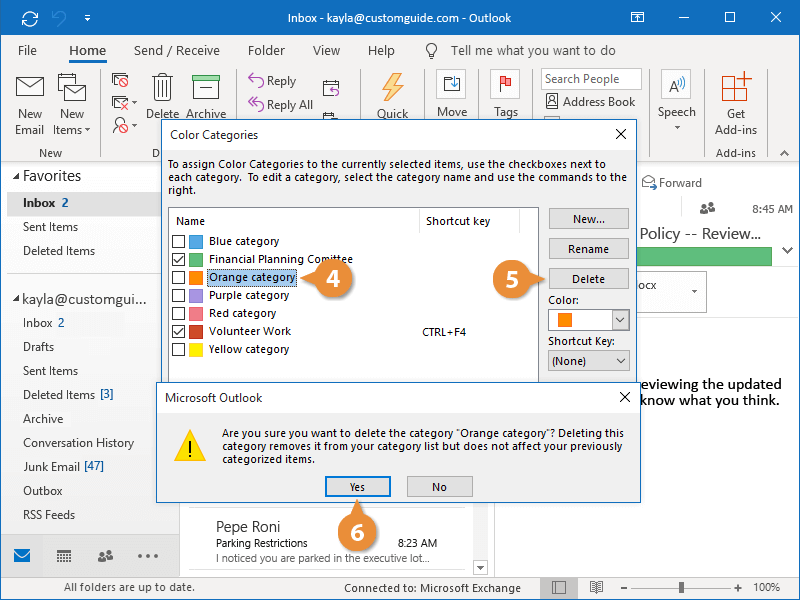
- Select a category.
- Click Delete.
A dialog box appears, asking you if you want to confirm the deletion.
- Click Yes.

The category is deleted.
Sort by a Category
You can also sort mail folders, like the Inbox folder, by category.
- In the Inbox folder, click the Sort By list arrow.
- Select Categories.
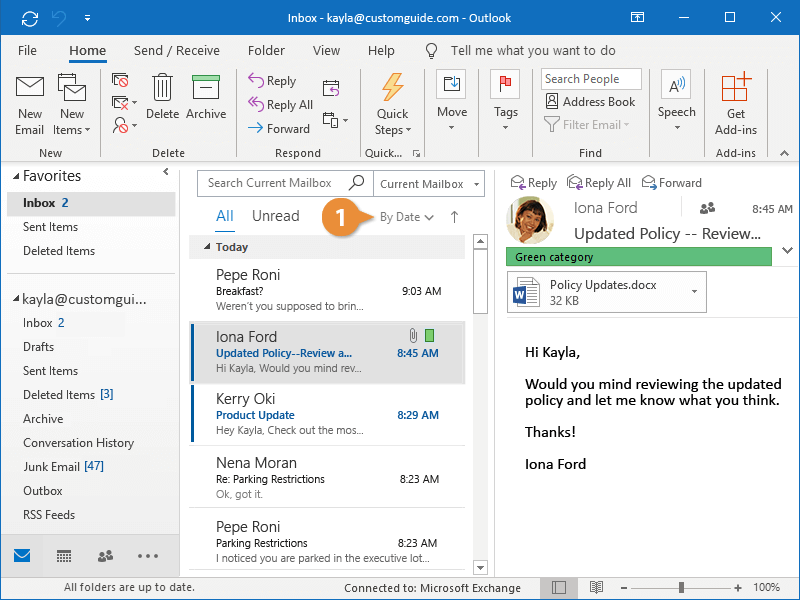

Items in the inbox are now sorted and grouped into categories.