
Interactive Tutorial
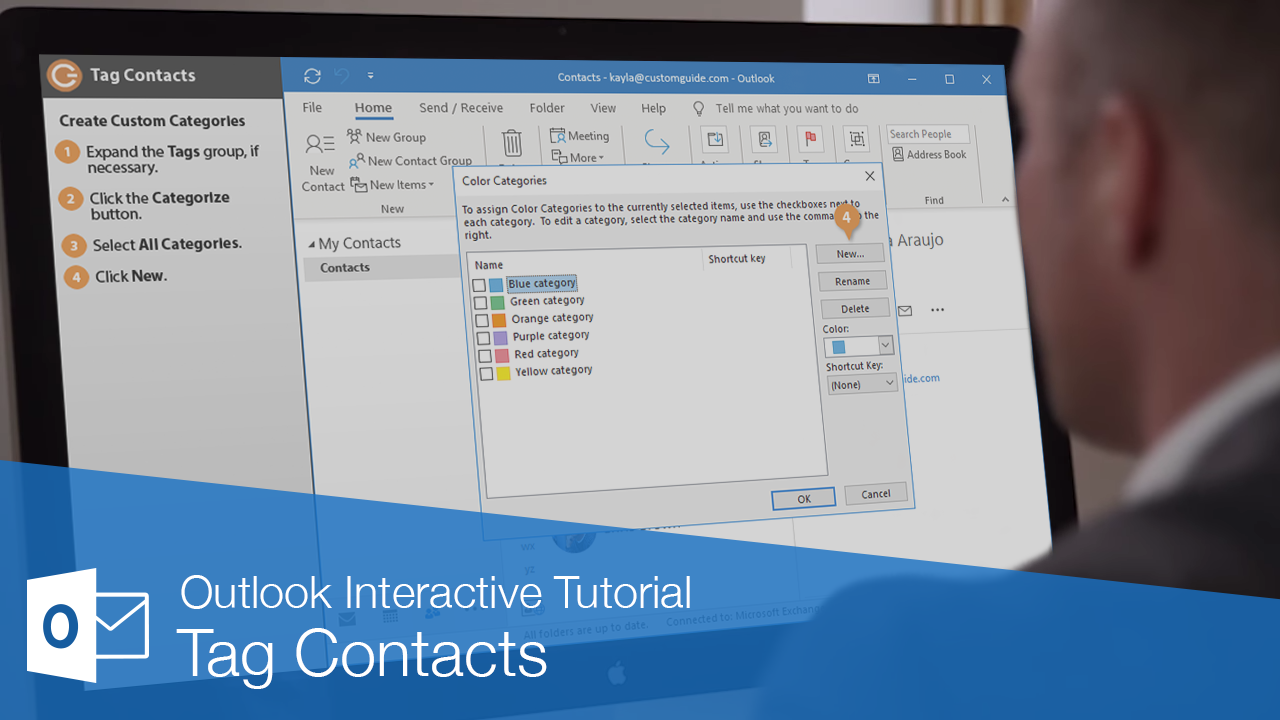
Tag Contacts
Label and categorize Outlook contacts with tags to organize your address book efficiently
-
Learn by Doing
-
LMS Ready
-
Earn Certificates

Try this Course with a Free Trial
You can add tags to contacts, so you can quickly find the one you’re looking for.
Create Custom Categories
By default Outlook’s categories are given rather generic names, but you can easily edit these or create your own. You can use categories to better organize and group your contacts—for example, you might create Work and Personal categories.
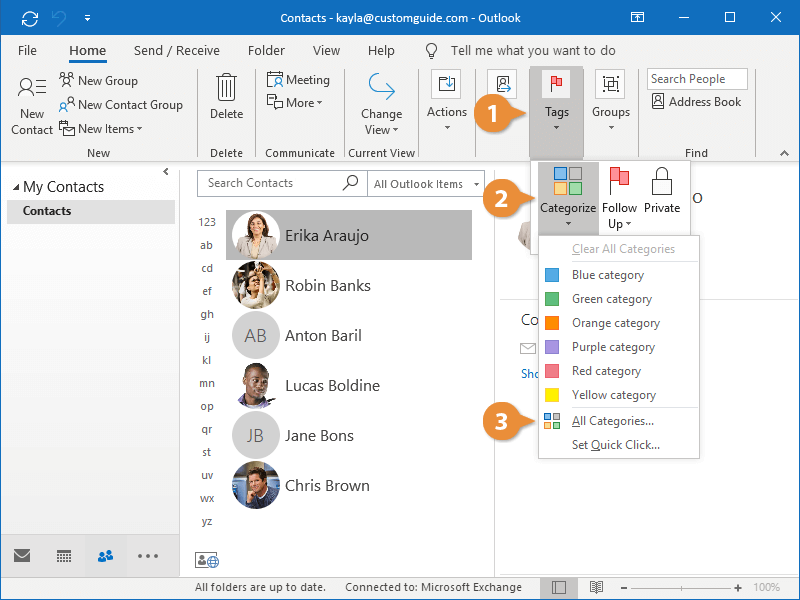
- Expand the Tags group, if necessary.
- Click Categorize on the ribbon.
- Select All Categories.
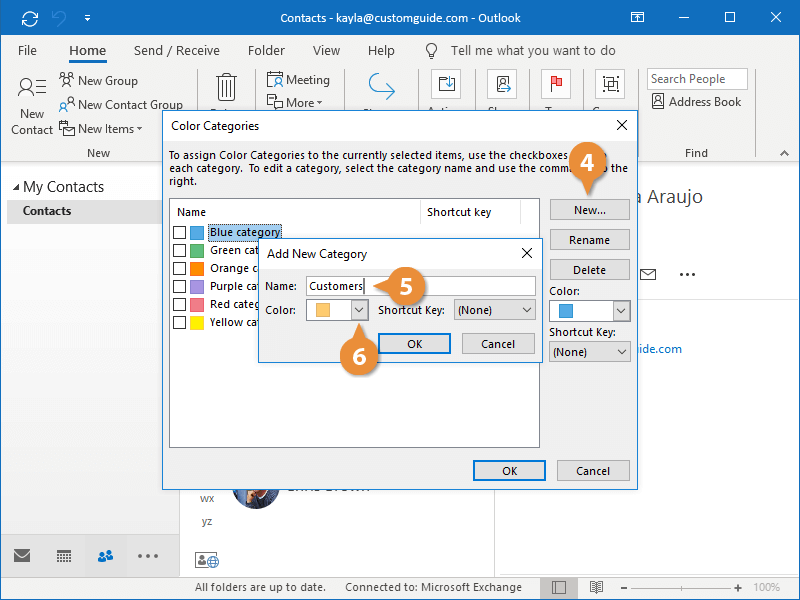
Here, you can rename the existing categories to fit your needs or create a new category.
- Click New.
- Type a name for the new category.
- Click the Color list arrow.
- Select a color.
- Click OK.
- Click OK again.
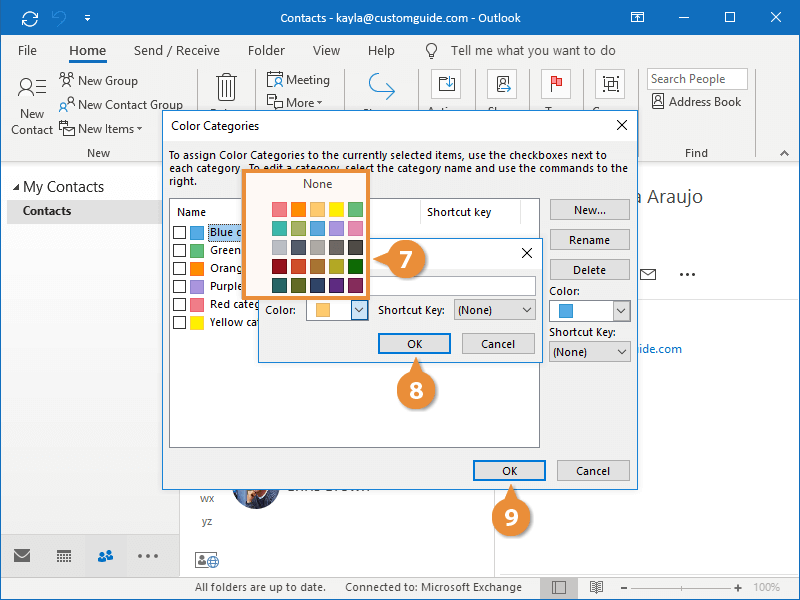
A new category has been created.
Apply a Tag
Once you have some categories that you want to use, you can apply them to contacts.
- Select a contact to tag.
- Expand the Tags group, if necessary.
- Click the Categorize button.
- Select a category.
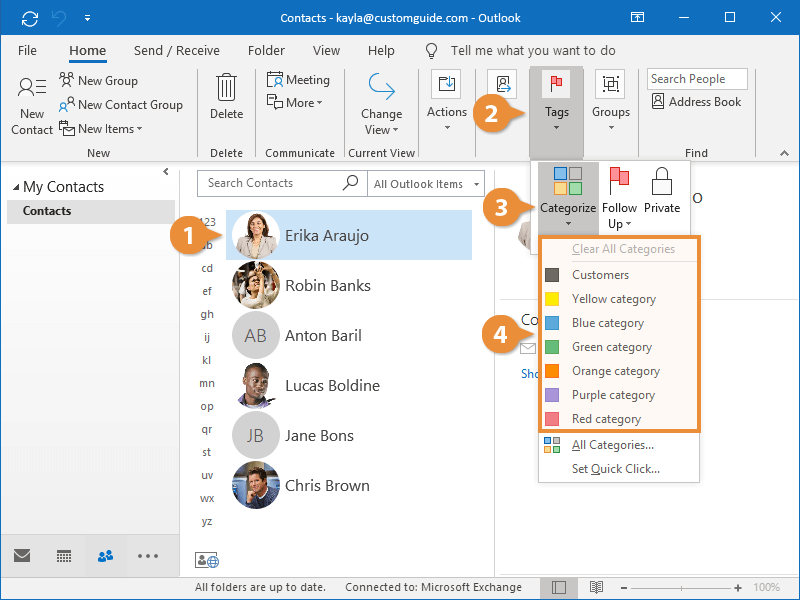
The contact is now tagged in the new category.
You can apply multiple categories to the same contact. For example, a relative who works with you might be tagged as both Business and Family.
Search for Tags
Categories can make searches much easier.
- Click in the Search field.
- Click the Categorized button from the Search Tools tab.
- Select the category you want to see.
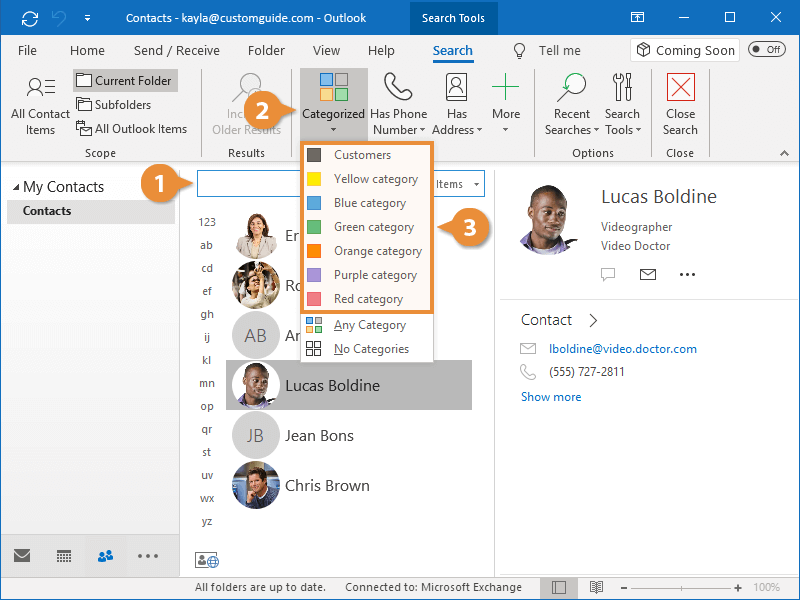
The contacts are filtered to show only those tagged with the category that you’re looking for.