
Interactive Tutorial
How to Schedule Meetings in Outlook
Plan and send meeting invites in Outlook to coordinate schedules with ease
-
Learn by Doing
-
LMS Ready
-
Earn Certificates

Try this Course with a Free Trial
Organizing meetings can be difficult when dealing with many different schedules. Using Outlook, you can check invitee schedules before picking a meeting time. That way, you can make the meeting during a time that will work for everyone. You can also track responses to your meeting request to ensure that your most important invitees will be in attendance.
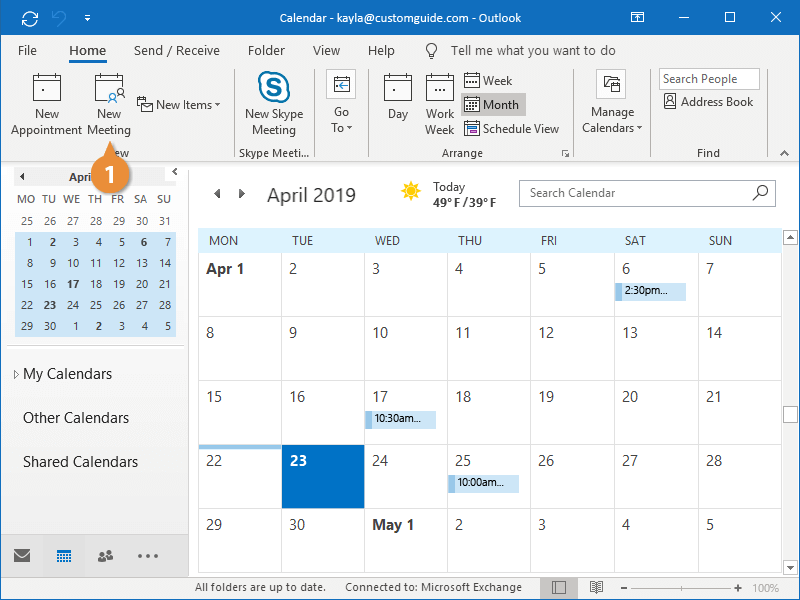
Create a New Meeting
- While in Calendar view, click the New Meeting button on the Home tab.
You can create a meeting from other views by clicking the New Items button on the Home tab and selecting Meeting.
A new Meeting window opens, where you can begin inviting attendees.
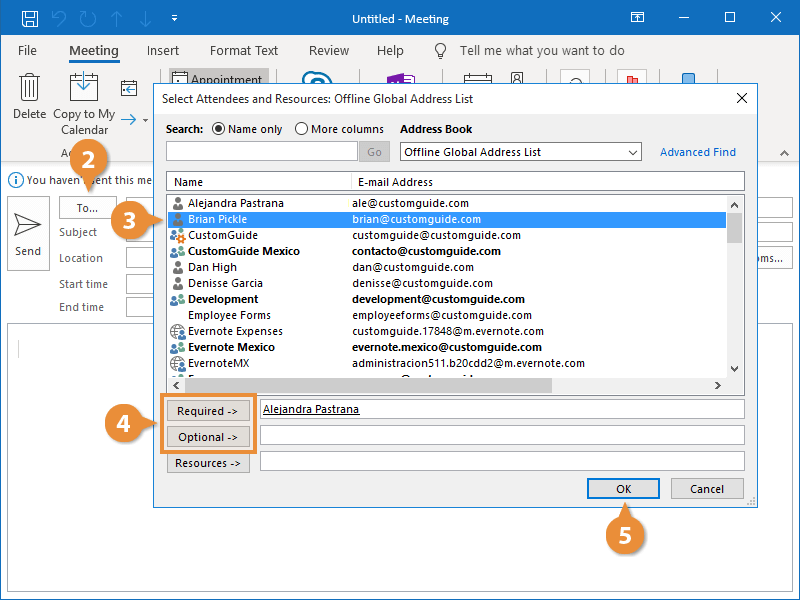
- Click To…
- Select a contact from the Address Book.
Next, choose whether the selected recipient is required to attend the meeting, or if their attendance is optional.
- Click Required or Optional.
Continue to select recipients and assign them as required or optional until you have everyone you need.
- Click OK.
- Enter a subject, location, and notes.
- Enter a date and time manually, or click the Scheduling Assistant button on the Meeting tab.
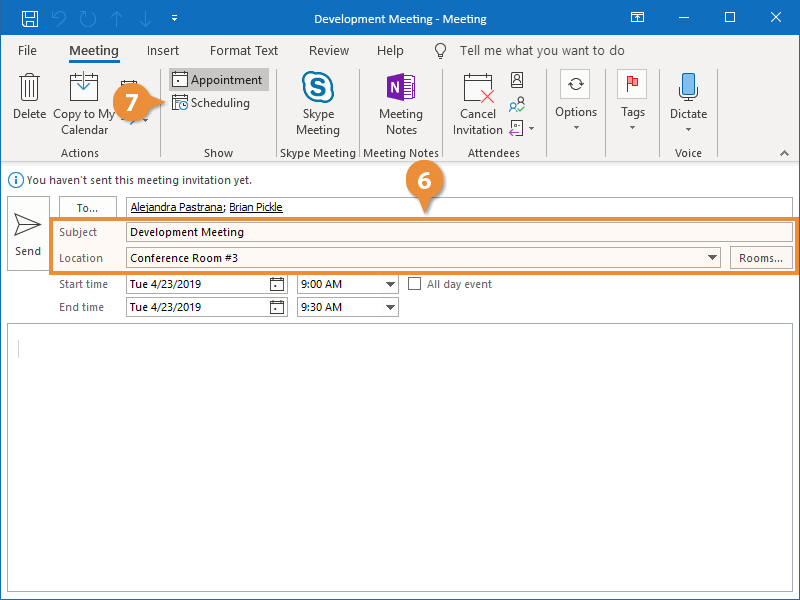
The Scheduling Assistant displays the availability for everyone invited to the meeting.
- If using the Scheduling Assistant, review the attendees’ availability and select a time without conflicts.
- Click Send.
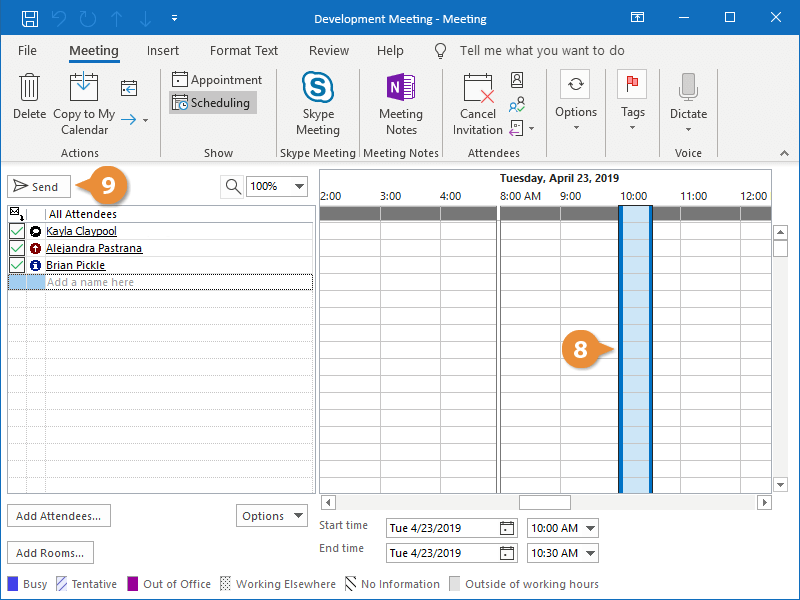
The meeting is created and email invites are sent to the attendees.
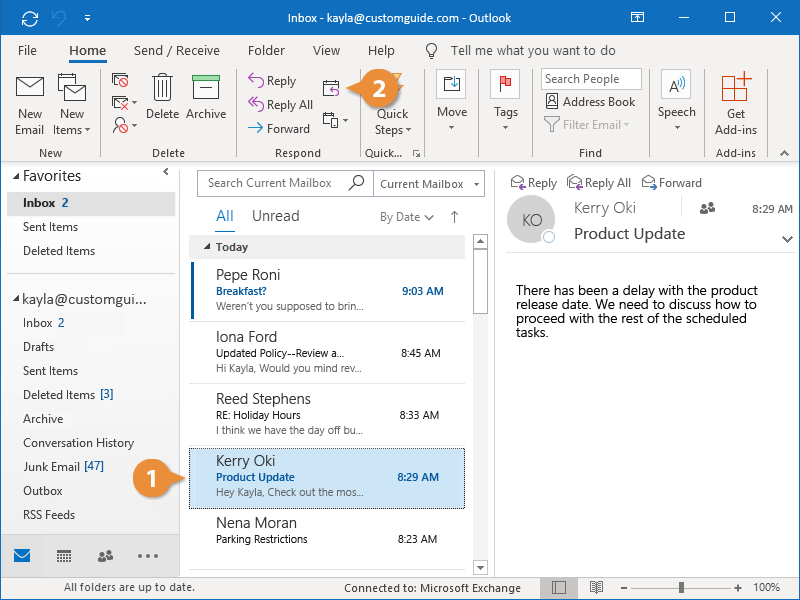
Create a Meeting from an Email
You can also create a meeting from an email, which will automatically include everyone involved in the email conversation.
- While viewing your inbox in Mail view, select an email.
- Click the Reply with Meeting button on the Home tab.
Everyone on the email thread is added as a meeting attendee and the subject is populated.
- Fill in the meeting location, date, and time.
- Click in the message field and add in meeting details.
- Click Send.
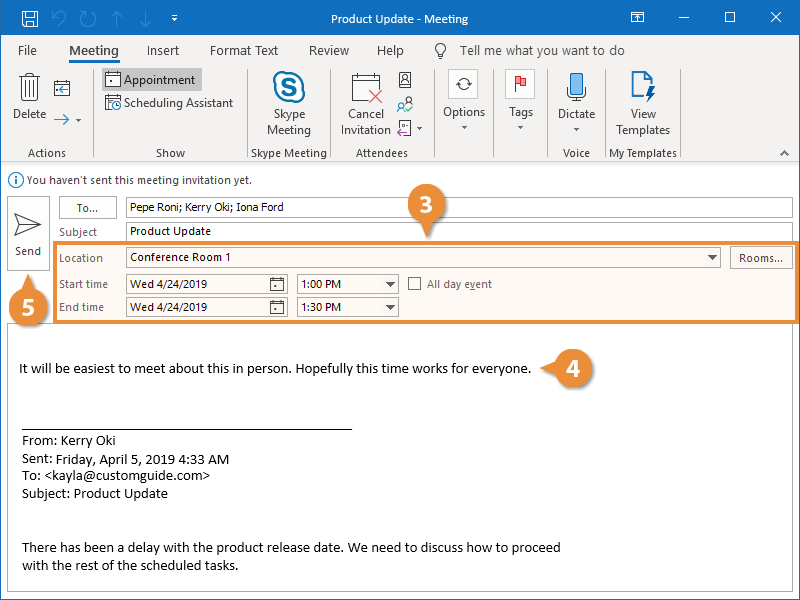
Email invitations to the meeting are sent out to the recipients.