
Interactive Tutorial
Outlook Appointment Scheduler
Create and manage appointments in Outlook to plan your day efficiently
-
Learn by Doing
-
LMS Ready
-
Earn Certificates

Try this Course with a Free Trial
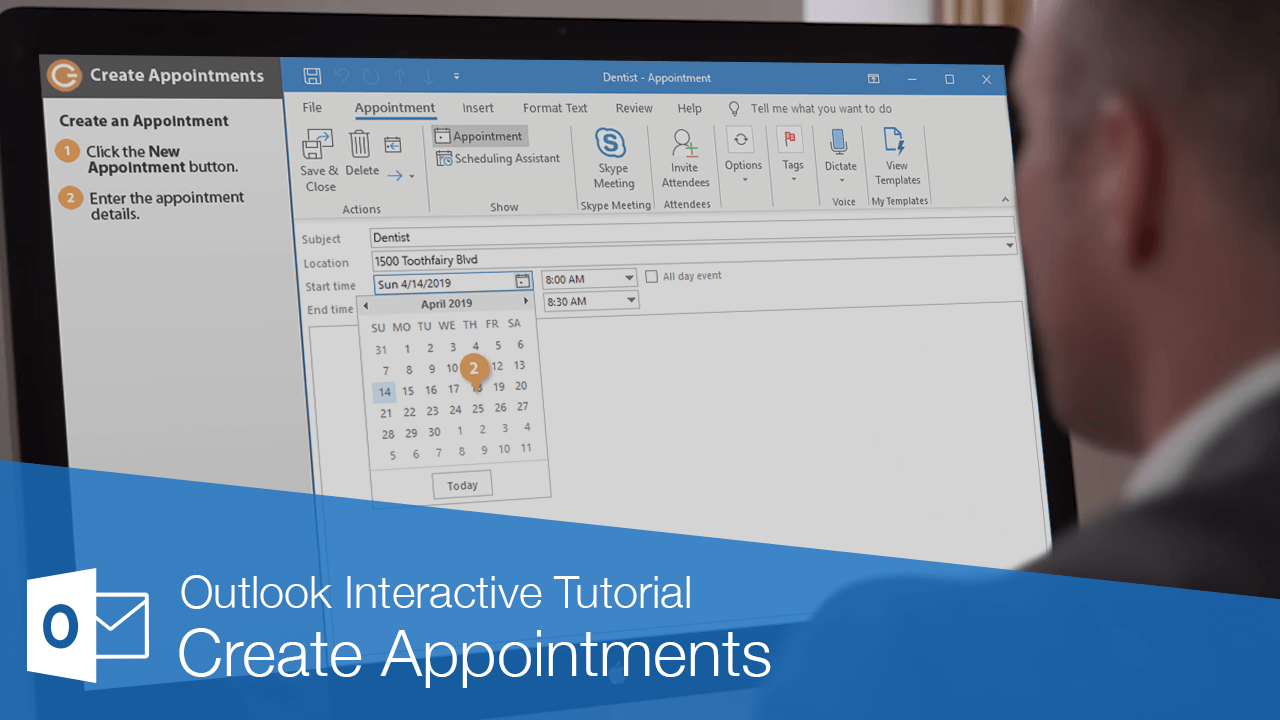
An appointment is any scheduled activity that takes place within a one-day period that doesn’t require reserving resources or inviting attendees. This could include setting aside time for research, a doctor’s appointment, or an important dinner with friends or colleagues.
Create an Appointment
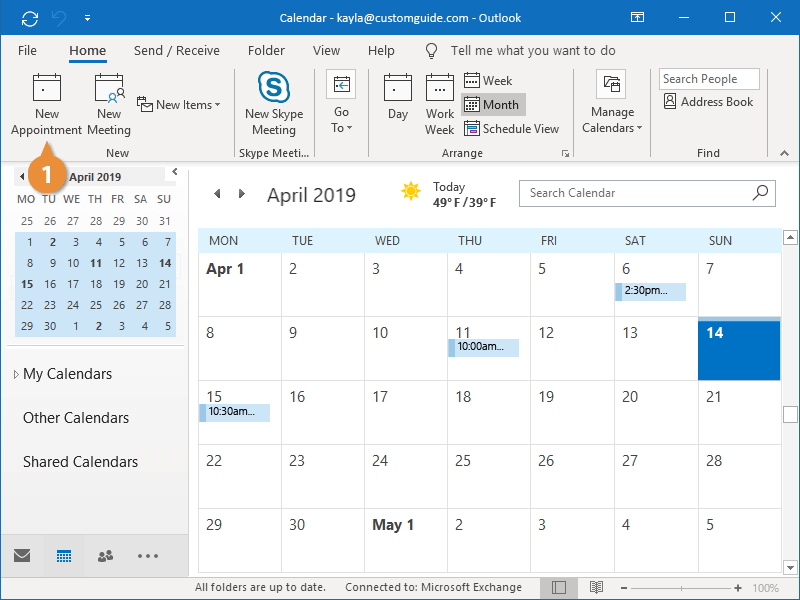
- While viewing the calendar, click the New Appointment button on the Home tab.
A new appointment window opens, ready for you to fill in the appointment’s details.
- Enter the appointment information:
- Subject
- Location
- Start and End date and time
- Notes
- Click Save & Close.
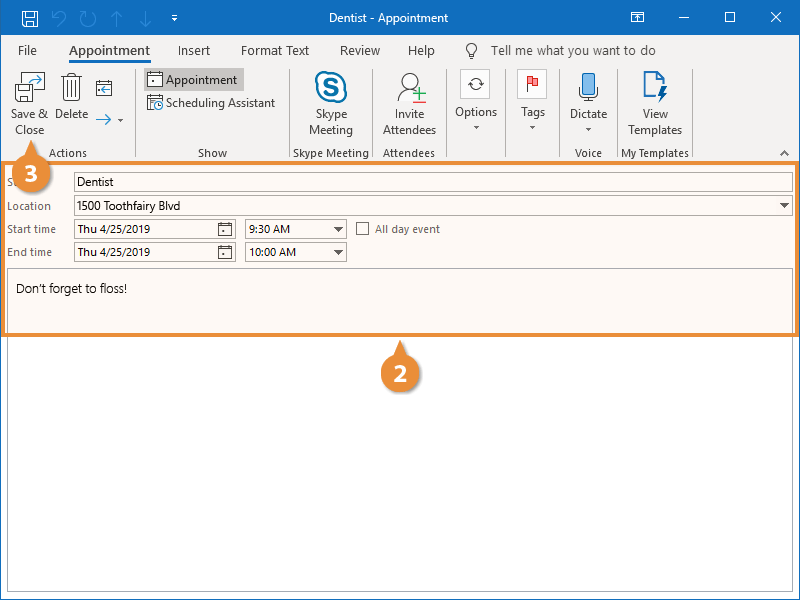
The new appointment is added to the calendar.
You can also create new appointments from other views, such as Mail, by clicking the New Items button on the Home tab and selecting Appointment.
Press Ctrl + N while viewing the calendar to create a new appointment.
Categorize Appointments
As your calendar starts filling up, it may be hard to tell your appointments apart at a glance. Tagging them with a category can help.
- Select a calendar appointment.
- Click the Categorize button on the ribbon.
A list of categories appears. If you need to create a new category, you can select All Categories.
- Select a category.

The category is applied to the appointment.