
Interactive Tutorial
Outlook Notes
Capture quick thoughts and reminders using sticky notes in Microsoft Outlook
-
Learn by Doing
-
LMS Ready
-
Earn Certificates

Try this Course with a Free Trial
Outlook’s Notes feature can help you keep track of short bits of information that you need to keep handy, such as a shipping address or directions to a meeting.
View Notes
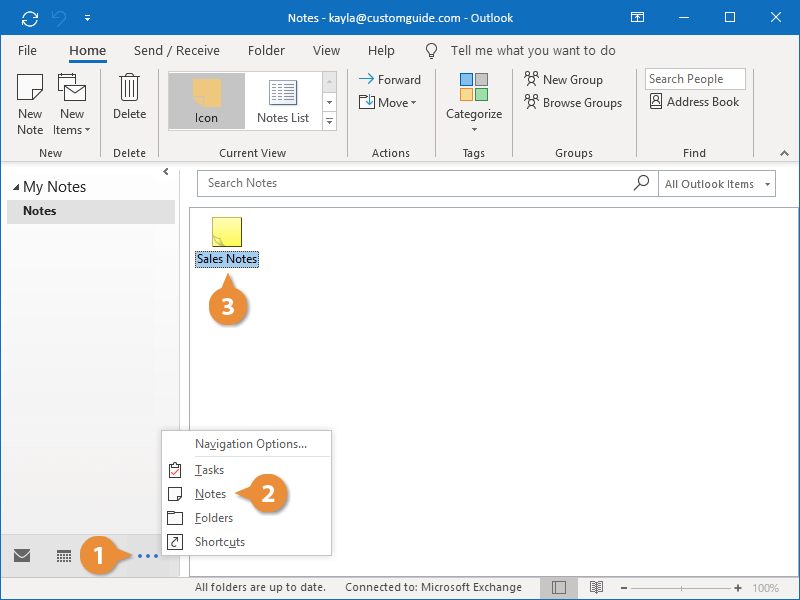
Notes view is accessed from the Navigation Bar, but by default, it is hidden in a menu instead of shown alongside Mail, Calendar, People, and Tasks.
- Click the More (…) button in the Navigation Bar.
This menu shows additional Navigation Bar options, including Notes view.
- Select Notes.
Notes view displays all the notes you’ve created.
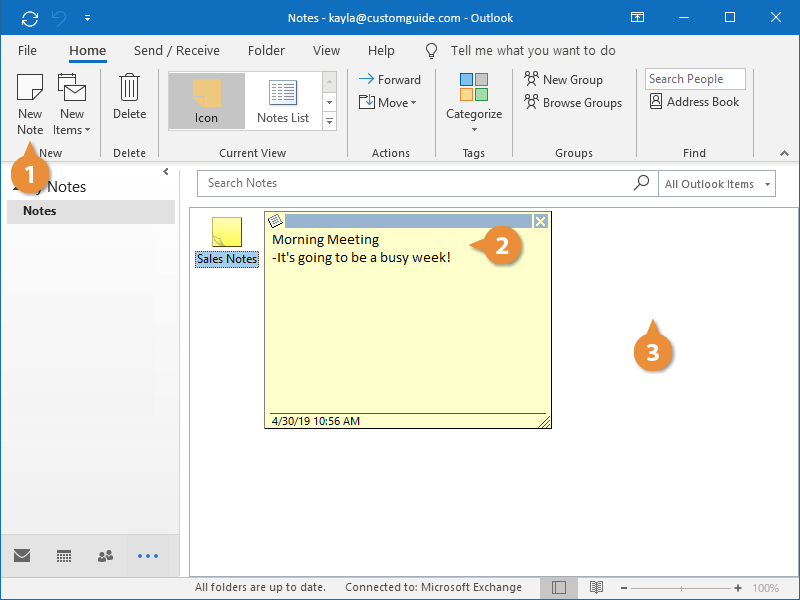
- Double-click a note to open it.
The note opens in a sticky note styled pop-up window.
Create a New Note
You can quickly create a new note to jot down anything you need to save.
- While in Notes view, click the New Note button on the Home tab.
- Start typing in the note pop-up.
The first line of a note will be the name that appears as the note’s Subject.
- Click outside the note to save it.
Notes are automatically saved as you type, so it’s easy to quickly enter some information and move on.
Categorize a Note
You can assign categories to notes to help keep track of them and associate them with mail messages, contacts, and calendar events of the same category.
- Select a note you want to categorize.
- Click the Categorize button on the Home tab.
- Select a category.
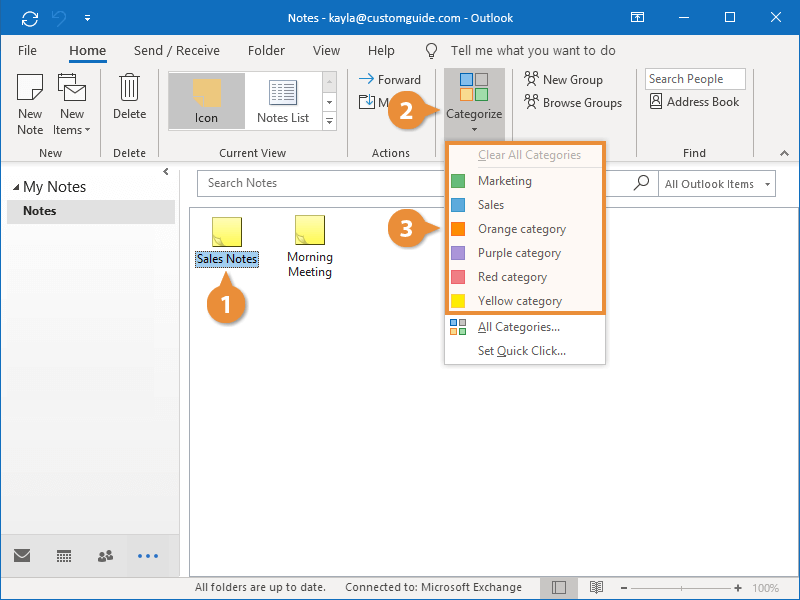
The selected category is applied to the note.
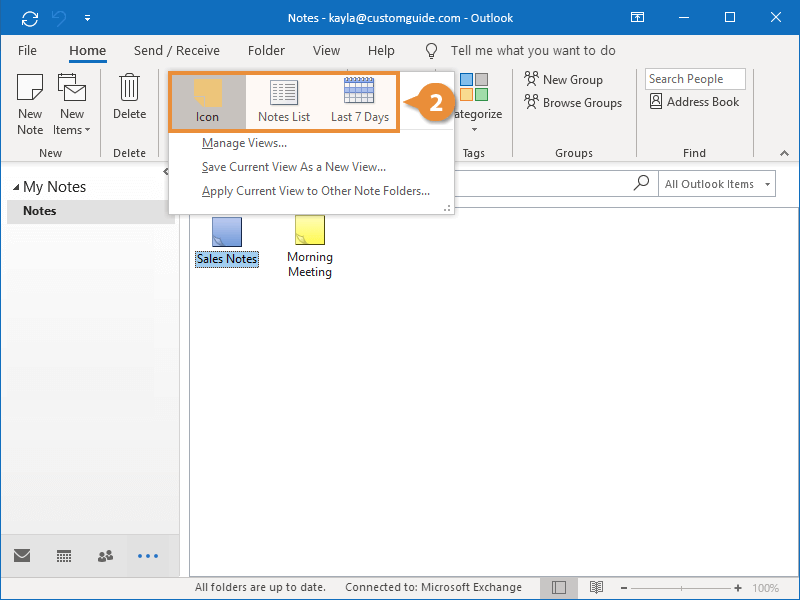
Change the Note View
There are three views you can use to view your notes.
- Expand the Current View gallery, if necessary.
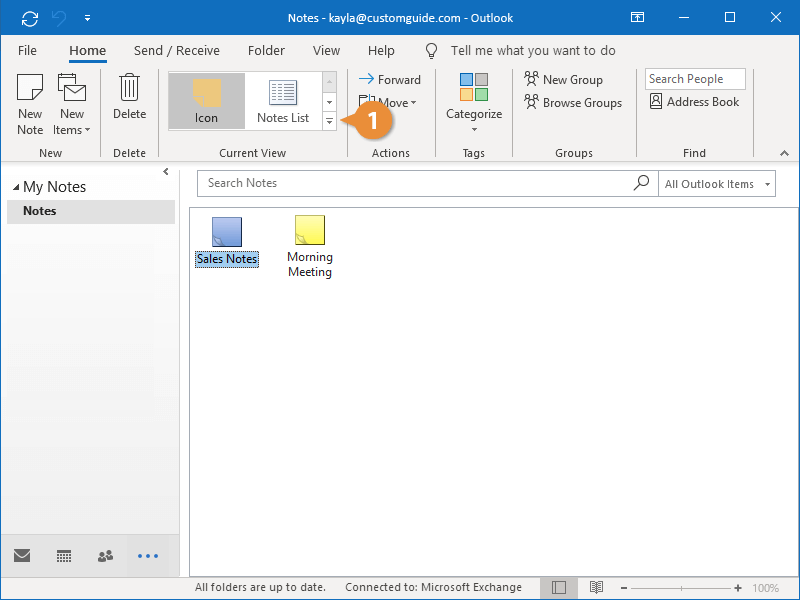
- Select a view option.
- Icon view displays your notes as icons
- Notes List displays notes in a list, with columns that show additional information.
- Last 7 Days displays a list of only the notes created within the past 7 days.
The selected view is applied.