
Interactive Tutorial
Onedrive Groups
Collaborate and share files seamlessly with Microsoft OneDrive groups for your team
-
Learn by Doing
-
LMS Ready
-
Earn Certificates

Try this Course with a Free Trial
When you're collaborating on a bunch files with a team, you can use groups to keep everything in a central location.
View a Group’s Files
A group will also include other features, in addition to the group document library. These features include a group calendar, task list, and discussion board.
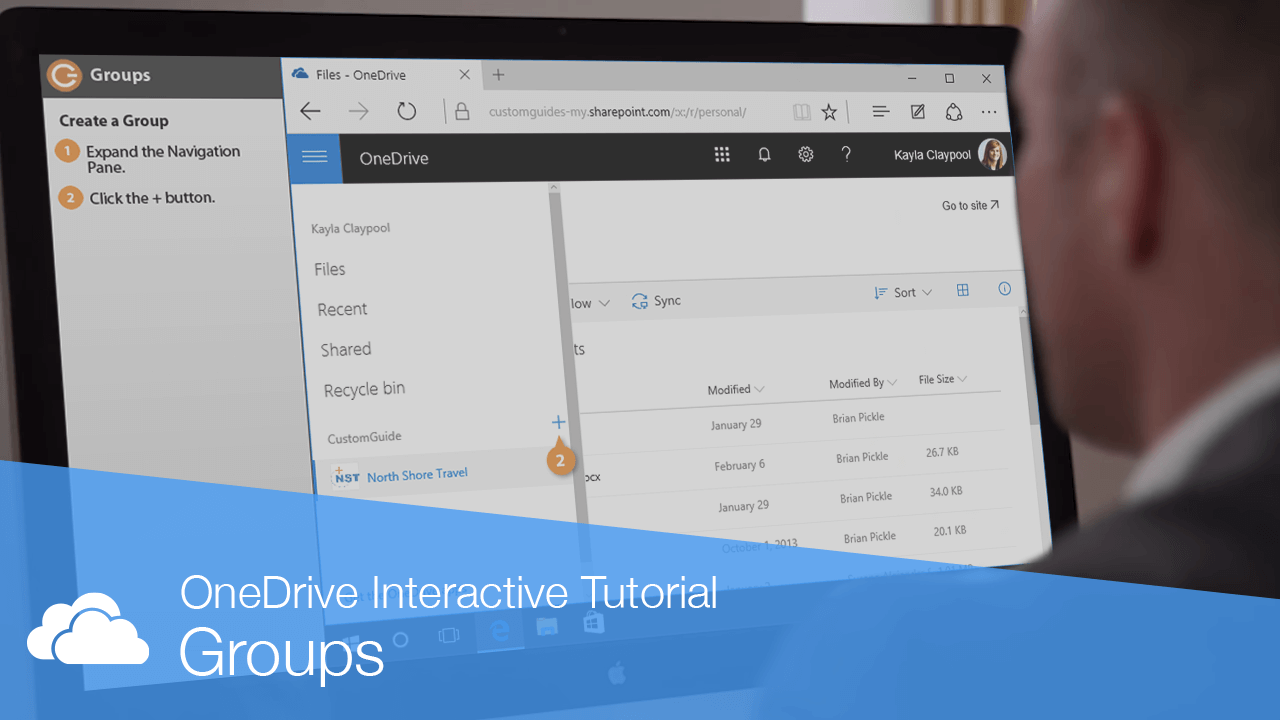
- Expand the Navigation Pane.
Below your files and locations, underneath the name of your organization, all the groups that you're part of will appear.
- Select a group.
The group’s document library opens, displaying its files.
Create a Group
You can also create a new group.
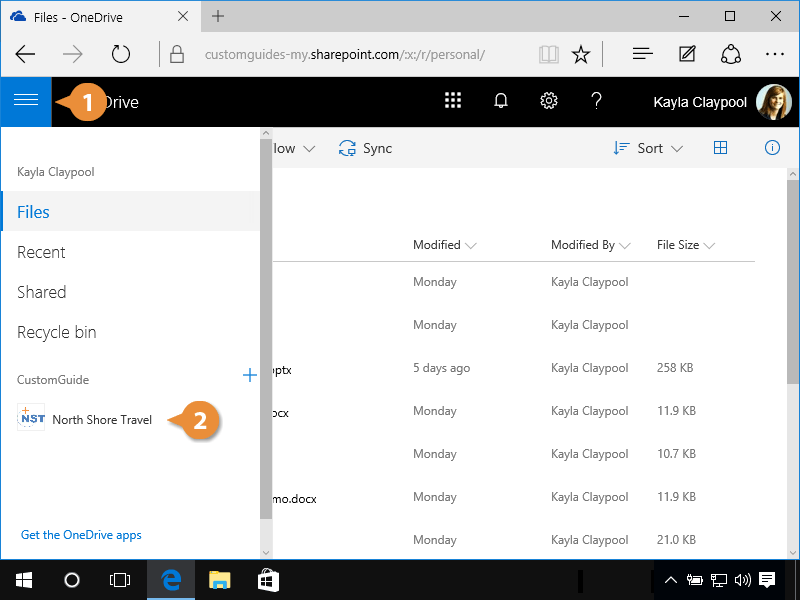
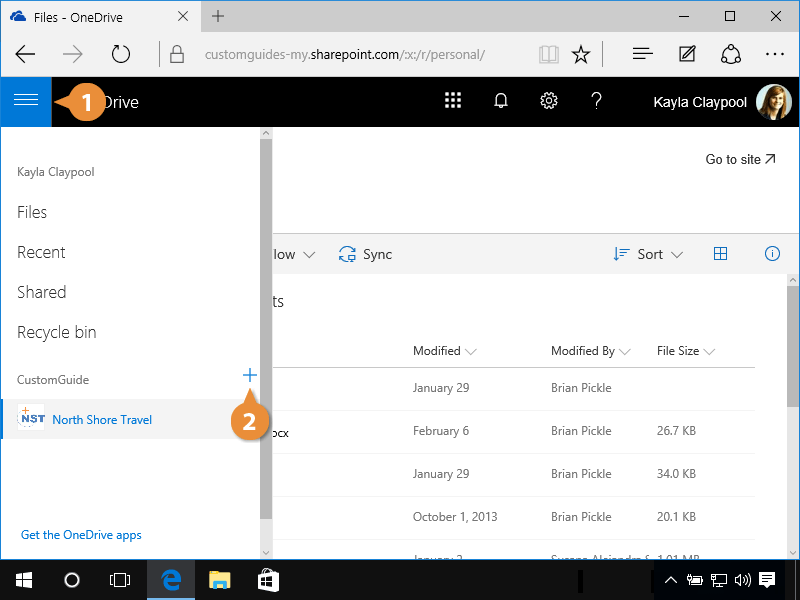
- Expand the Navigation Pane.
- Click the + button.
A new pane appears on the right, where you can begin setting up the group site.
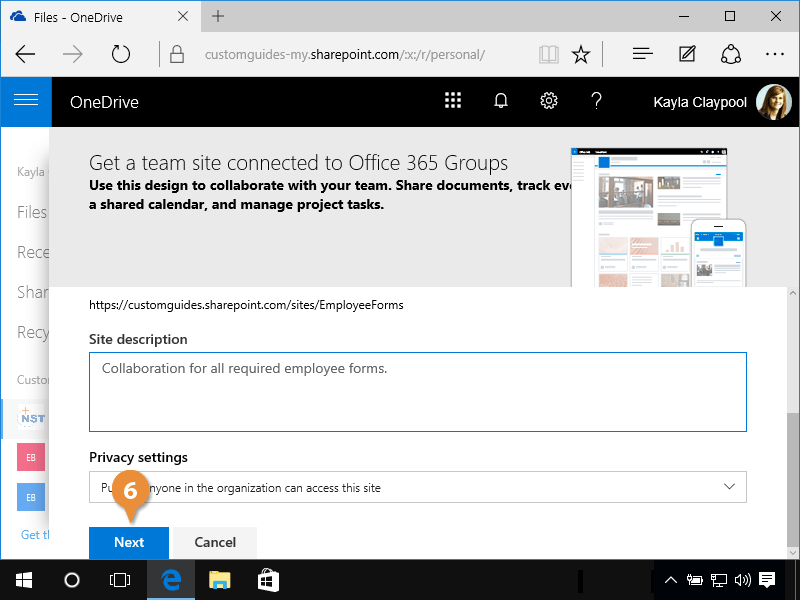
- Give the new group a name.
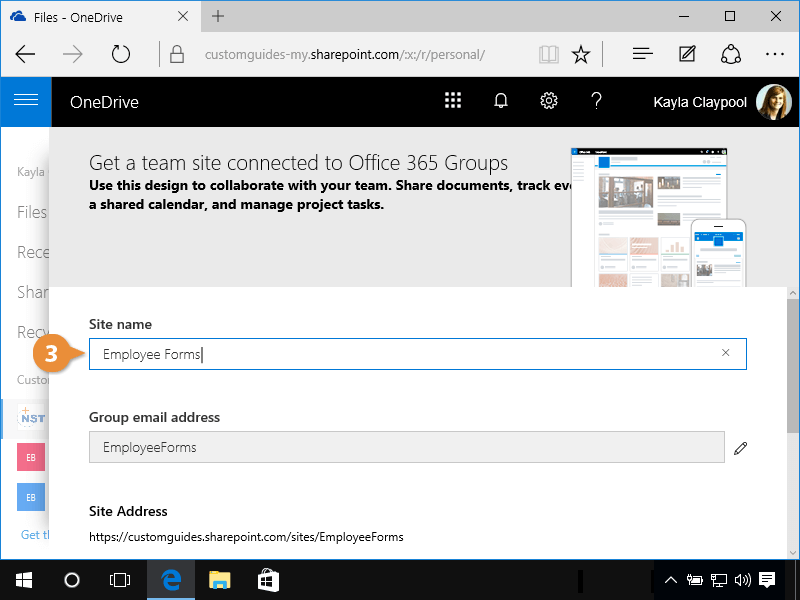
Each group needs to have a unique name, so it's checked as you type. If the name is available, you're ready to move on.
- Enter a group description.
- Select a privacy option.
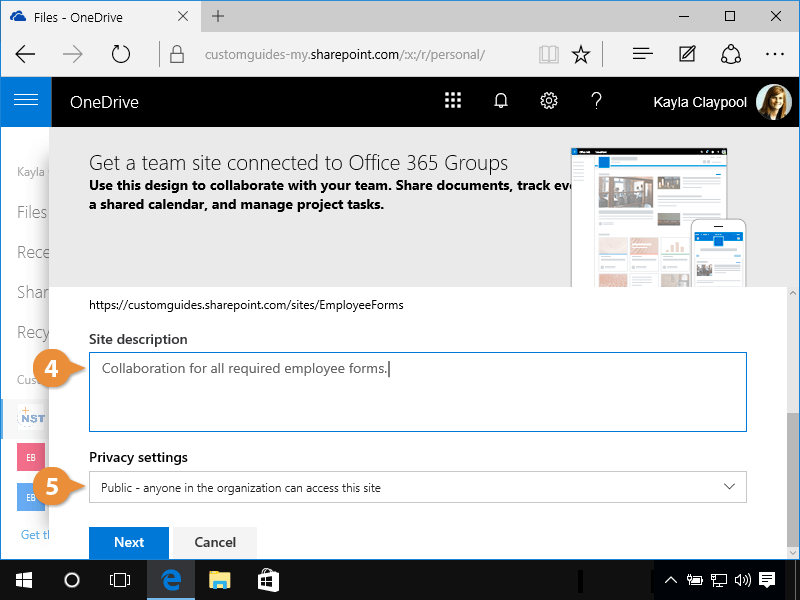
- Public: This is the default option in which everyone in the organization can see what's in the group. However, members of the group can make edits.
- Private: By setting the privacy level to private, only members of the group can see the contents.
- Click Next.
- Invite owners and members by entering their email addresses.
- Click Finish.
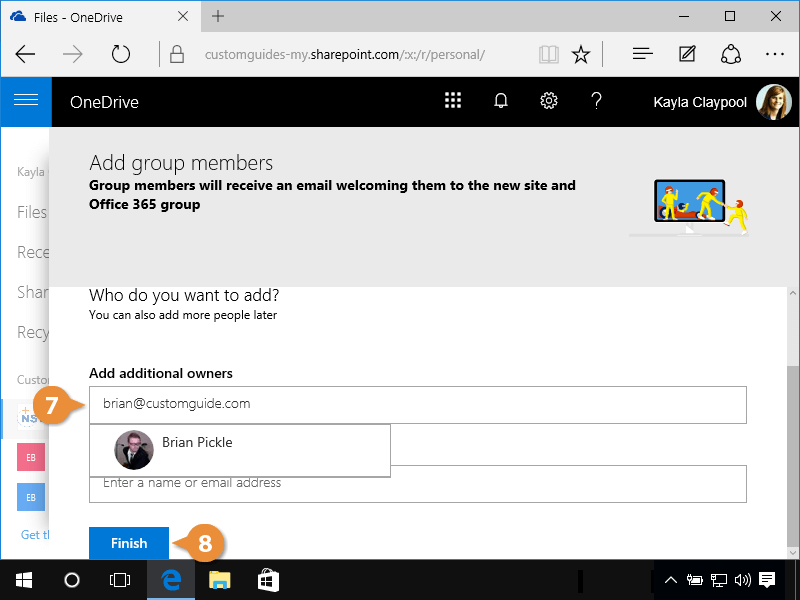
Now it's time to add additional group owners and members. Owners of a group have special permissions to edit the group's settings, as well as invite and remove members of private groups.
The group site is created! It now serves as a central repository for group members to hold conversations, store files, and make lists.